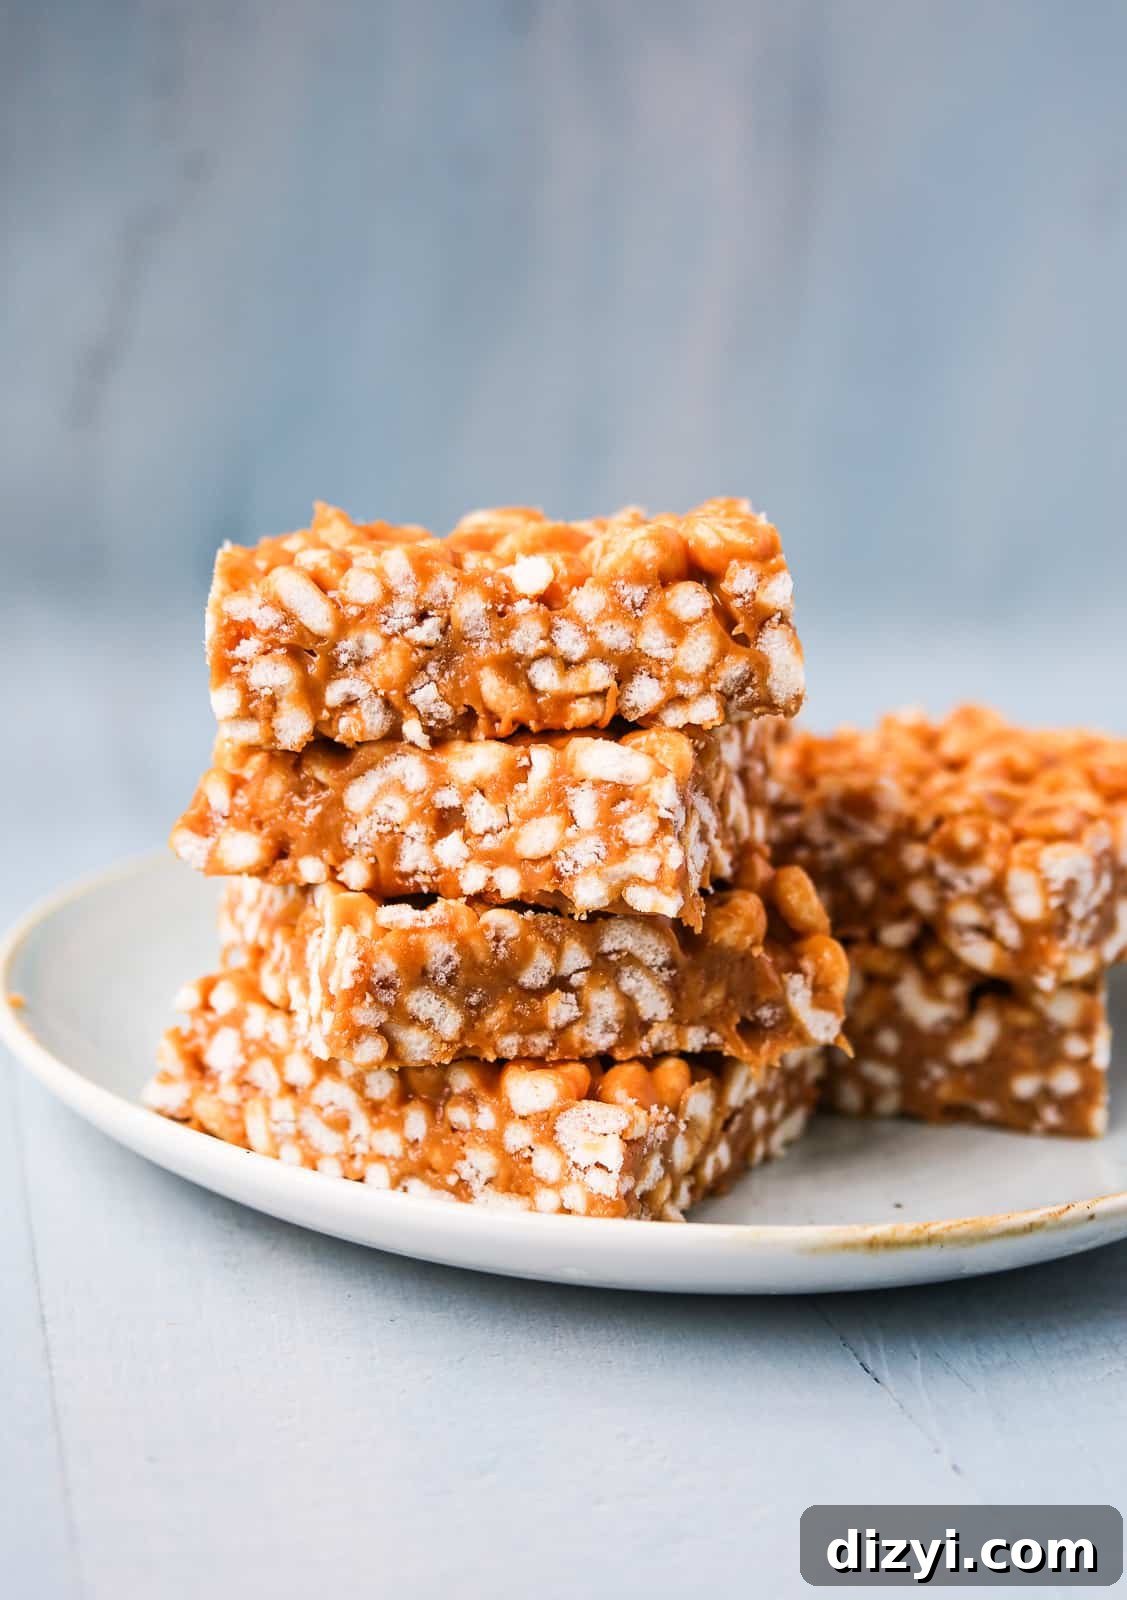
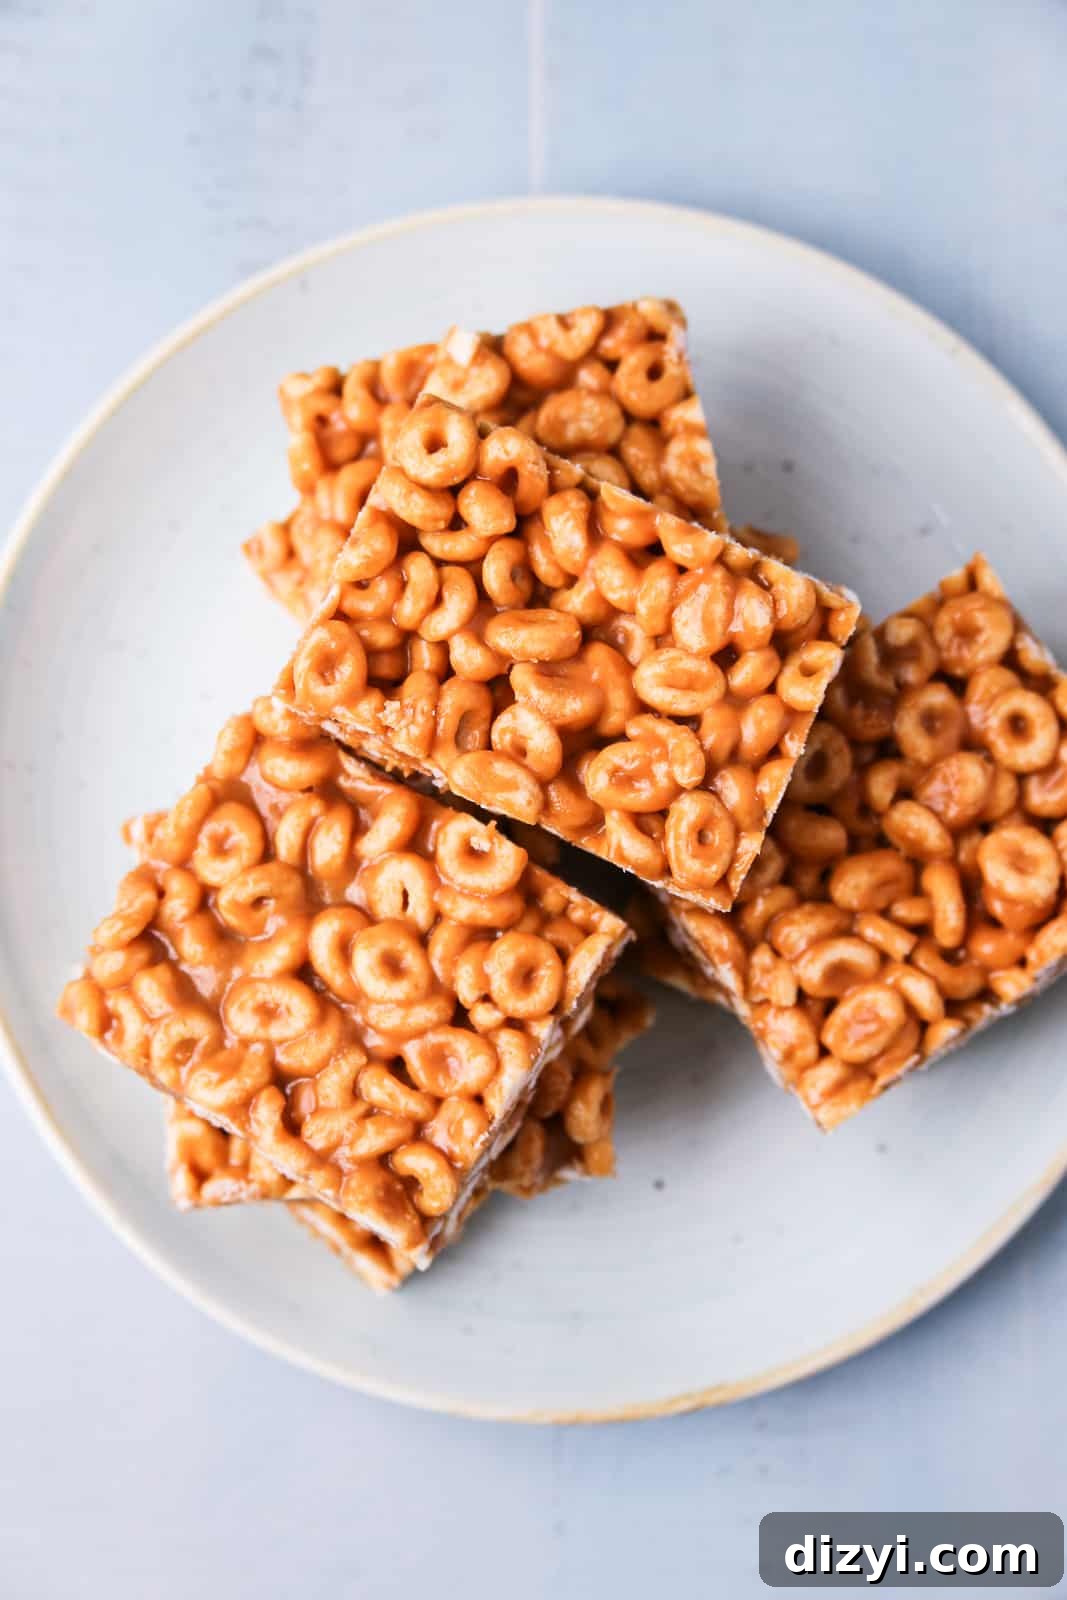
Here’s an incredibly simple, five-ingredient recipe that captures the nostalgic 90s cereal bar vibe—Peanut Butter Cereal Bars. These no-bake bars come together in minutes and deliver satisfying crunch, peanut butter flavor, and a portable option for breakfast, snacks, or lunchboxes.
Made with pantry basics and a high-protein cereal option, these bars are ideal when you want a quick treat without a lot of fuss. They’re sturdy when chilled and even taste great straight from the freezer. Read on for the full recipe, tips for success, storage advice, and a few easy variations to customize the bars to your taste.
Peanut Butter Cereal Bars
Ingredients
- 1 cup honey (or maple syrup)
- 1 cup creamy, unsalted, unsweetened peanut butter
- 2 tbsp avocado oil (or a neutral oil of your choice)
- 1 tsp pure vanilla extract
- 1 box peanut butter-flavored puffed protein cereal (about one box; for a higher-protein, lower-sugar option use a protein cereal)
Instructions
- In a small saucepan over medium heat, combine the honey (or maple syrup), peanut butter, avocado oil, and vanilla. Whisk continuously until the mixture is smooth and well combined, about 3–4 minutes. Remove from heat.
- Pour the cereal into a large mixing bowl. Pour the warm peanut butter mixture over the cereal and gently toss with a spatula until the cereal is evenly coated.
- Line a 9×9 baking pan with parchment paper. Transfer the coated cereal into the pan and use a rubber spatula or the back of a spoon to press the mixture into an even, compact layer.
- Refrigerate for at least 1 hour, or until the mixture has fully set and is firm to the touch. Once firm, lift the parchment paper from the pan and cut into 12 bars.
Notes & Tips for Best Results
Use a neutral or light-flavored oil so it doesn’t compete with the peanut butter flavor. If you prefer a slightly sweeter bar, choose maple syrup instead of honey. Press the mixture firmly into the pan to help the bars hold together once chilled—using a sheet of parchment between your hand and the mixture makes it easier to pack evenly.
Storage
Store the bars in an airtight container. They keep well in the refrigerator for several days, or in the freezer for longer storage—perfect for prepping snacks in advance. If frozen, let the bars thaw a few minutes before serving for a chewier texture, or enjoy them straight from the freezer for a firmer bite.
Quick Variations
- Chocolate drizzle: Melt a few squares of dark chocolate and drizzle over the top before chilling for a chocolate-peanut butter combination.
- Add-ins: Stir in chopped nuts, seeds, or a handful of mini chocolate chips to the cereal before pressing into the pan.
- Alternative nut butters: Swap peanut butter for almond butter or sunflower seed butter to accommodate different tastes or allergies.
Nutrition & Serving Ideas
Nutrition information varies depending on the cereal and peanut butter you choose; the calculation provided by recipe tools is an approximation. These bars make a convenient on-the-go snack, a quick breakfast option paired with yogurt or fruit, or a simple treat for lunchboxes. For a higher-protein version, select a protein-fortified cereal and use a natural peanut butter with minimal added sugars.
Additional Info
Author: Alex Snodgrass
Servings: 12 bars
Image and recipe presentation belong to the original creator. Nutrition information is automatically calculated and should be used as an approximation only.