
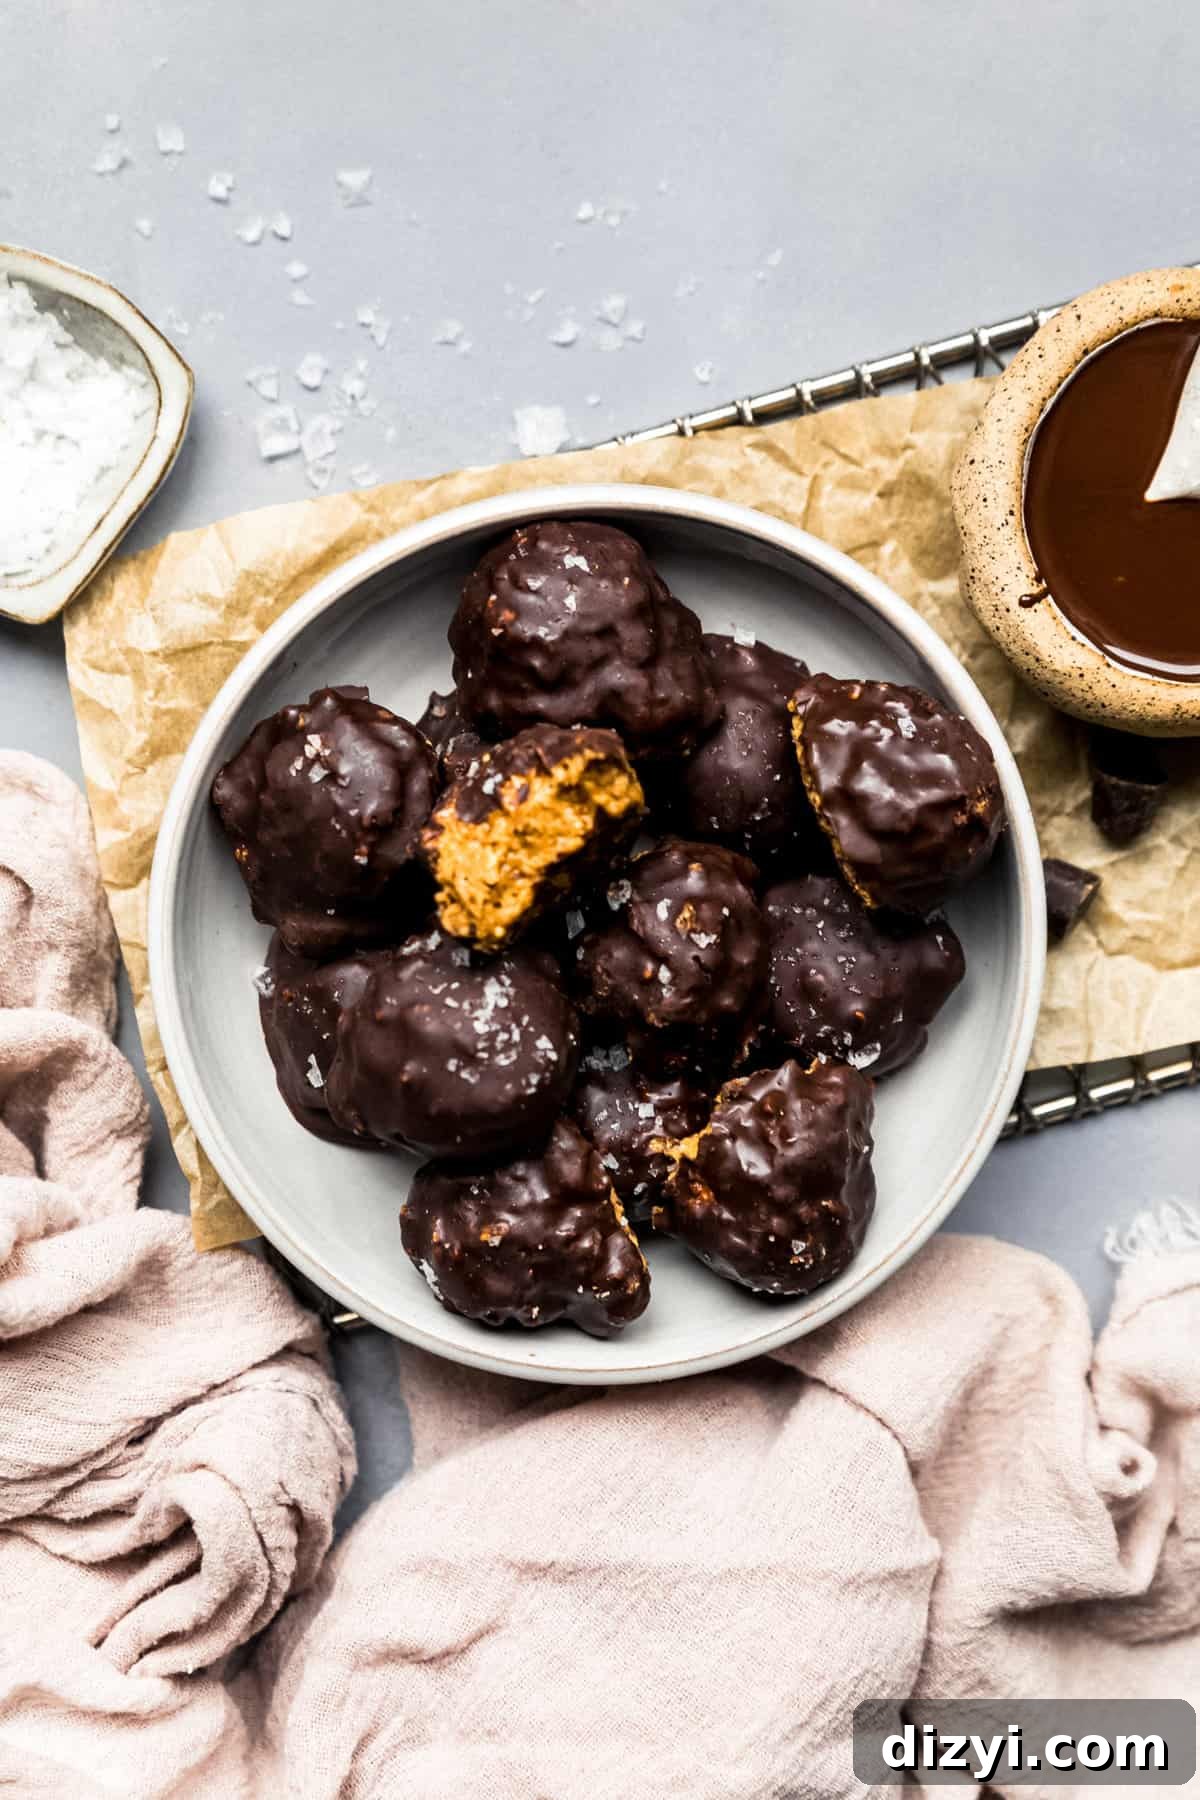
I made these Easy No-Bake Butterfinger Bites recently on Instagram and they were so good I wanted to share the full recipe here. These little no-bake treats capture the crunchy, peanut-buttery flavor of a Butterfinger candy bar in a quick, kid-friendly bite. They’re simple to make, require no baking, and keep well in the fridge or freezer—perfect for lunchboxes, snack time, or an easy dessert.
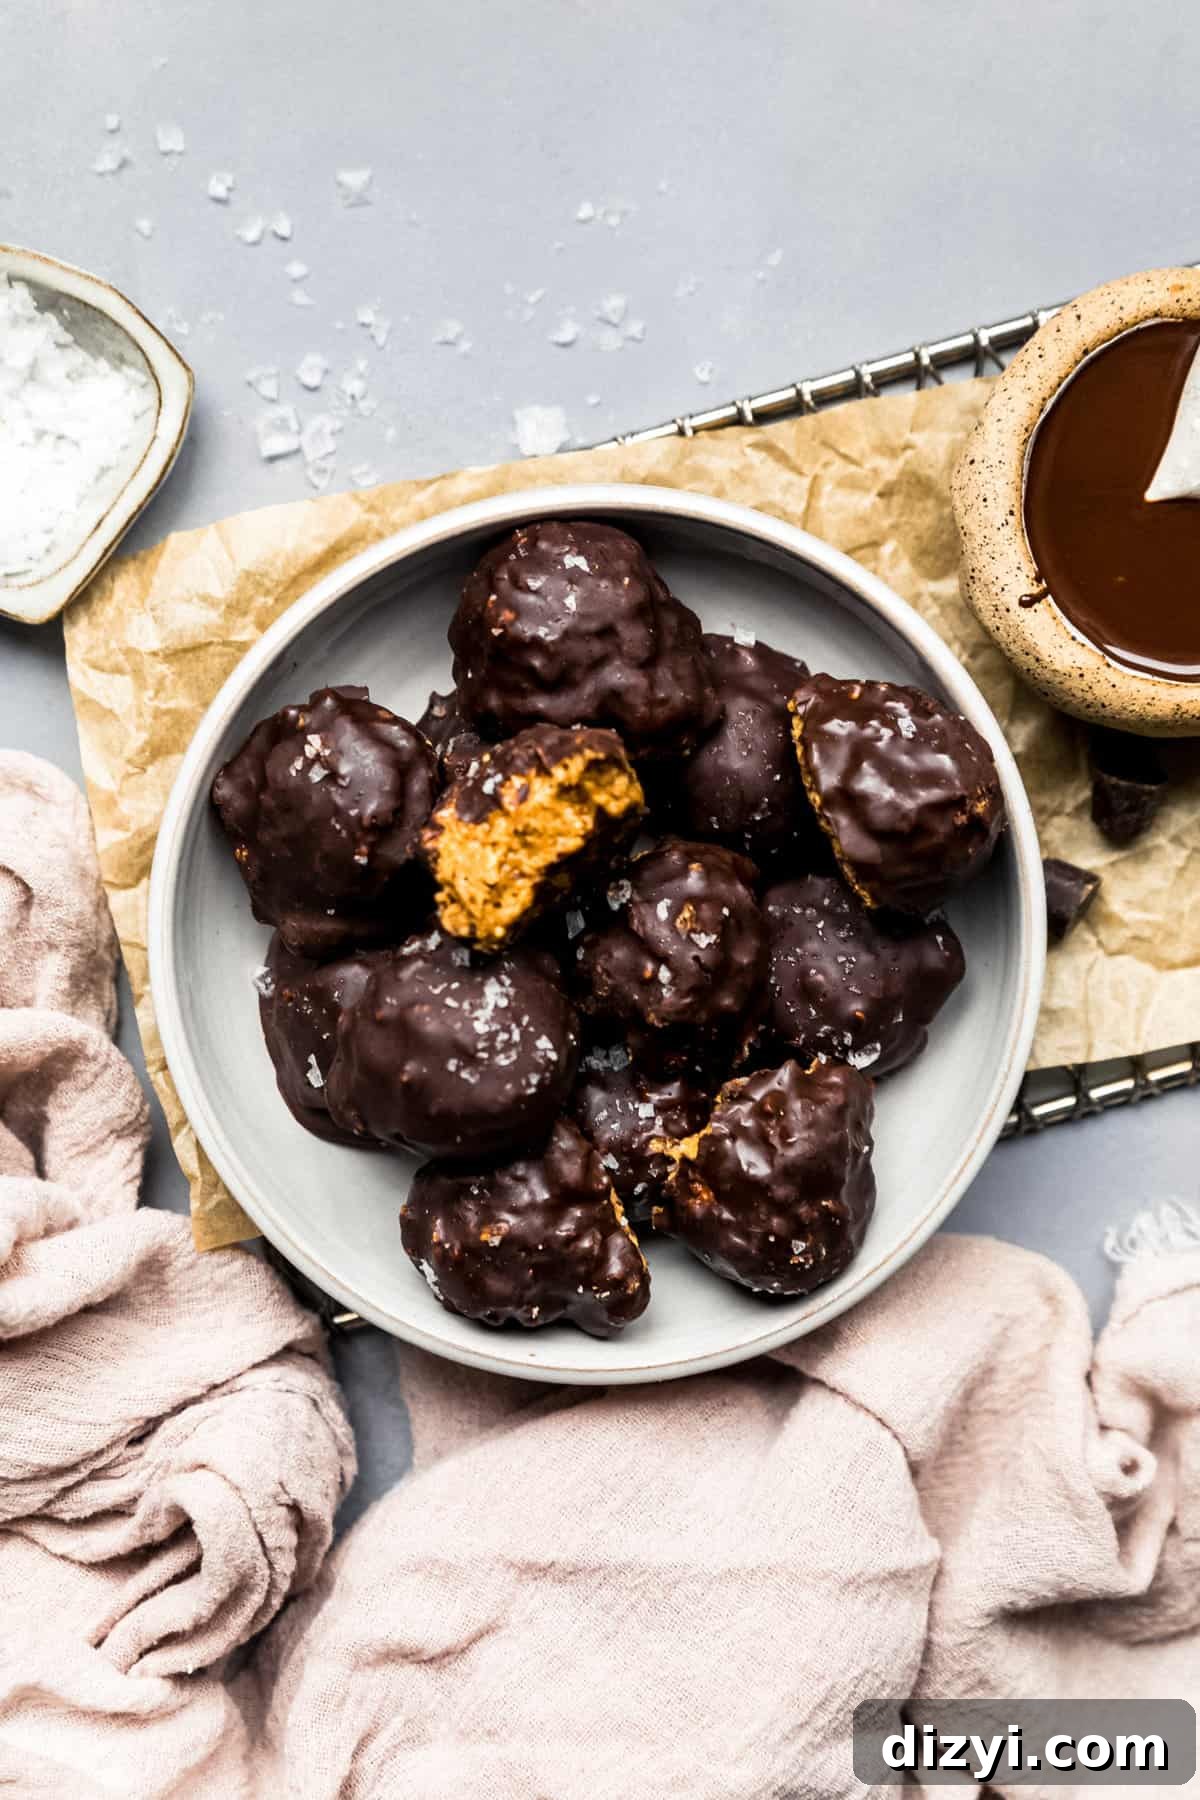
These bites start with crushed corn flakes for the signature crisp texture, bound together with creamy peanut butter and a touch of honey. A coating of dark chocolate adds richness, and flaky salt on top elevates the flavor. The whole recipe takes only minutes of hands-on time and a short chill to set. Below you’ll find the ingredients, step-by-step instructions, helpful notes, and storage tips so you can make them easily at home.
Easy No-Bake Butterfinger Bites
- Prep time: 10 minutes
- Cool time: 15–30 minutes
- Servings: About 12 bites
Ingredients
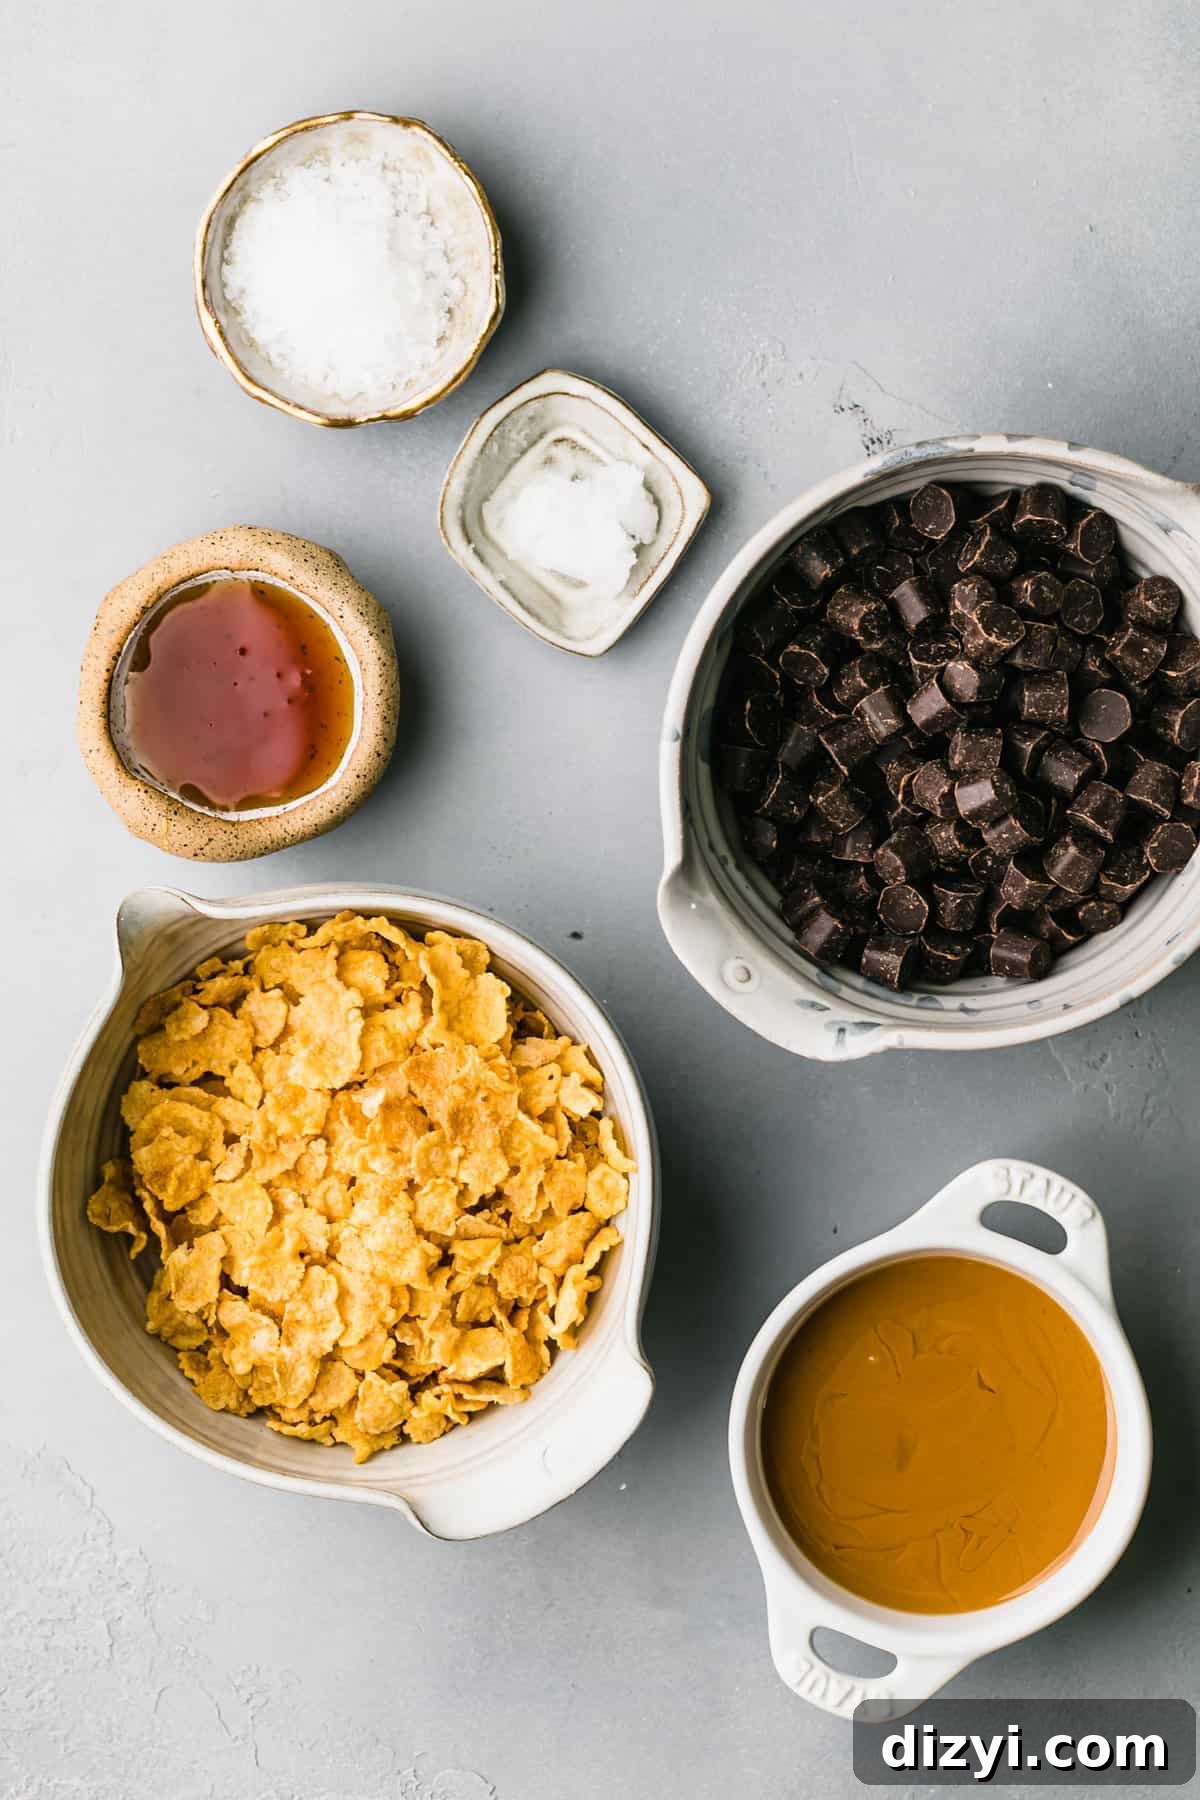
- 1½ cups corn flakes (crushed)
- 1 cup smooth creamy peanut butter
- 2 tablespoons honey
- ½ cup dark chocolate chips (or dairy-free chips if preferred)
- 1 teaspoon coconut oil
- Maldon or other flaky salt, for topping
Instructions
- Line a small baking sheet or plate with parchment paper and set aside.
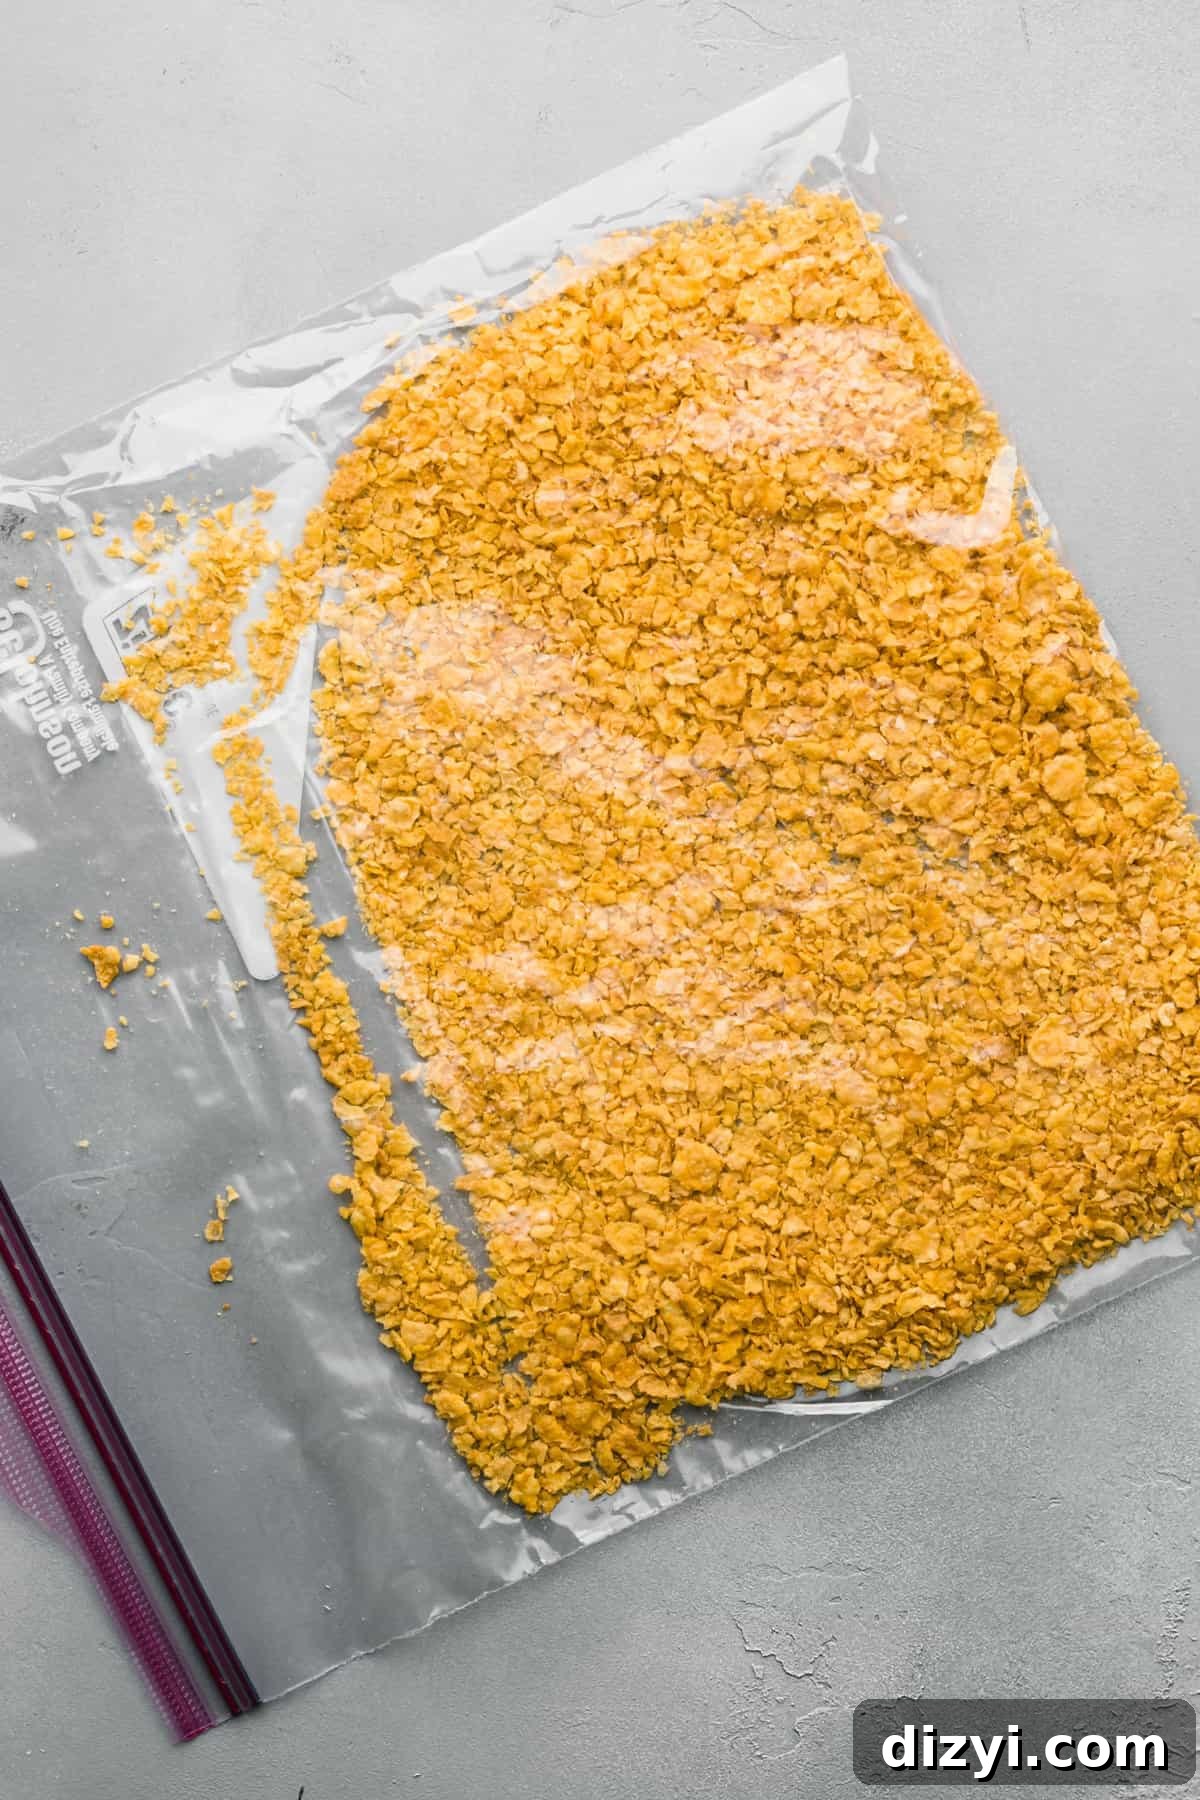
- Place the corn flakes in a large plastic bag and crush them by hand until coarsely crumbled. Transfer the crushed flakes to a large bowl.
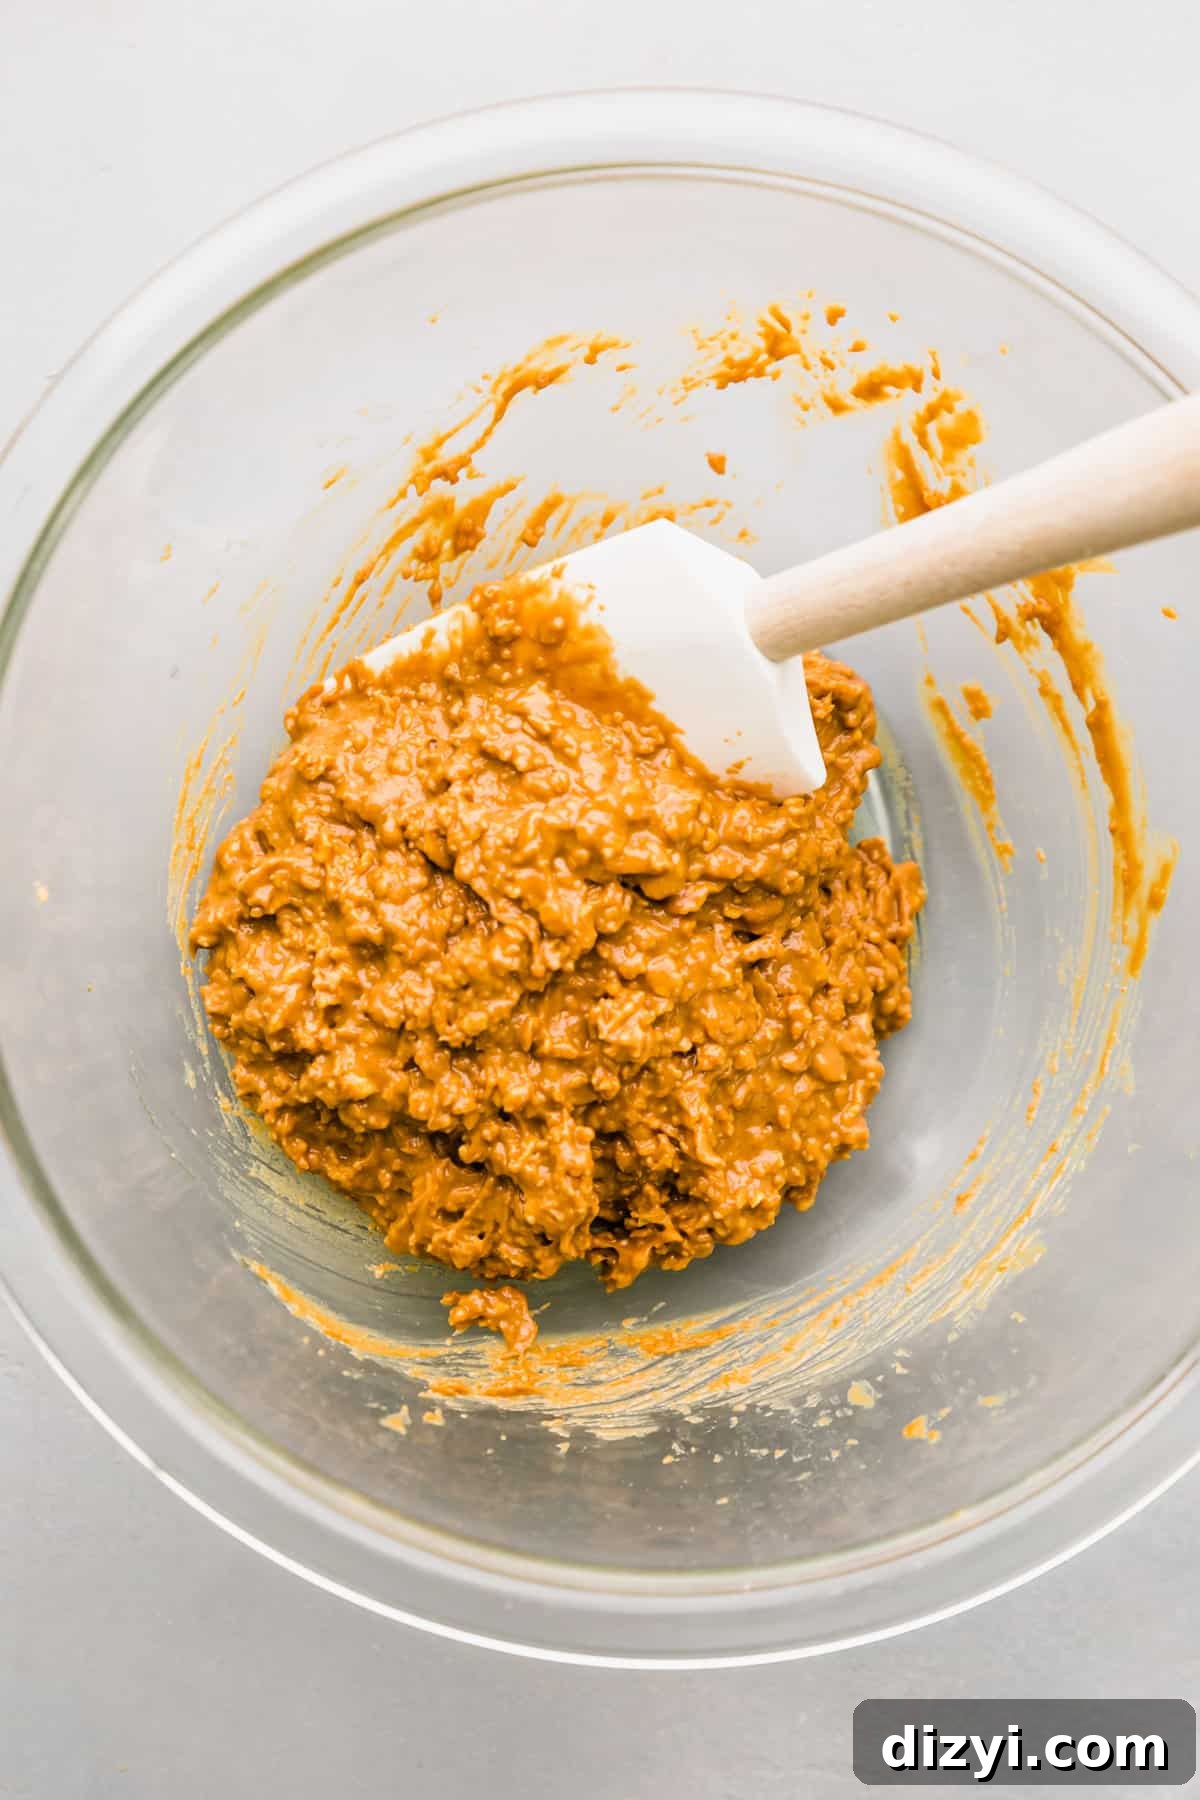
- Add the peanut butter and honey to the crushed corn flakes. Stir until everything is evenly combined and the mixture holds together when pressed.
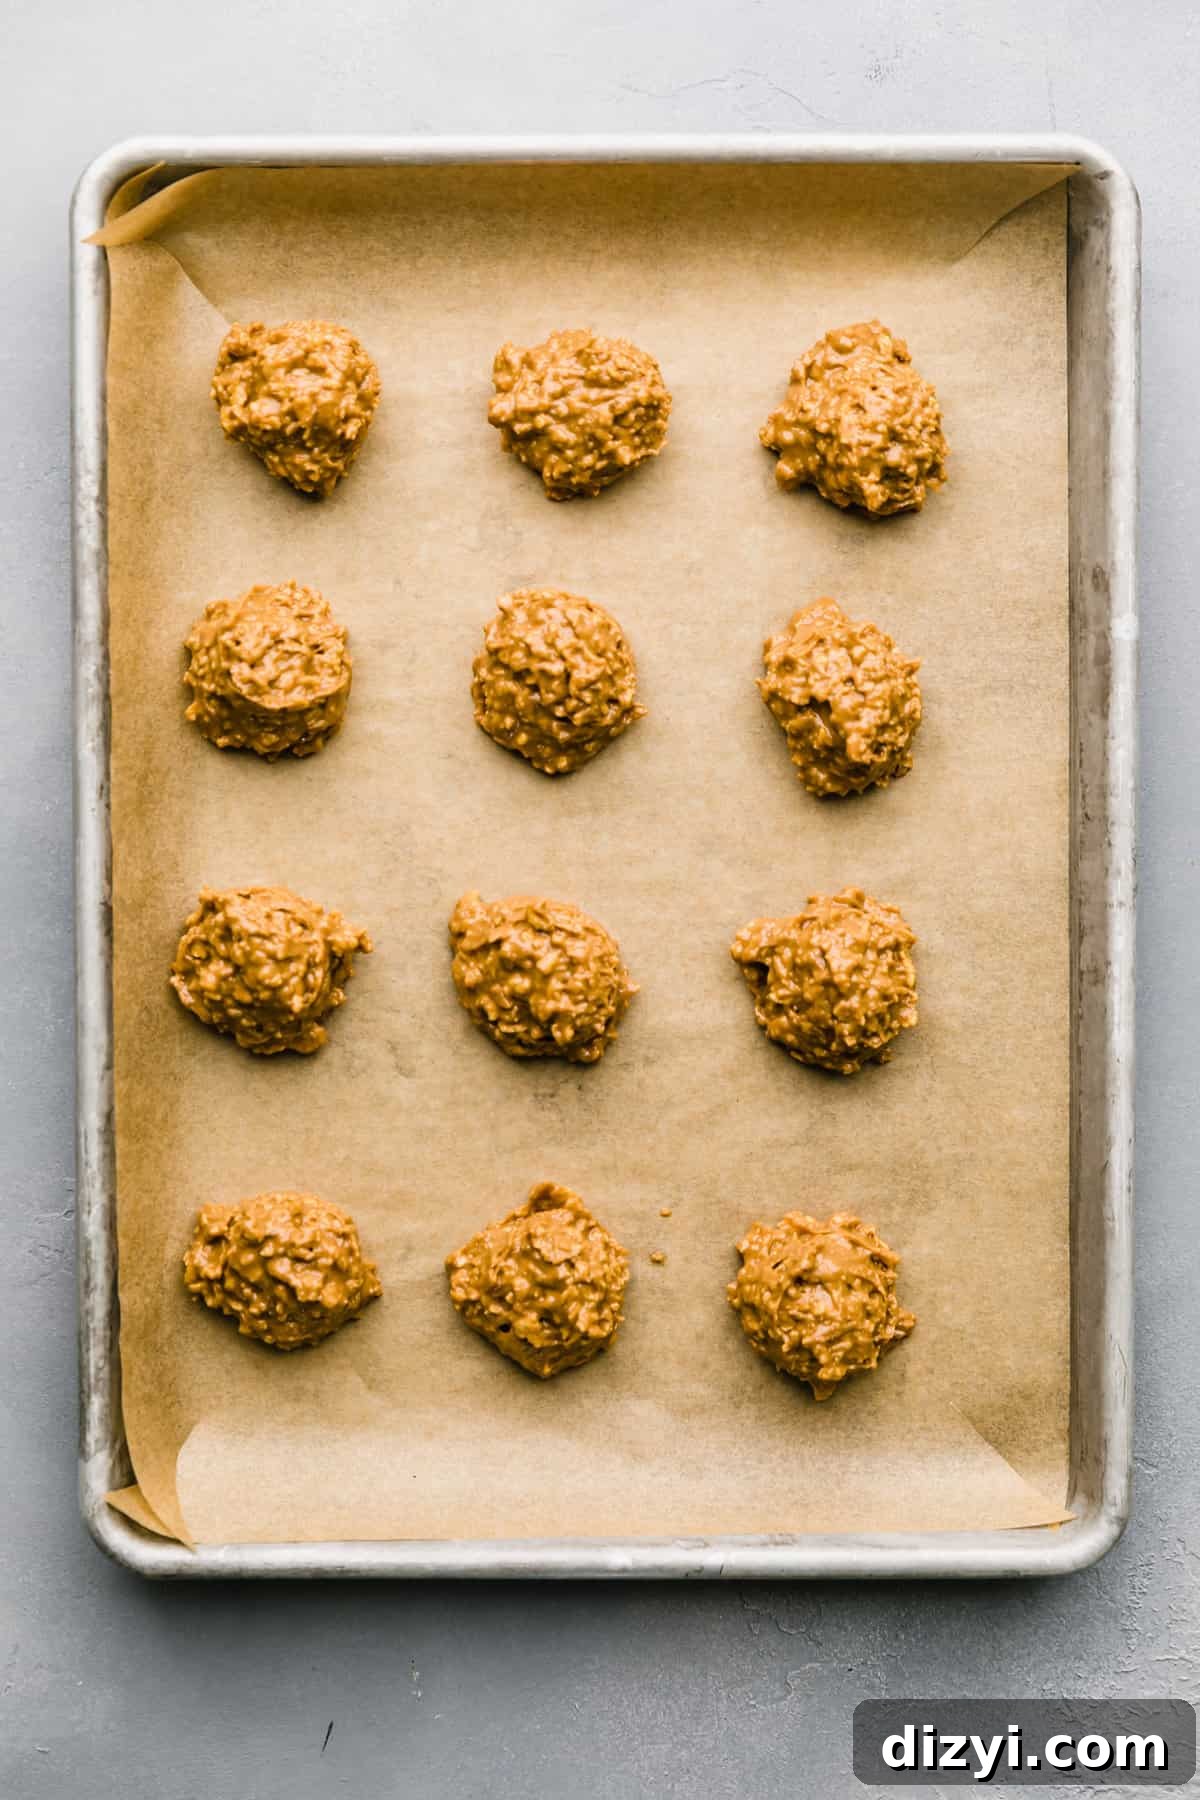
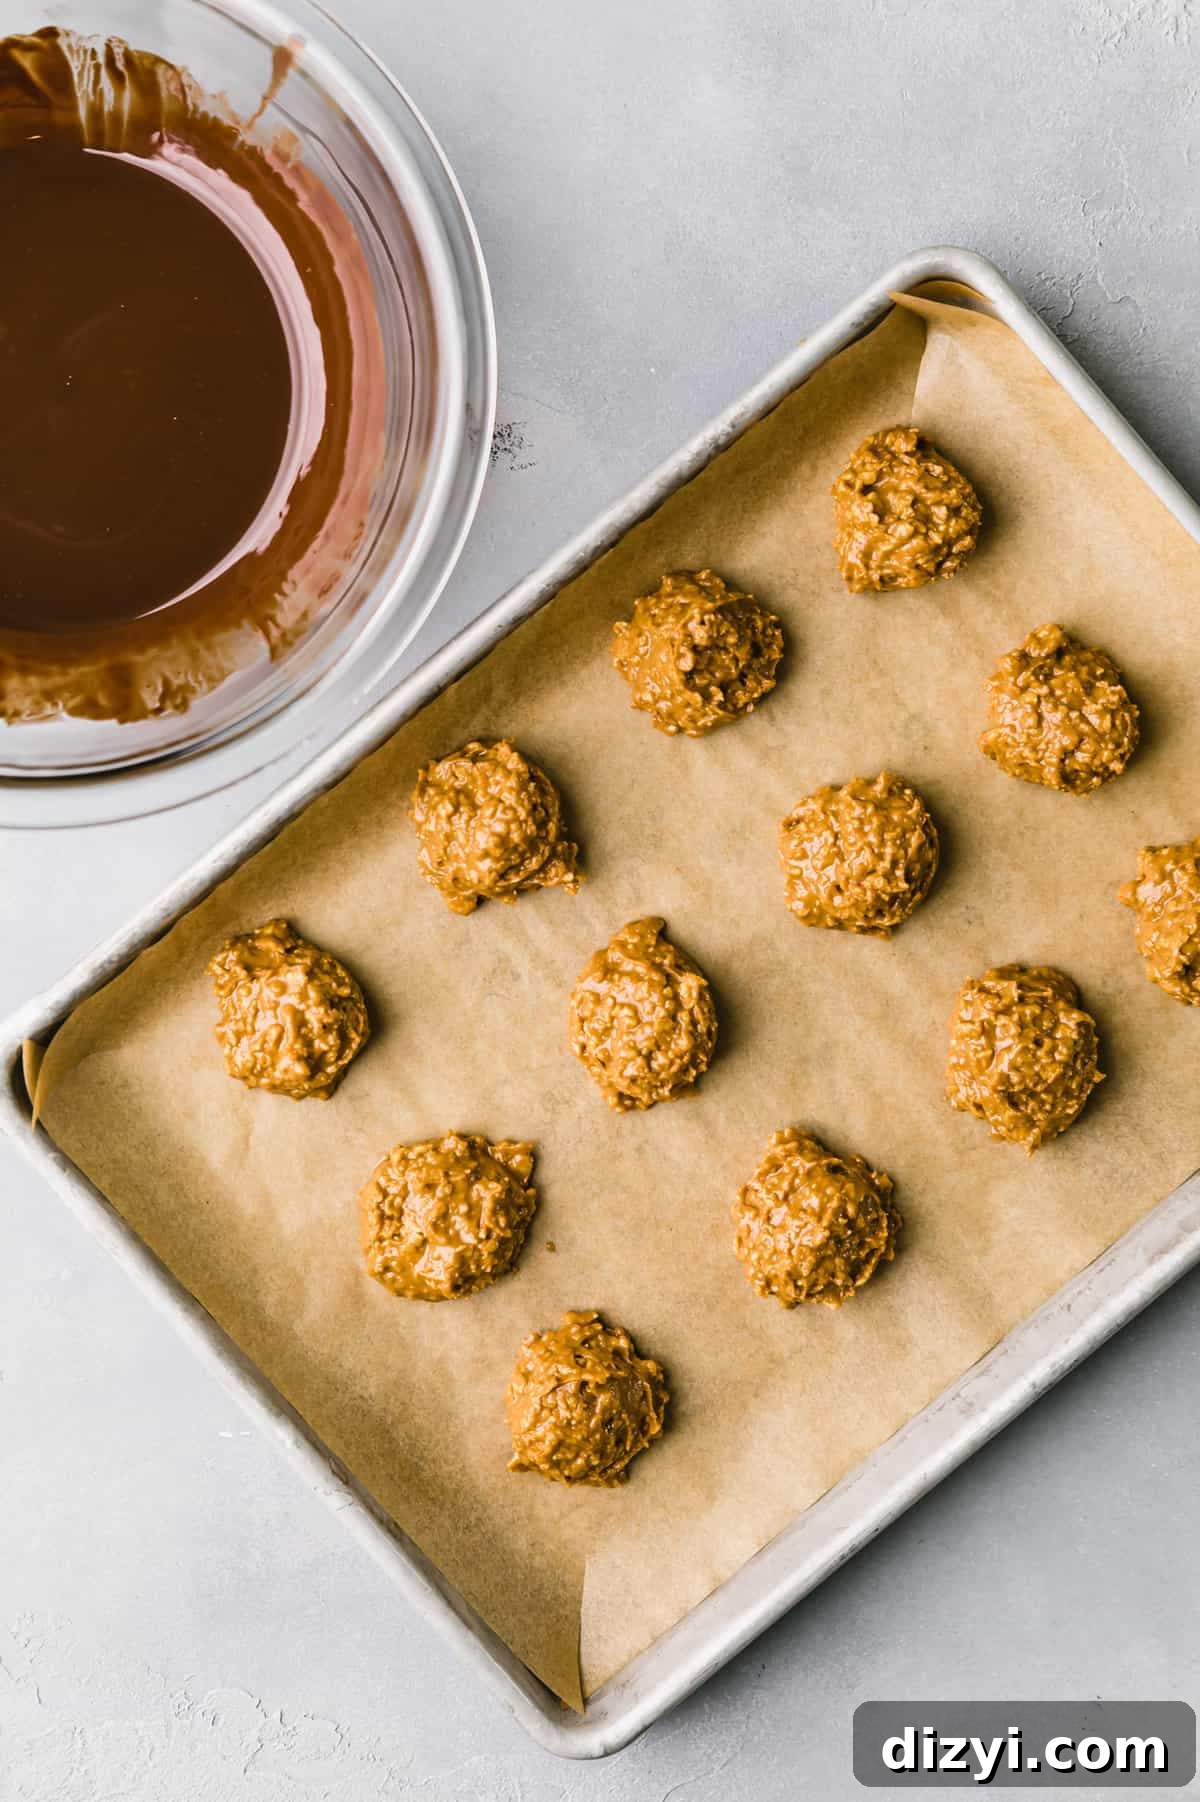
- Roll the mixture into approximately 12 uniform balls (about 1 tablespoon each). If the mixture is sticky, dampen your hands slightly to make rolling easier. Arrange the balls on the prepared sheet pan.
- In a microwave-safe bowl, combine the dark chocolate chips and coconut oil. Microwave in 20-second intervals, stirring between each interval, until the chocolate is fully melted and smooth. Heating in short bursts prevents the chocolate from burning.
- One at a time, coat each ball in the melted chocolate. Use a fork to roll the bite in chocolate, tapping off any excess before returning it to the parchment-lined pan.
- Sprinkle each coated bite with a small pinch of flaky salt while the chocolate is still soft.
- Refrigerate until the chocolate is firm, at least 30 minutes. Once set, store bites in an airtight container in the refrigerator or freezer.
Notes & Tips
- Corn flakes: If your mixture seems too wet because your peanut butter is particularly oily or loose, add a little more crushed corn flakes a tablespoon at a time until the mixture holds its shape.
- Peanut butter alternatives: Swap in almond butter, sunflower seed butter, or cookie butter if you prefer. Texture and flavor will vary slightly but these swaps work well.
- Chocolate: Use regular dark chocolate chips, dairy-free chips, or a high-quality chocolate for the best flavor. Adding the coconut oil thins the chocolate slightly, making it easier to coat the bites and producing a shinier finish.
- Rolling tips: If the mixture sticks to your hands, lightly wet your palms or dust them with a bit of powdered sugar to help form the balls without adding too much extra sweetness.
- Salt: Flaky salt provides a nice contrast to the sweet chocolate and peanut butter. Add a pinch just after dipping while the chocolate is still wet.
Storage
- Store finished bites in an airtight container in the refrigerator for up to 2 weeks.
- For longer storage, freeze the bites in a single layer on a tray until firm, then transfer to a freezer-safe container or bag. They keep well in the freezer for several months and can be enjoyed straight from the freezer or thawed briefly at room temperature.
Variations & Serving Ideas
- Add a small amount of finely chopped toasted peanuts to the base mixture for extra crunch.
- Drizzle a little extra melted white or milk chocolate over the top for a decorative finish.
- Press a few mini chocolate chips into the top of each bite before chilling for added texture.
- Serve chilled as a quick sweet bite after dinner, or pack one or two in a lunchbox as an occasional treat.
These Easy No-Bake Butterfinger Bites are one of those recipes I keep on hand because they’re simple, fast, and hit the spot every time. They recreate the nostalgic Butterfinger texture using pantry-friendly ingredients and zero oven time. Try them once—you’ll likely find yourself making them again and keeping a stash in the fridge or freezer for quick snacks and lunchbox additions.
Recipe Author
Author: Alex Snodgrass

If you enjoyed these bites, consider experimenting with the ingredient swaps and serving ideas above to make them your own. Happy snacking!