
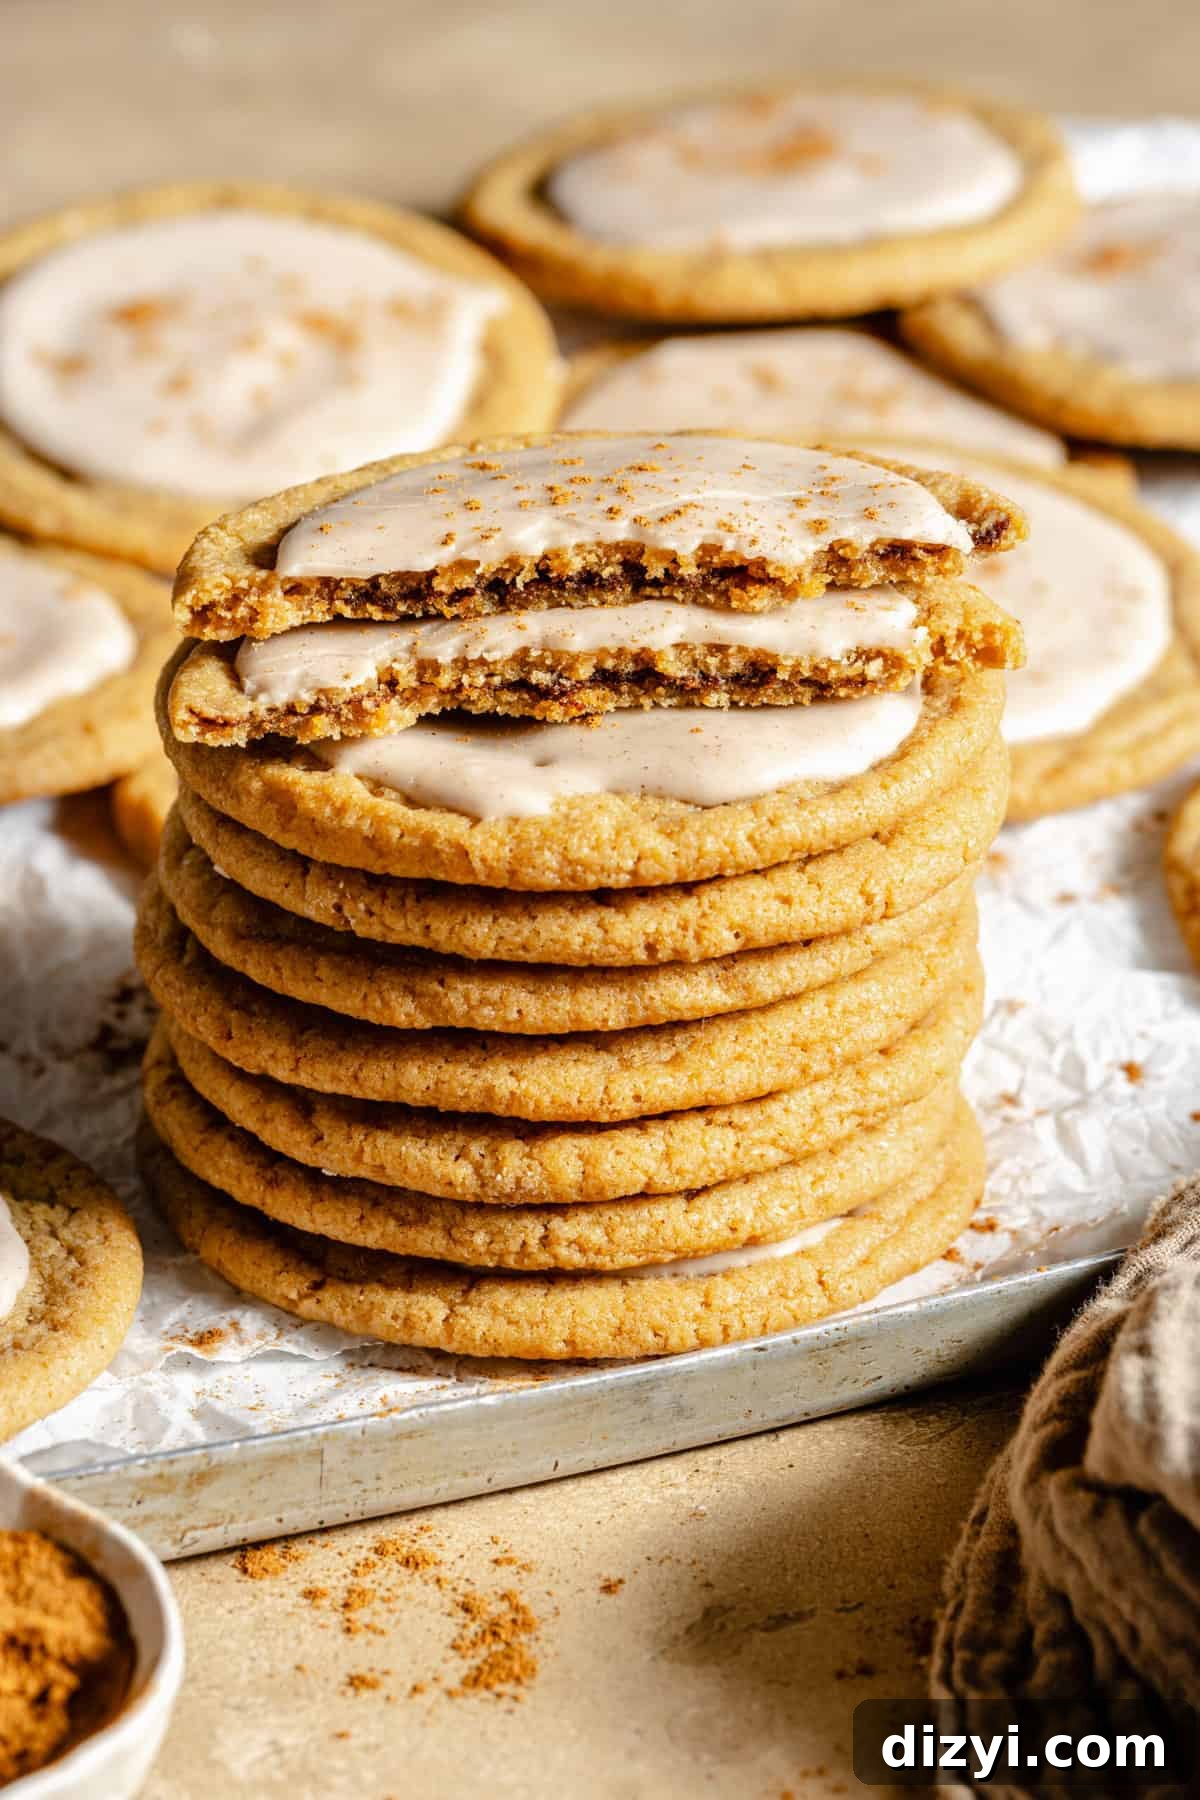
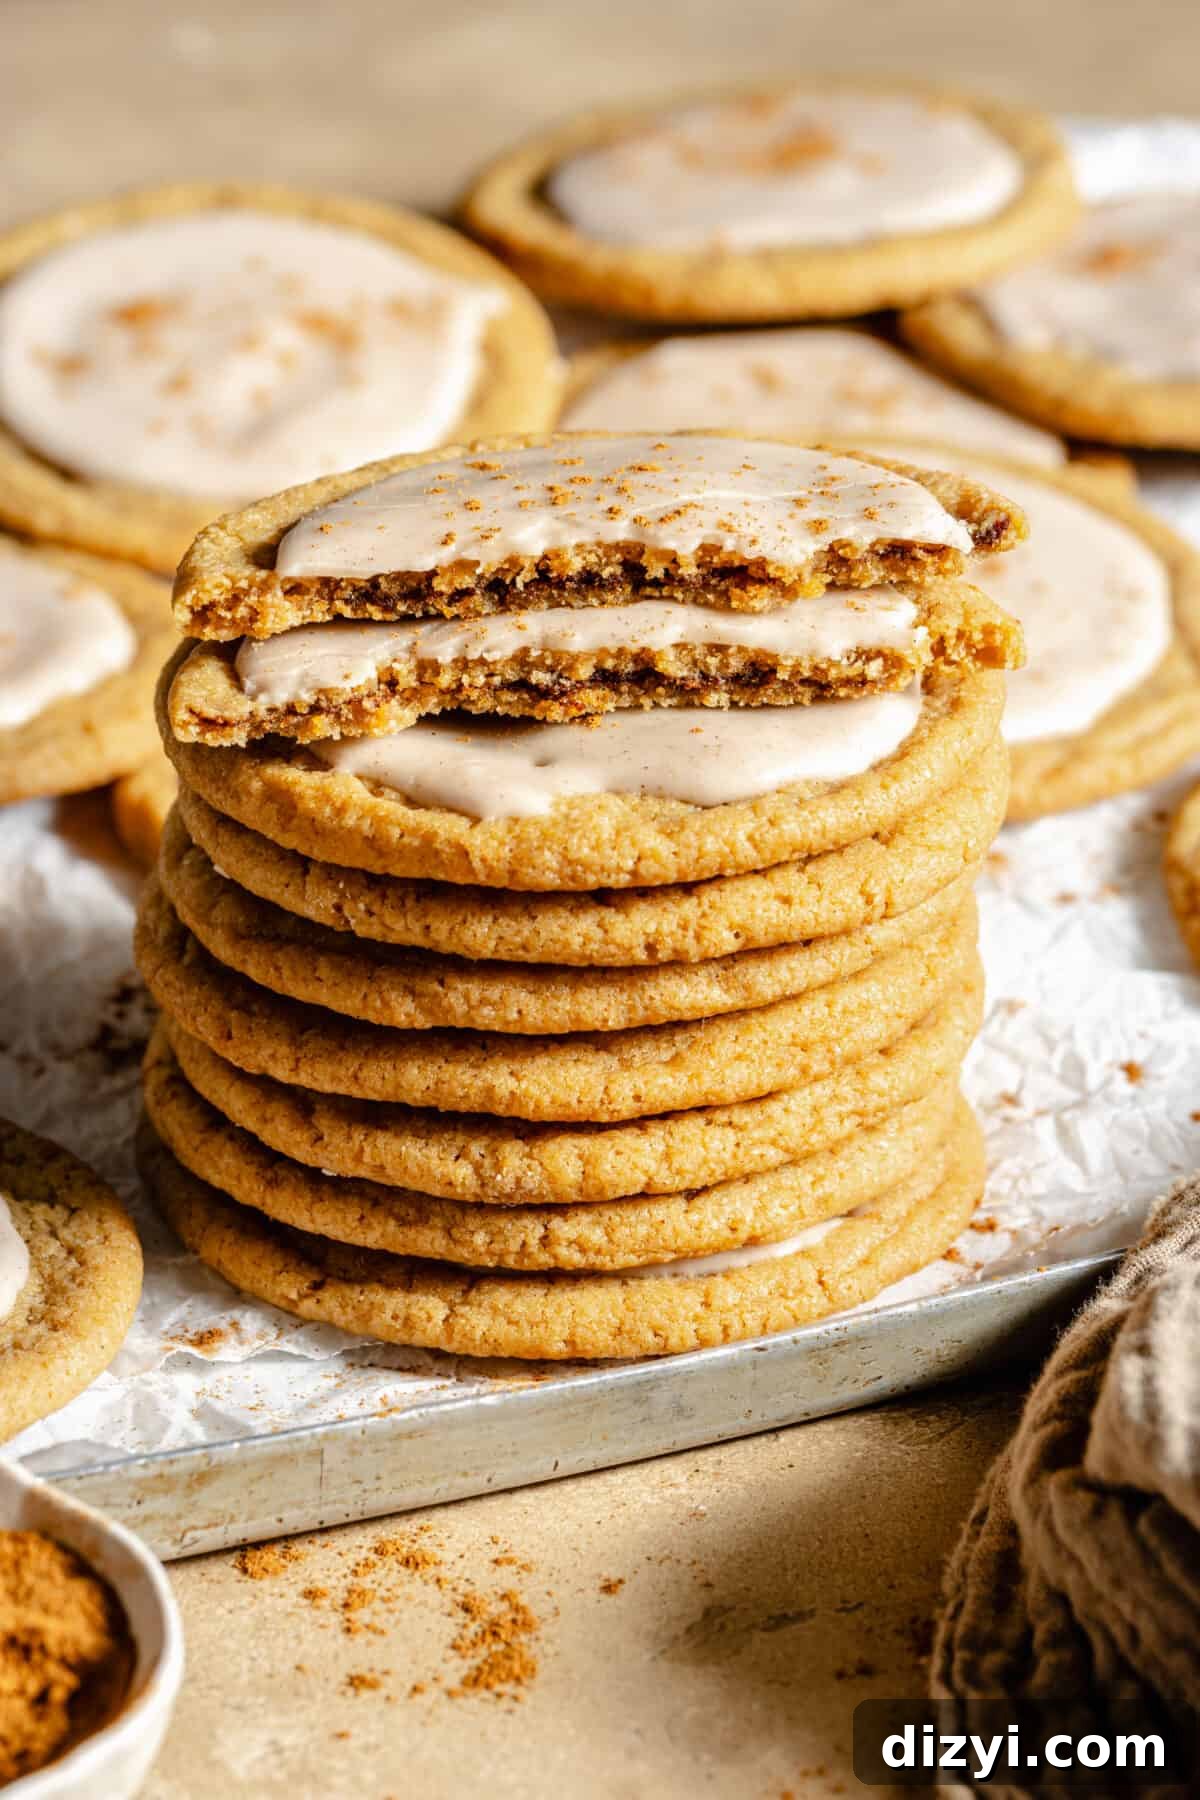
These Brown Sugar “Pop-Tart” Cookies are a rich, nostalgic twist on the breakfast pastry many of us grew up with. Buttery brown sugar cookie dough surrounds a warm, buttery cinnamon filling and a spiced powdered sugar glaze—everything you love about a Pop-Tart in cookie form. They’re festive, indulgent, and perfect for holiday cookie boxes, brunches, or anytime you want a cozy, cinnamon-forward treat.
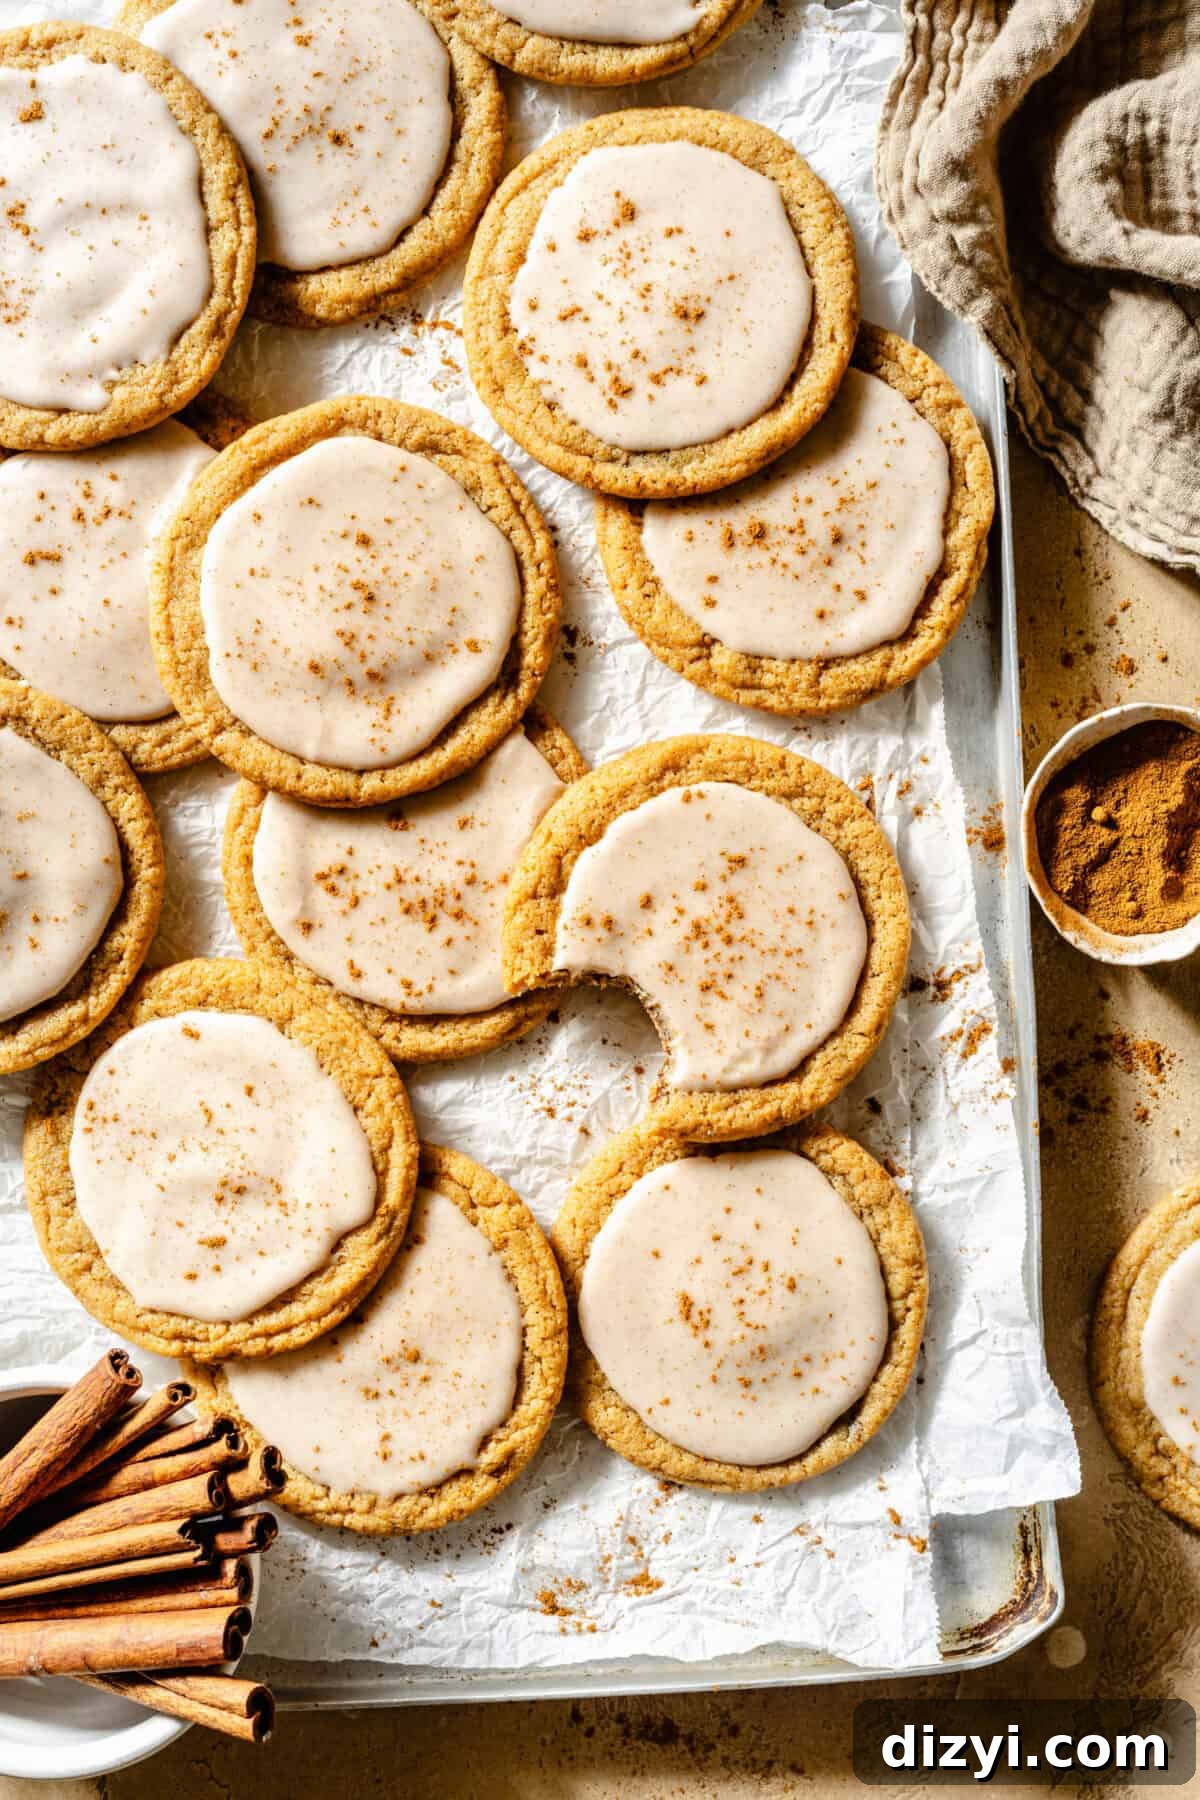
This recipe is inspired by classic Brown Sugar Cinnamon Pop-Tarts but transformed into soft, sandwich-style cookies. The cookie dough is slightly chewy and buttery, the filling is a concentrated burst of brown sugar and cinnamon, and the glaze adds a sweet, spiced finish. If you prefer a fruity version, you can adapt the technique with jam or preserves instead of the cinnamon filling.
Chilling the dough is essential for this recipe: freezing the assembled cookies for at least an hour helps them hold their shape during baking and prevents the filling from leaking out. You can also freeze the assembled, unbaked cookies for longer-term storage and bake from frozen when you’re ready. Read the notes below for storage, make-ahead options, and a trick to achieve perfectly round cookies.
Brown Sugar “Pop-Tart” Cookies Ingredients
- For the dough:
- 2 1/2 cups gluten-free 1:1 flour (or substitute all-purpose flour)
- 3/4 teaspoon baking soda
- 1 teaspoon baking powder
- 1/2 teaspoon ground cinnamon
- 3/4 teaspoon kosher salt
- 1 1/2 sticks unsalted butter, softened
- 1/4 cup coconut oil, at room temperature (solid, not liquid)
- 1 tablespoon maple syrup
- 1 1/2 cups dark brown sugar
- 2 teaspoons vanilla extract
- 1 large egg plus 1 egg yolk, room temperature
- For the cinnamon filling:
- 1/4 cup dark brown sugar
- 2 tablespoons unsalted butter, softened
- 1 tablespoon ground cinnamon
- For the icing glaze:
- 1 1/2 cups powdered sugar
- 1/2 teaspoon kosher salt
- 1/2 teaspoon ground cinnamon
- 3 tablespoons almond milk (or whole milk)
Brown Sugar “Pop-Tart” Cookies Recipe — Step-by-Step
Step One: Prepare the dry ingredients
Line a sheet pan with parchment paper and set aside. In a medium bowl, whisk together the flour, baking soda, baking powder, ground cinnamon, and salt. Set aside.
Step Two: Cream the wet ingredients and combine
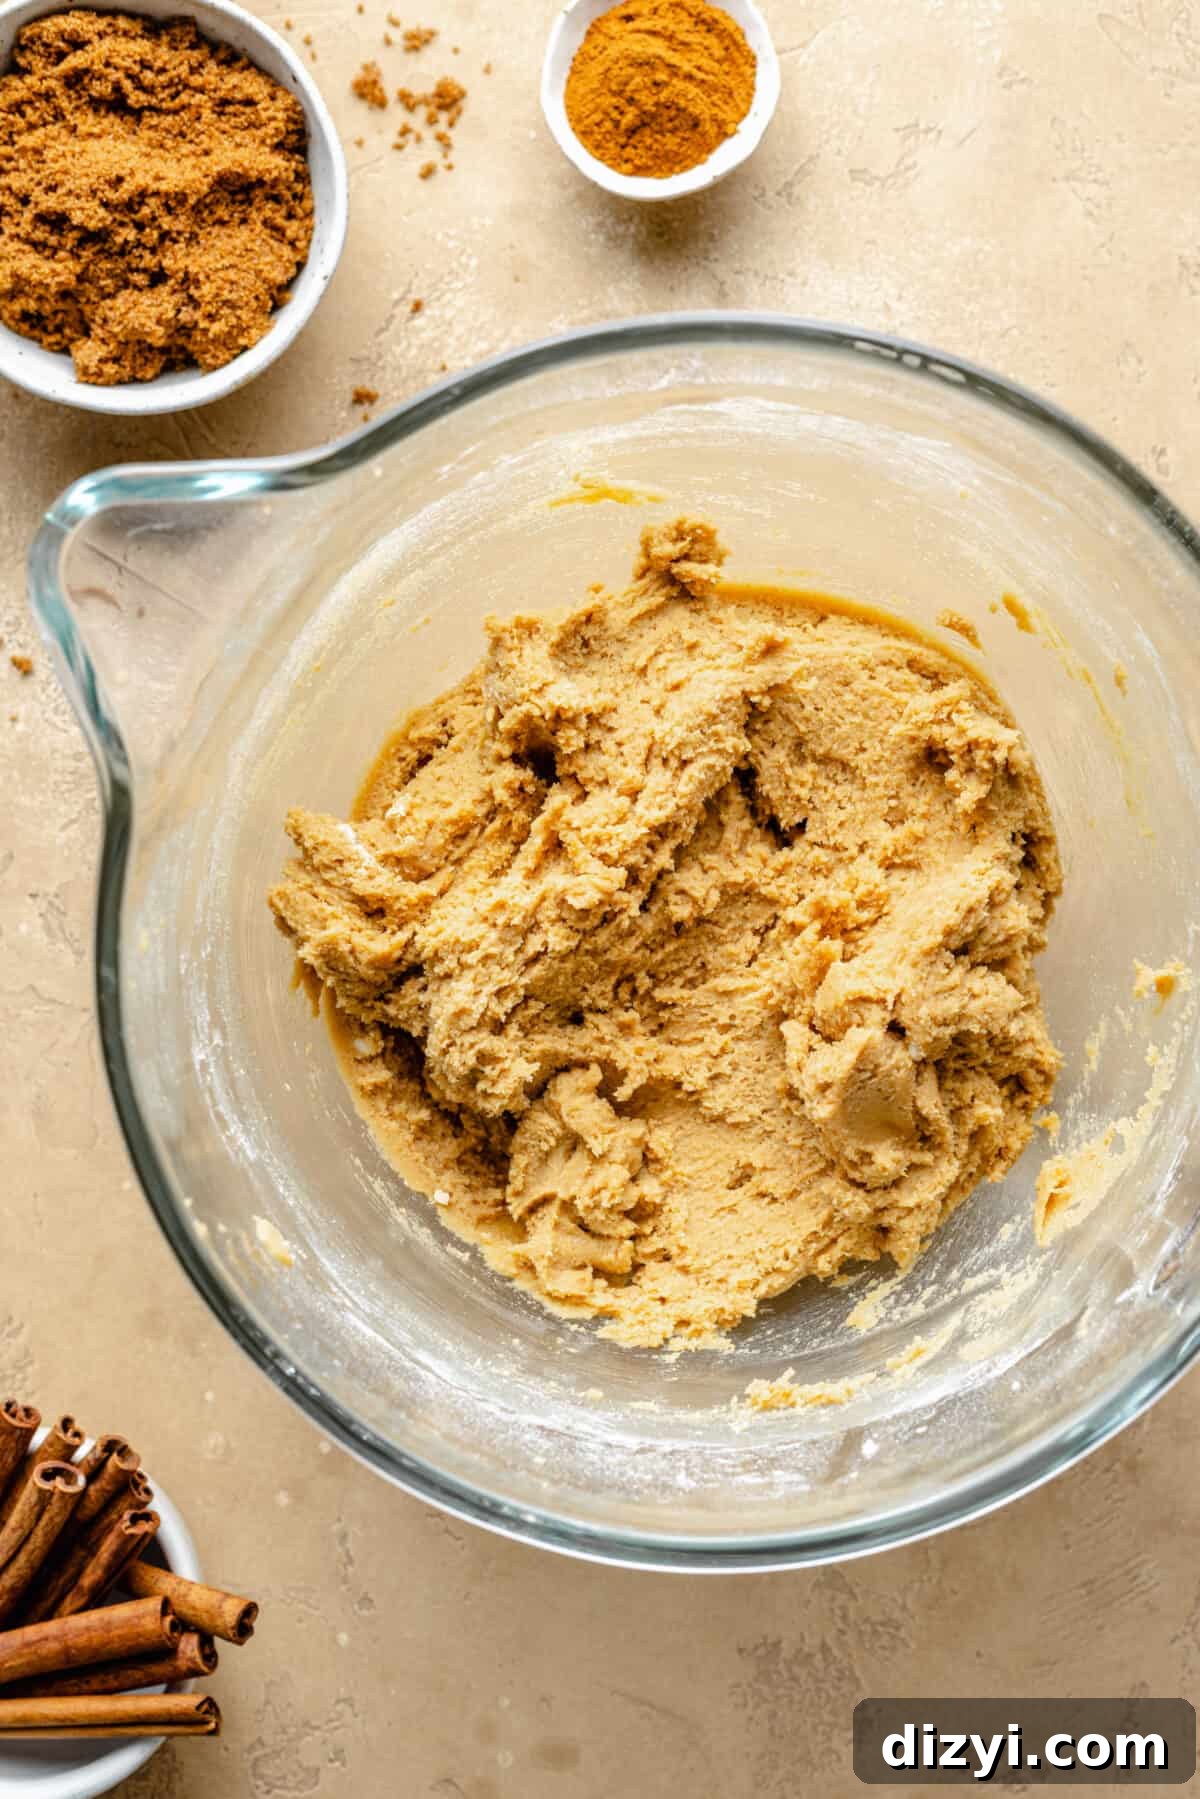
In the bowl of a stand mixer fitted with the paddle attachment (or using a hand mixer), add the softened butter, solid coconut oil, maple syrup, and dark brown sugar. Mix on medium until pale and fluffy, about 2–3 minutes. Add the vanilla extract, the whole egg, and the egg yolk; mix until combined. With the mixer on low, add the dry ingredients in increments until just combined. Remove the paddle, cover the bowl, and set aside.
Step Three: Make the cinnamon filling
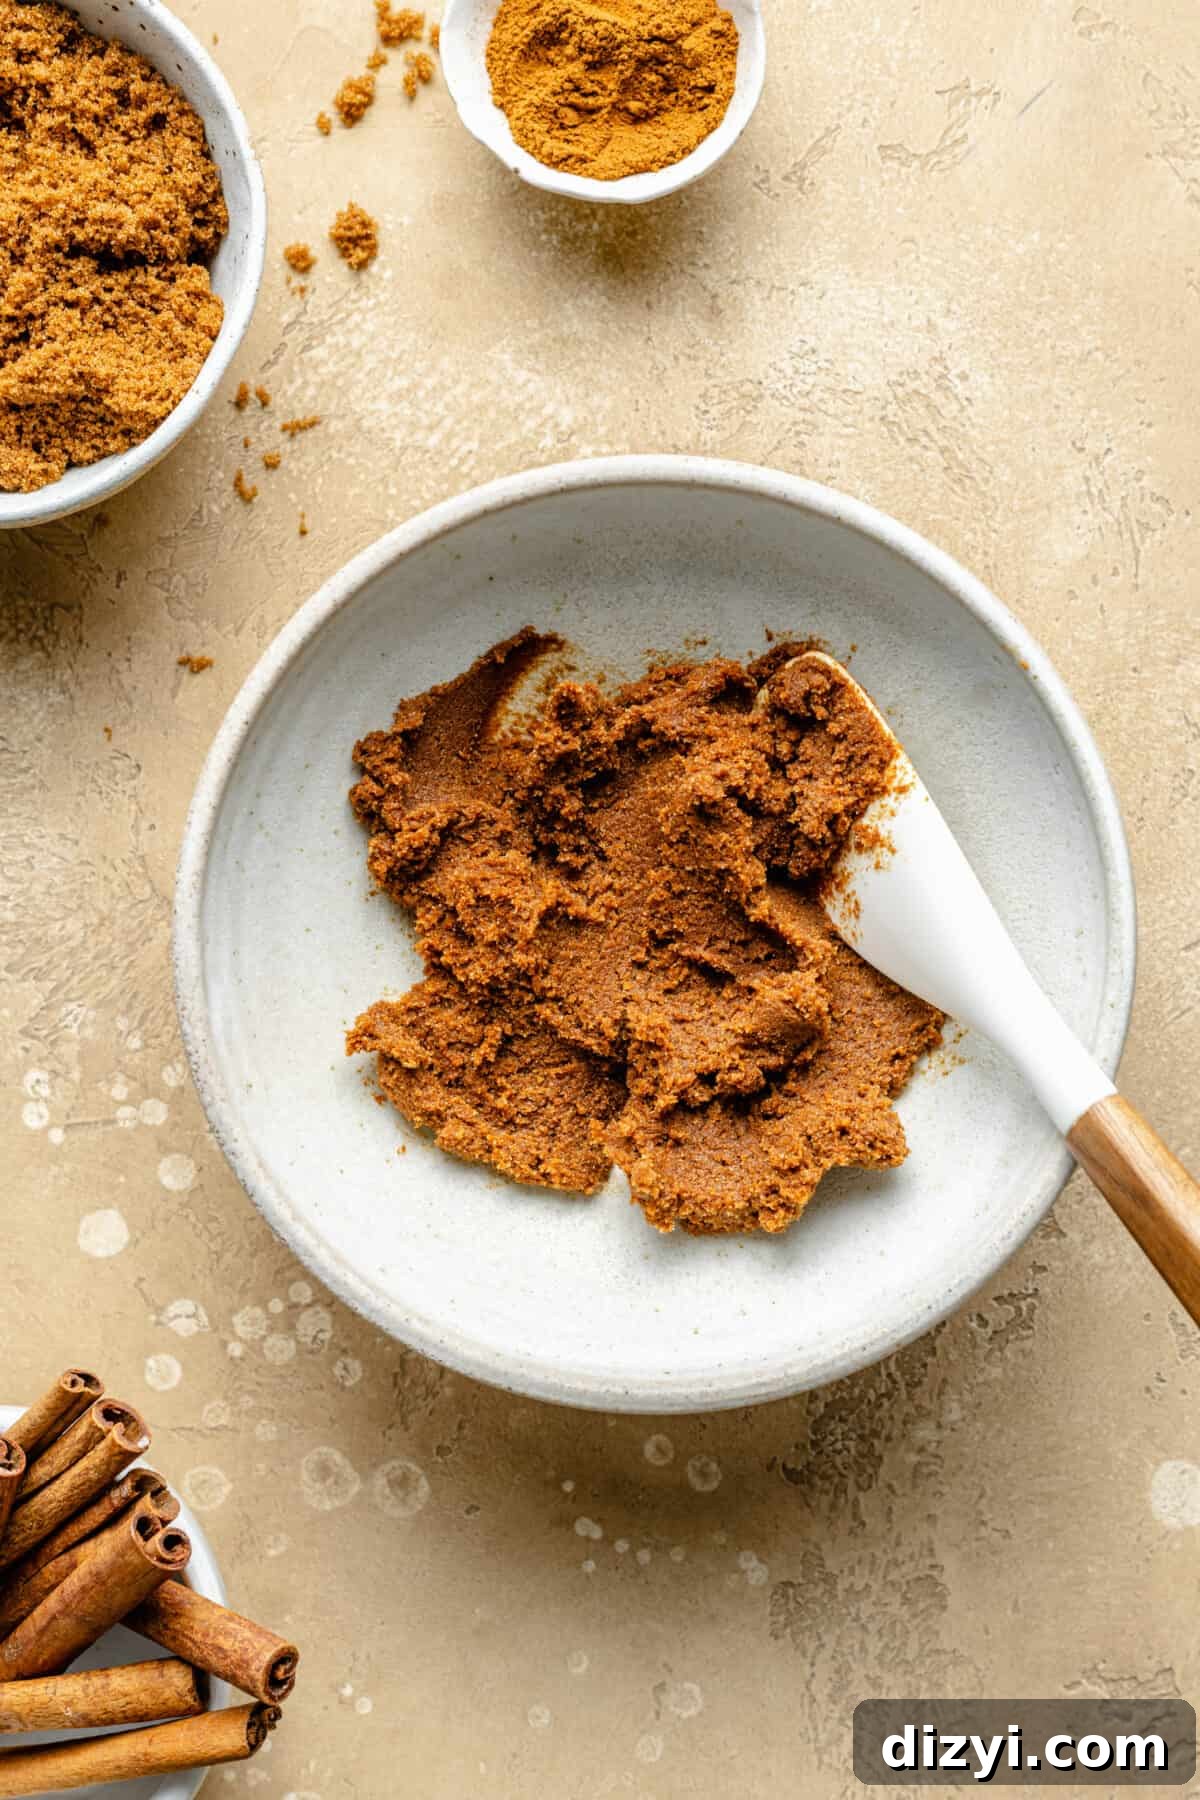
In a small bowl, stir together the 1/4 cup dark brown sugar, 2 tablespoons softened butter, and 1 tablespoon ground cinnamon until completely smooth and spreadable.
Step Four: Assemble the cookie sandwiches
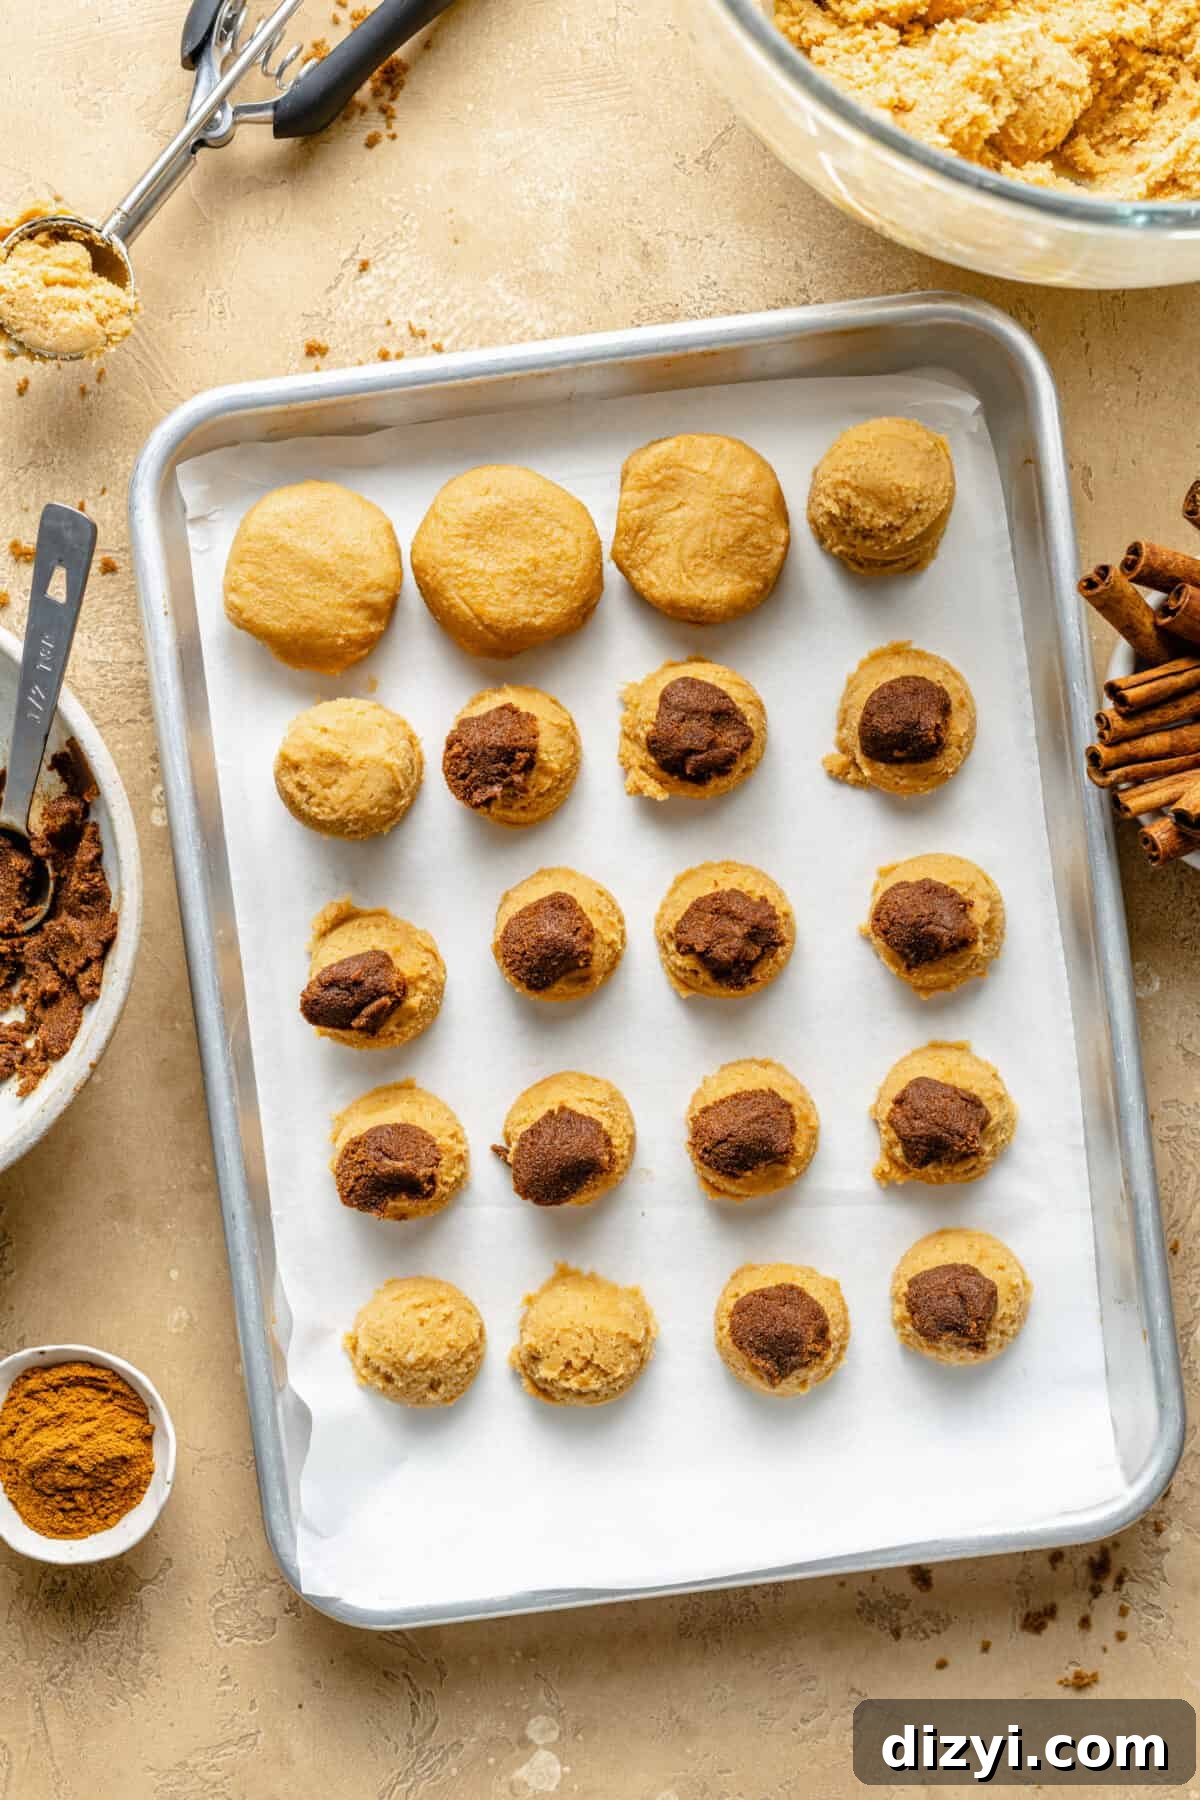
Using a tablespoon scoop (or cookie scoop), portion 20 tablespoon-sized mounds of dough onto the prepared sheet pan. Press a small 1/2 teaspoon of the cinnamon filling into the center of each mound. Top each with another tablespoon-sized scoop of dough to make 20 cookie sandwiches. Gently press each sandwich to flatten slightly; a little filling may seep from the sides, which is fine.
Step Five: Chill thoroughly
Freeze the assembled cookies on the sheet pan for at least 1 hour, or overnight for best flavor and shape retention. Chilling solidifies the fats so the cookies spread less in the oven.
Step Six: Bake
Preheat the oven to 350°F (175°C). Line baking sheets with parchment paper. Arrange the chilled cookies, leaving space between them, and bake for 12–14 minutes, rotating the pans halfway through. When they come out of the oven, gently bang the sheet pan on the counter to flatten the cookies slightly if needed. Transfer to a wire rack to cool completely before icing.
Step Seven: Make the spiced glaze
While the cookies cool, whisk together the powdered sugar, kosher salt, ground cinnamon, and almond milk until smooth. Adjust the milk by a teaspoon at a time if the glaze is too thick.
Step Eight: Finish and serve
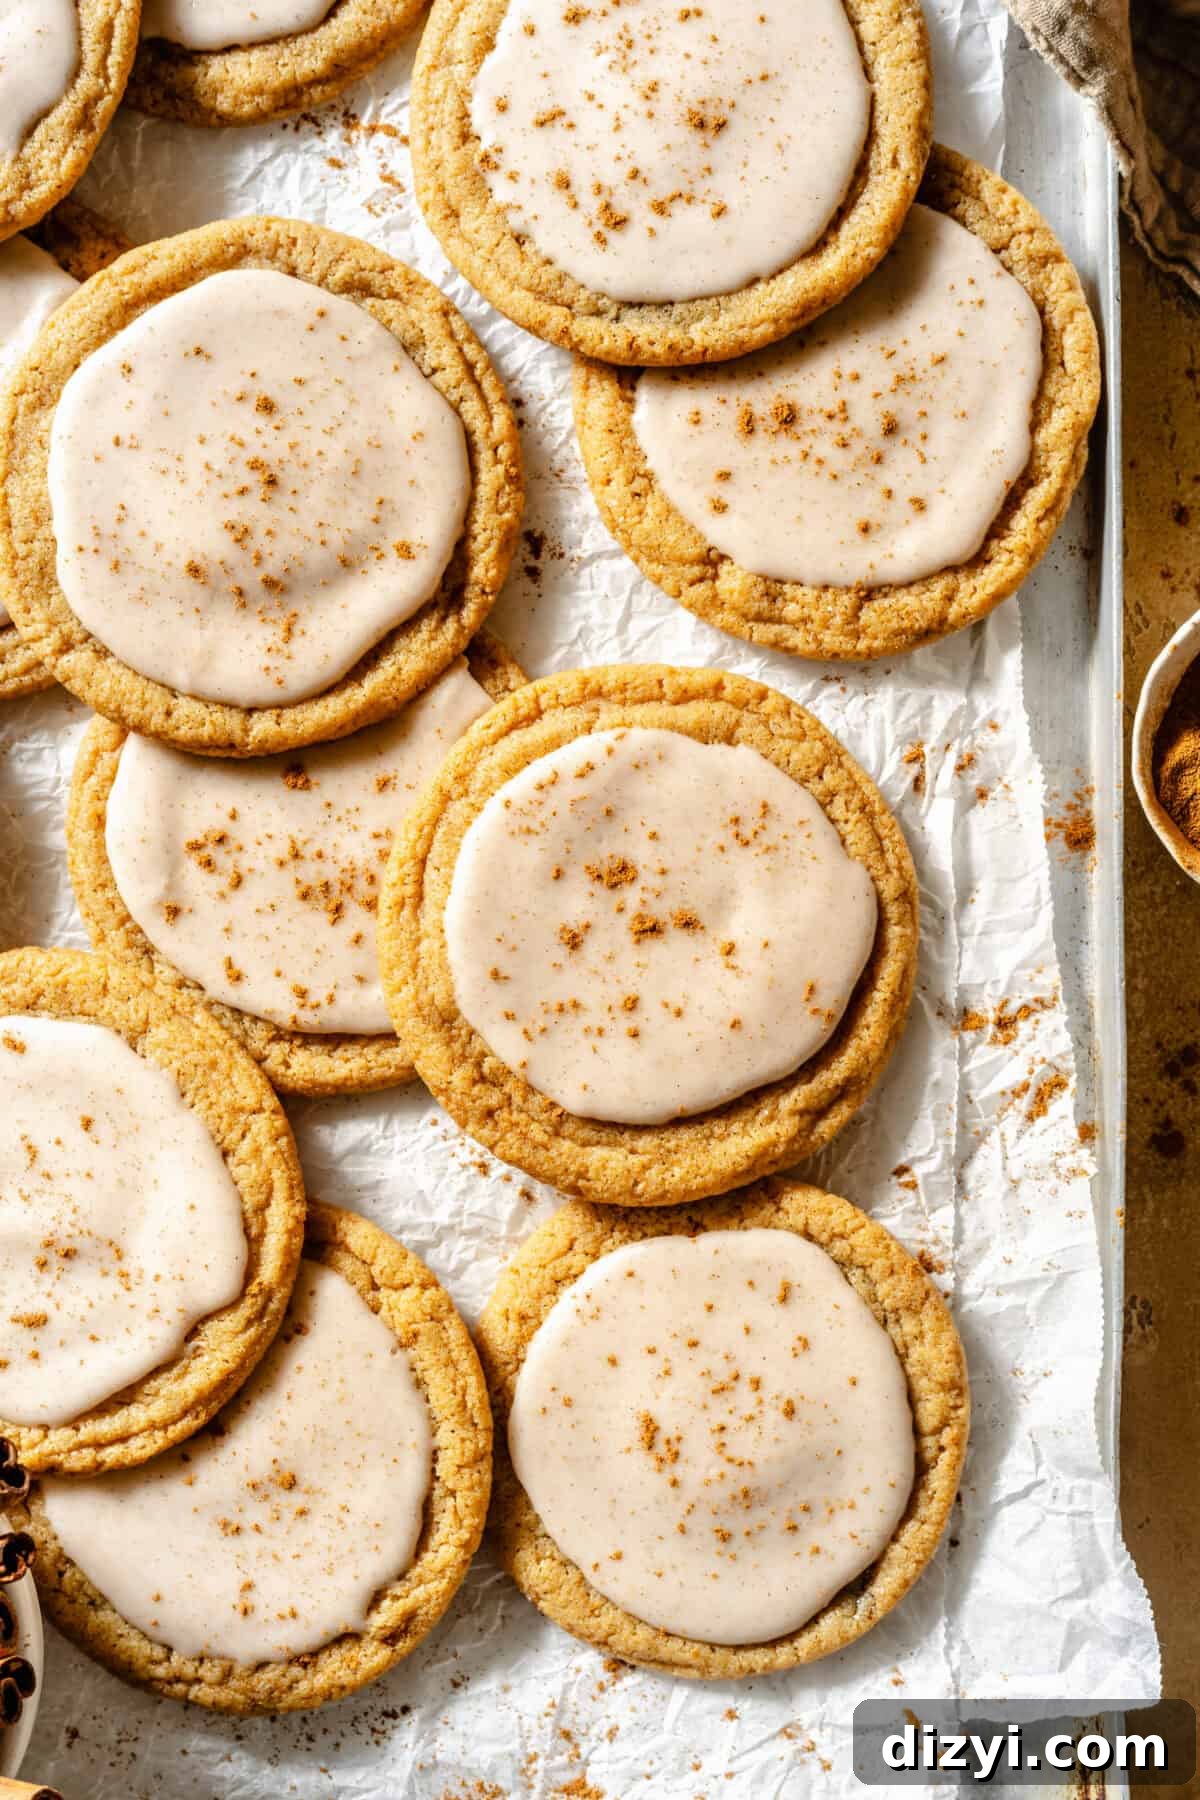
Spoon about 2 teaspoons of icing onto each cooled cookie, smoothing it with the back of the spoon while leaving a small border around the edge. Let the icing set before storing or stacking.
Tips, FAQs, and Storage
No. This recipe is designed for a gluten-free 1:1 flour blend or all-purpose flour. Substituting pure almond flour will change the texture and structure significantly.
Do I really need to chill the dough?
Yes—chilling is crucial. Freezing the assembled cookies for at least one hour helps them hold their sandwich shape and prevents the cinnamon filling from oozing during baking. Chilling also improves flavor and texture.
Can I make the dough or assembled cookies in advance?
Absolutely. Make the dough up to one week ahead and keep it refrigerated, or assemble the cookie sandwiches and freeze them on the sheet pan, then transfer to a freezer bag for up to three months. Bake from frozen, adding a minute or two to the bake time if needed.
How do you get perfectly round cookies?
For a polished look, place a ramekin or cup over the warm cookies on the sheet pan and swirl gently to round the edges. This trick smooths the perimeter without flattening the center too much.
Storage:
Store baked and fully iced cookies in an airtight container at room temperature for up to 4 days. For longer storage, freeze baked cookies (layered with parchment) for up to 2 months and thaw at room temperature before serving. You can also freeze unbaked assembled cookies and bake from frozen as needed.
Variations and serving suggestions
For a fruity version, replace the cinnamon filling with your favorite jam or fruit butter and follow the same assembly and chilling steps. Add flaky sea salt to the glaze for a salted-sweet contrast, or sprinkle chopped nuts on the glaze while it’s still wet for extra texture.
Notes
Perfect-shape tip: To refine the cookie edges, swirl a ramekin or cup over the still-warm cookies on the sheet pan. This gives a clean, round finish quickly and easily.
Photography and styling credit: Eat Love Eats.
Author: Alex Snodgrass