
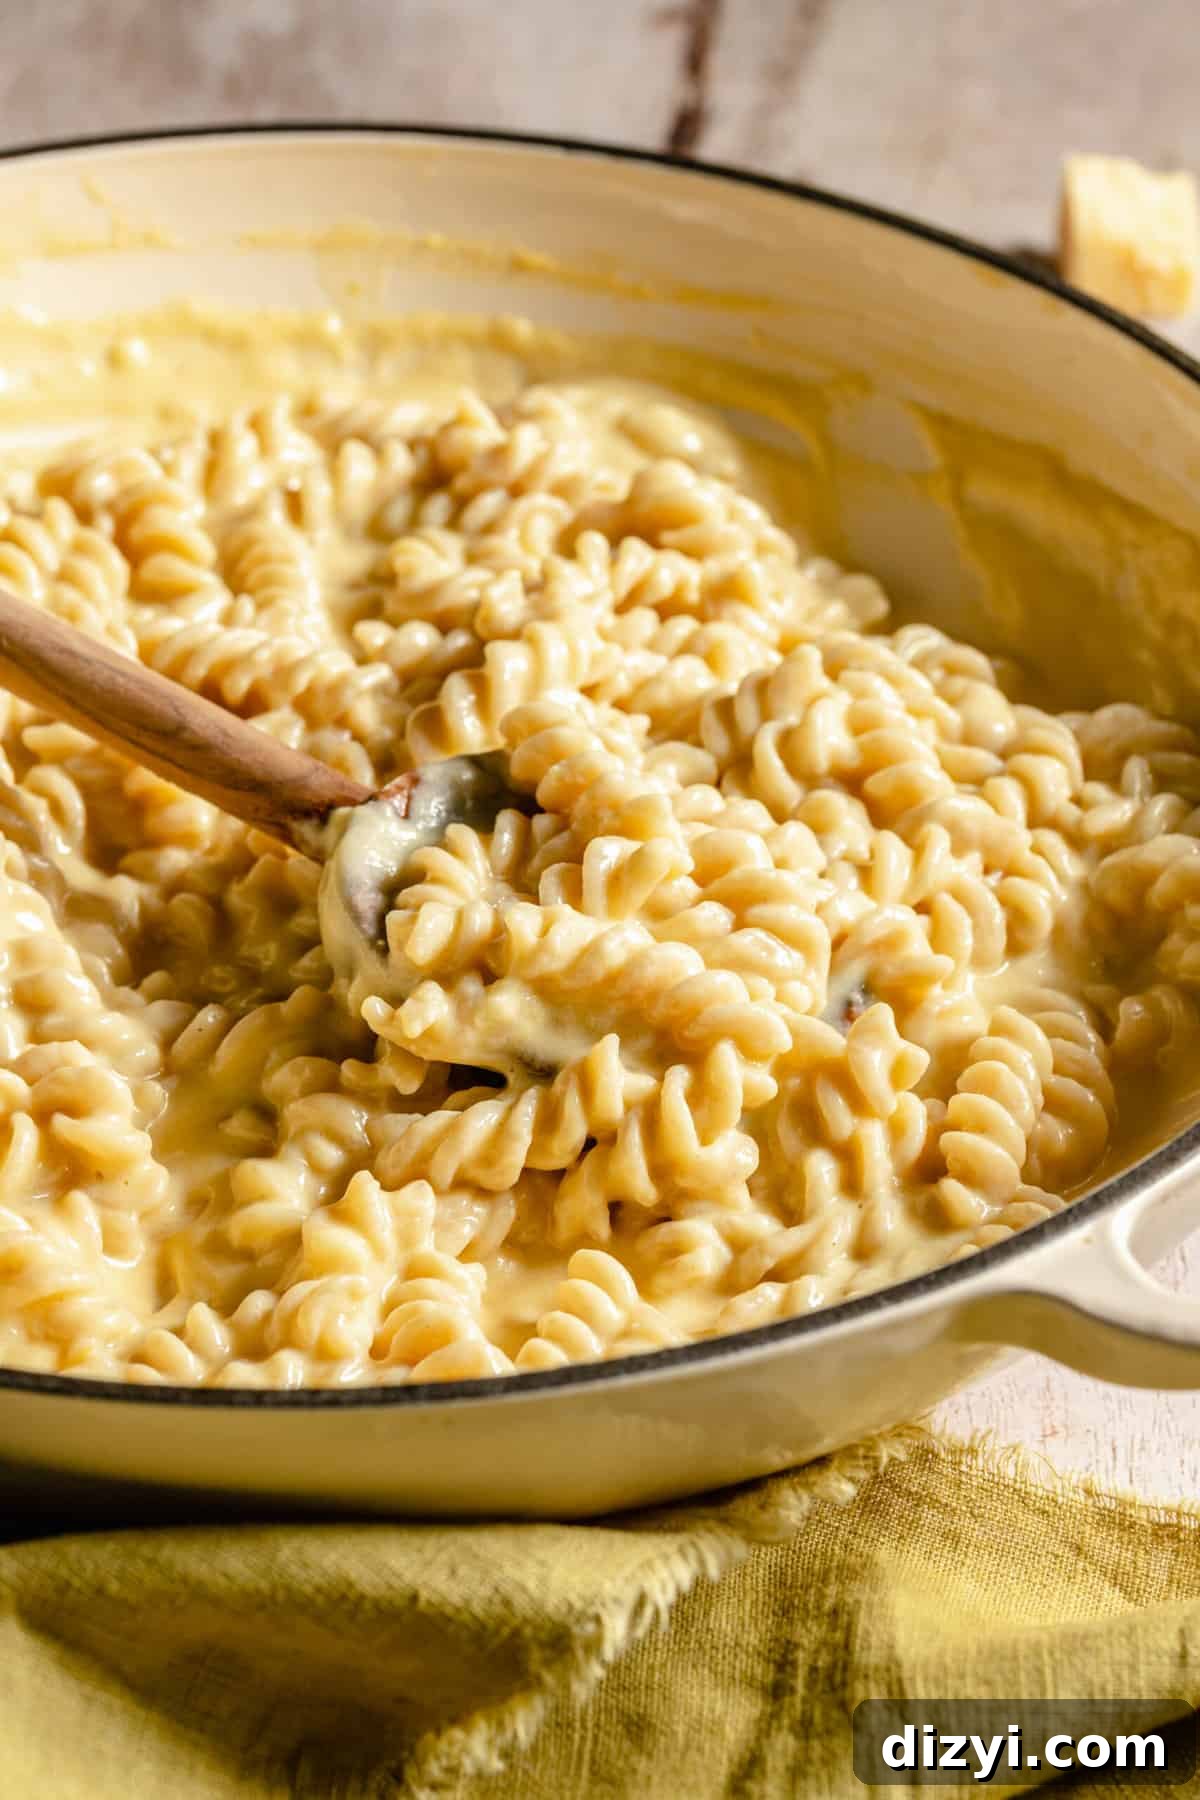
I’ve got to say it — this One-Pot Gluten-Free Mac and Cheese turned out exactly as I hoped: creamy, comforting, and simple to make. It’s inspired by a favorite restaurant version, but made at home with minimal fuss and just one pan. This recipe is perfect for busy weeknights, picky eaters, or anytime you want a cozy bowl of cheesy pasta without a pile of dishes.
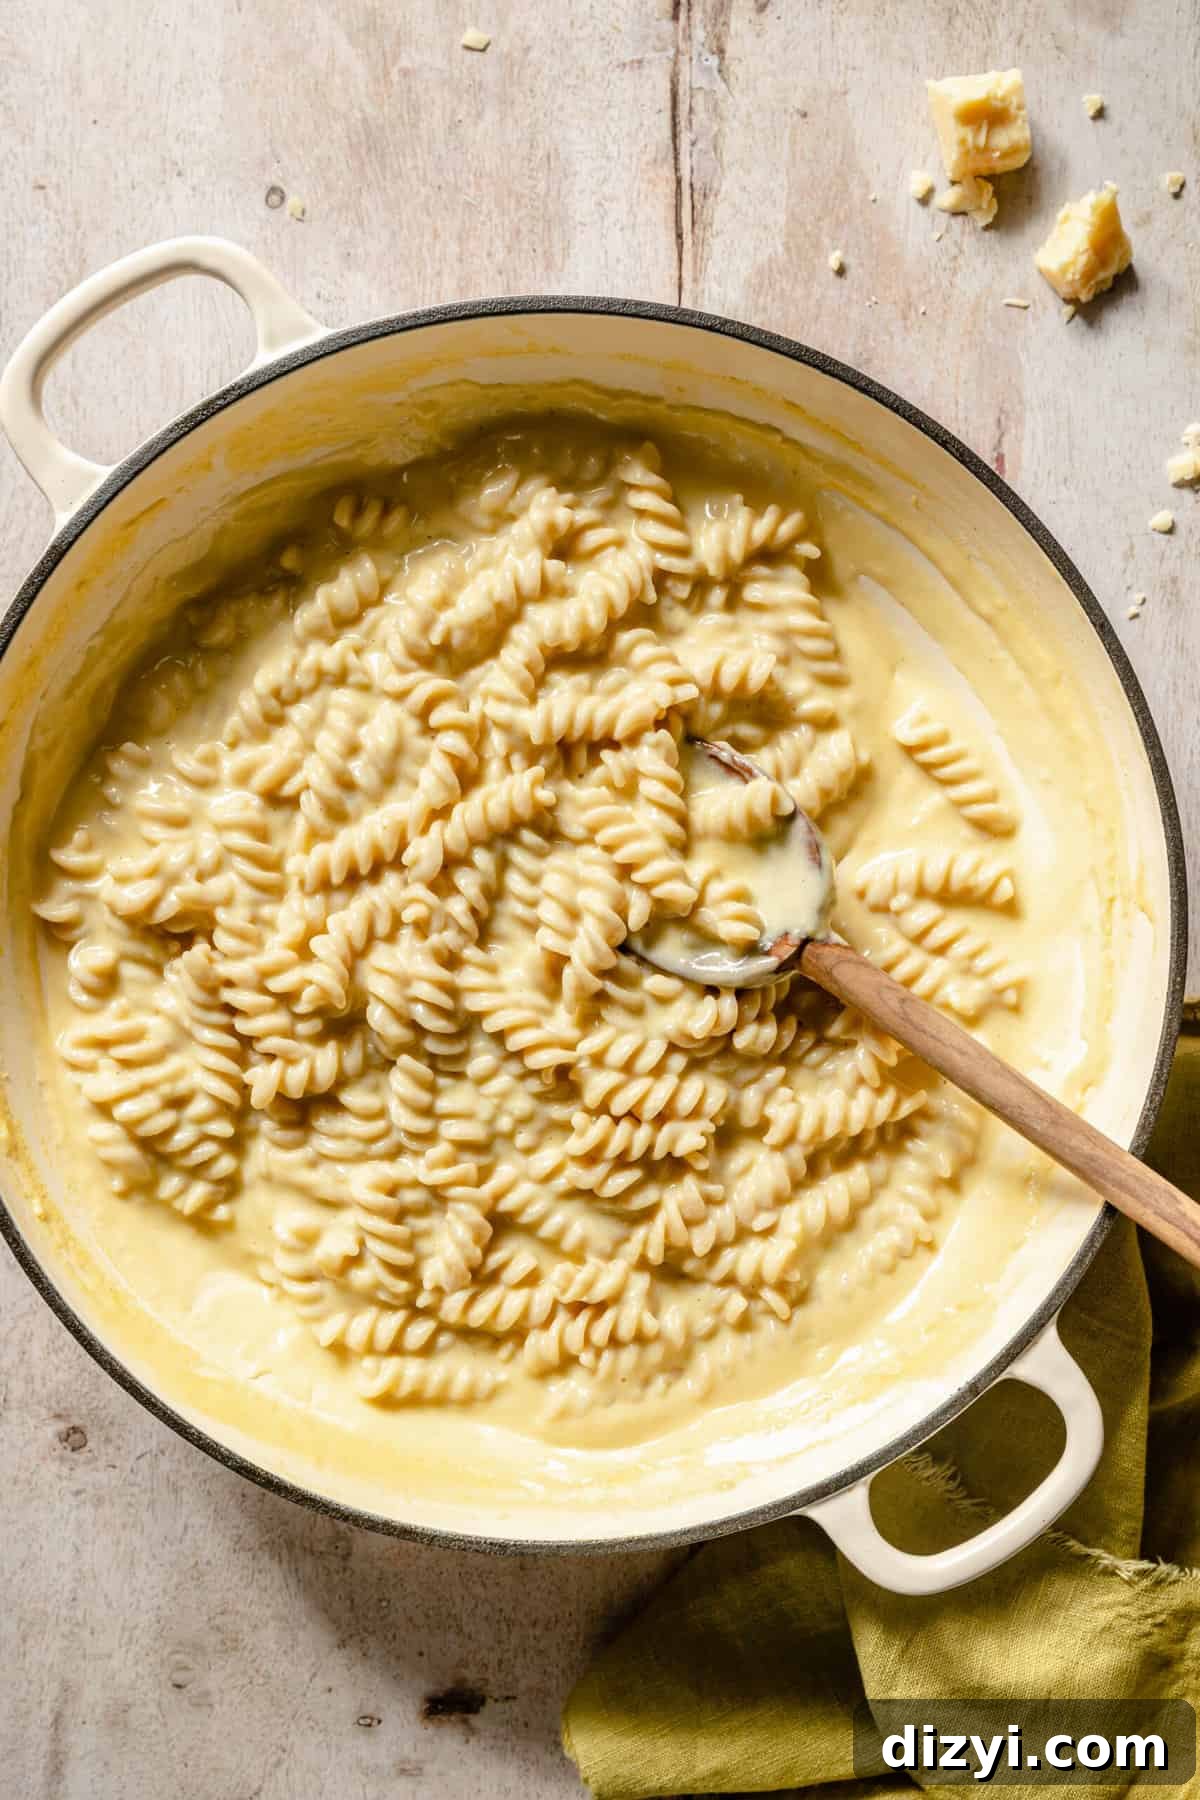
If you enjoy the restaurant-style mac and cheese from Flower Child, you’ll appreciate the flavor profile here. I aimed for a sauce that’s rich and velvety without relying on a separate roux or heavy cream. The trick is the combination of brown rice fusilli, the right amount of liquid, and two complementary cheeses: aged white cheddar for creaminess and parmesan for a touch of nuttiness and depth.
Ingredients
- 2 tablespoons extra virgin olive oil
- 2 garlic cloves, minced
- 2 cups brown rice fusilli (see note)
- 2 cups low-sodium vegetable broth
- 1 ½ cups whole milk
- 2 tablespoons butter
- 1 teaspoon kosher salt, more to taste
- 1 ½ cups freshly shredded aged white cheddar
- ½ cup freshly grated parmesan
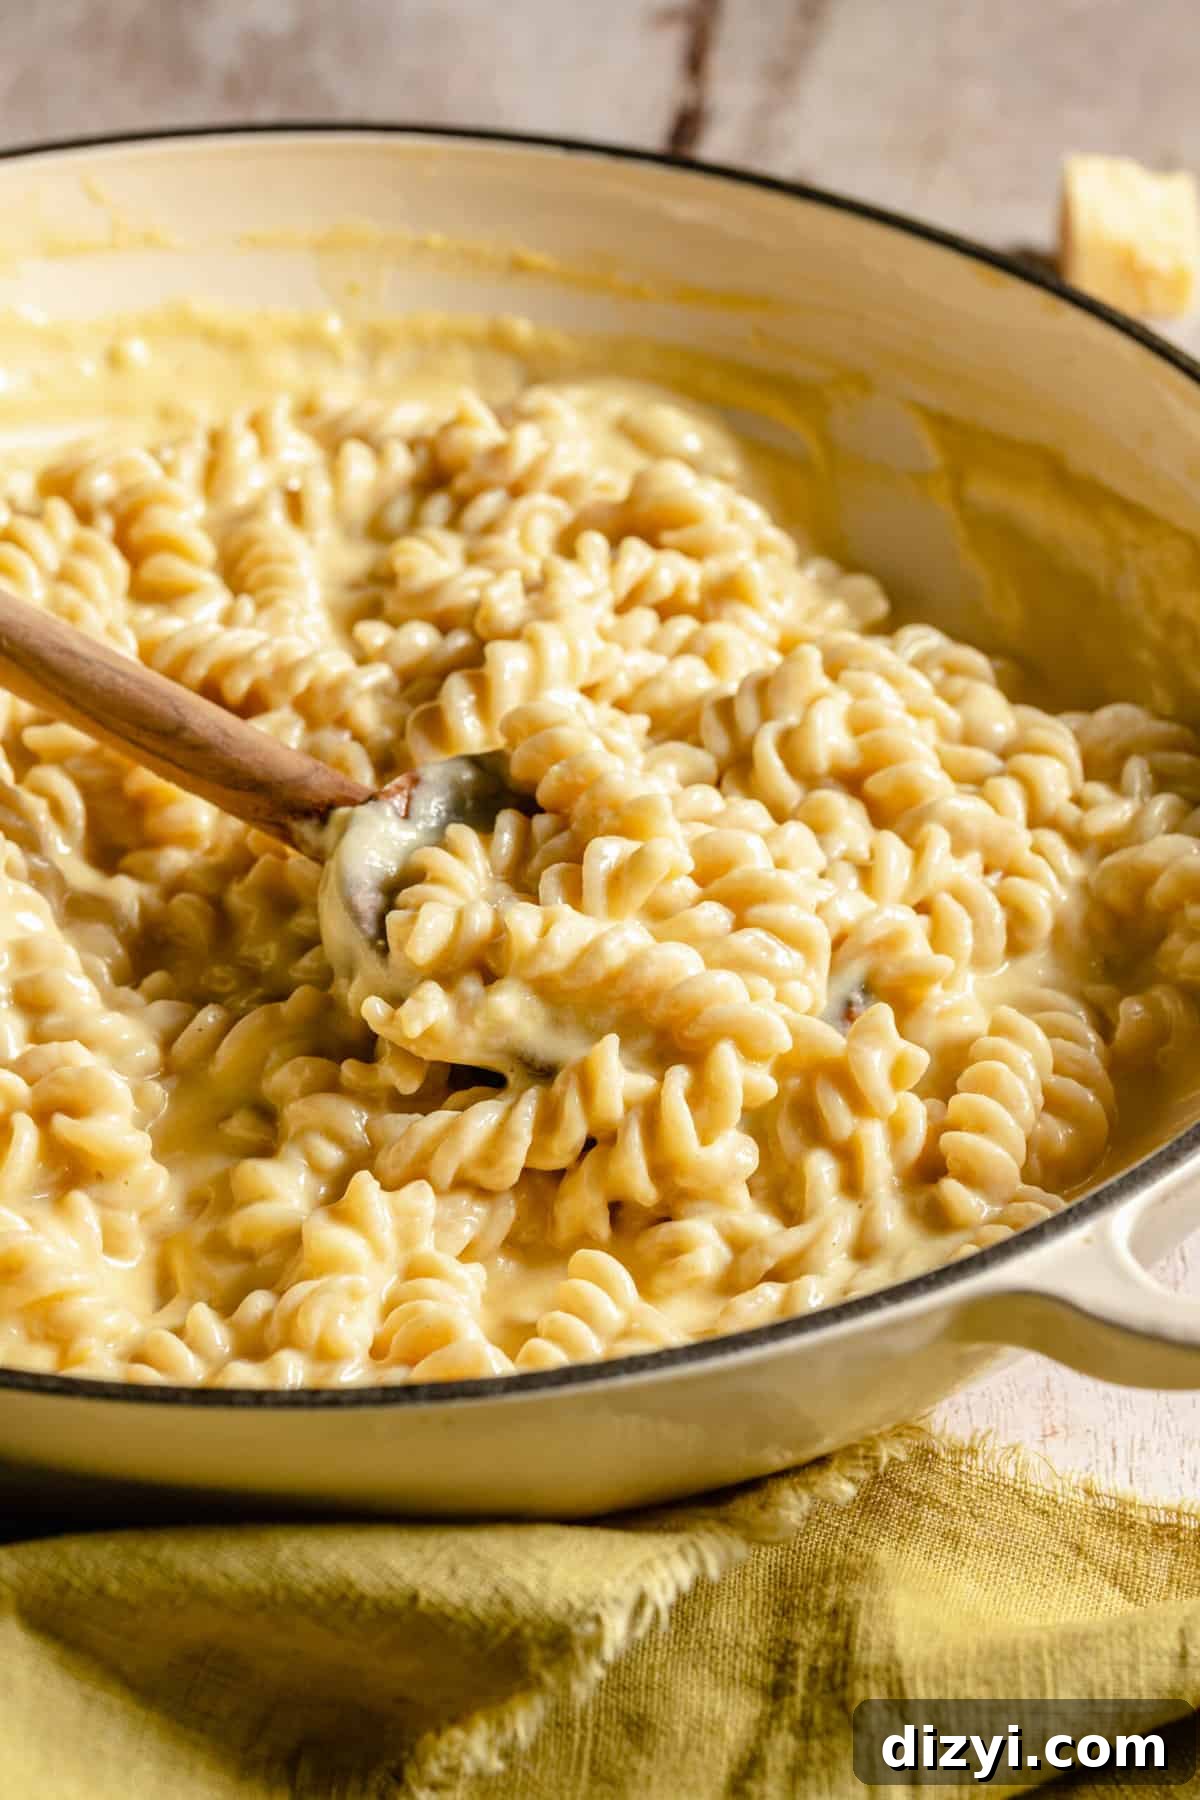
Everything comes together in one large, deep skillet for an easy clean-up and fast prep. Start by gently sautéing garlic in olive oil, then add the pasta and the vegetable broth. Bring the liquid to a simmer, add milk and butter, and cook the pasta until tender. Finish by stirring in the cheeses until the sauce is smooth and thickened.
Instructions
- In a large, deep skillet, heat the olive oil over medium heat. Add the minced garlic and sauté until fragrant and softened, about 2 minutes, being careful not to brown it.
- Add the brown rice fusilli and the vegetable broth to the skillet. Stir to combine. Increase the heat to bring the broth to a rapid simmer, then reduce to a steady light simmer.
- Stir in the whole milk, butter, and kosher salt. Maintain a gentle simmer (about medium) and cook uncovered, stirring frequently, until the pasta is tender and the liquid begins to thicken. This should take about 8 minutes for most brown rice fusilli brands; check the package for guidance.
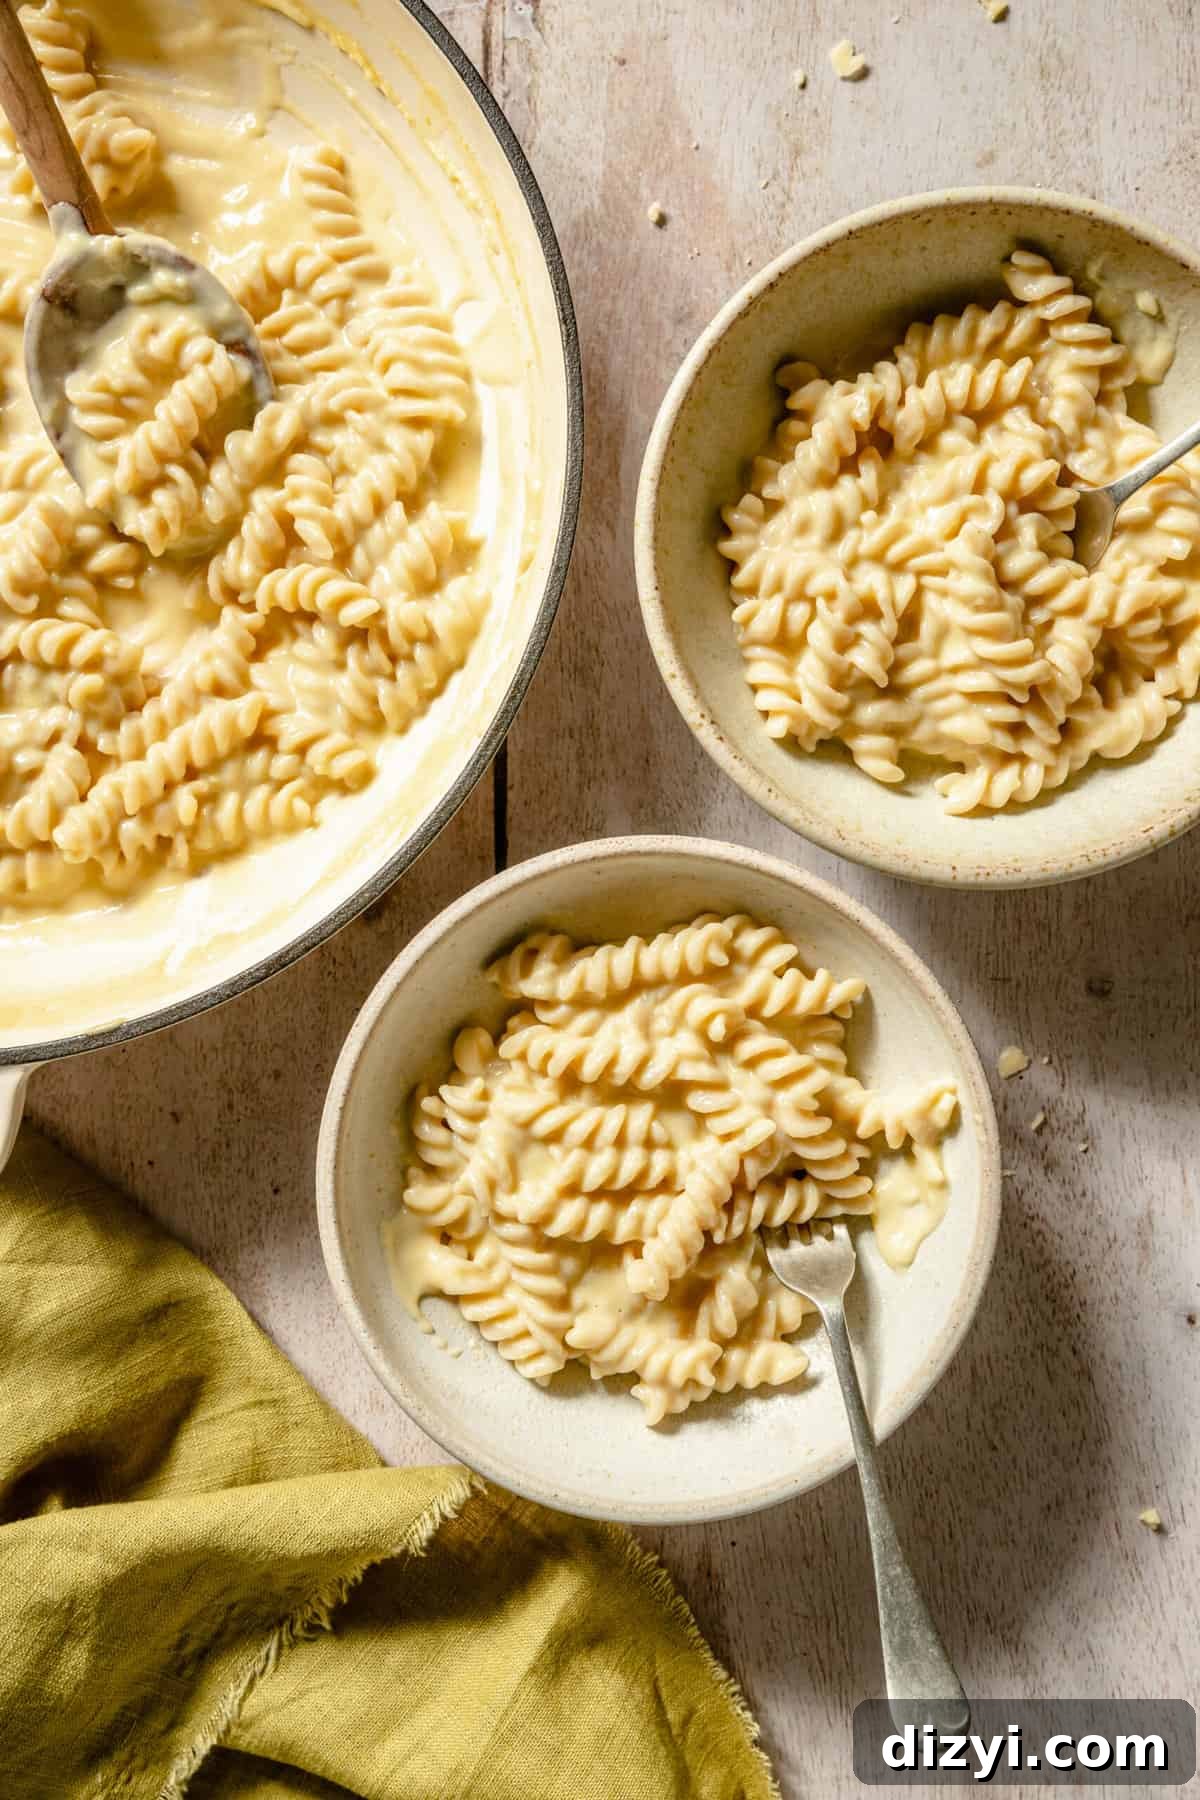
- Reduce the heat to low. Add the shredded white cheddar and the grated parmesan. Stir continuously until the cheeses melt and form a thick, creamy sauce, about 3 to 4 minutes. Taste and adjust seasoning with additional salt if needed.
- Remove the skillet from heat and let the pasta rest for 2 minutes to thicken further. Serve immediately while warm and creamy.
Notes
Pasta note: For a gluten-free version, use brown rice pasta. Brown rice fusilli releases the right amount of starch to help the sauce thicken naturally in a one-pot method. Chickpea or lentil pasta behaves differently and may not yield the same texture; if you don’t need a gluten-free option, regular semolina pasta works fine as a substitute.
Tips for Success
- Use freshly shredded and grated cheeses rather than pre-shredded packets; pre-shredded cheese often contains anti-caking agents that prevent smooth melting.
- Keep the heat low when adding the cheeses to avoid grainy texture. Stir constantly for even melting.
- If the sauce becomes too thick, loosen it with a splash of milk or reserved pasta cooking liquid until you reach the desired consistency.
- Adjust salt at the end because the cheeses and broth already contribute sodium.
Variations
- Add roasted vegetables (broccoli, cauliflower, or butternut squash) for color and nutrition.
- Stir in a spoonful of Dijon mustard or a pinch of smoked paprika for a flavor boost.
- Top with toasted breadcrumbs or chopped herbs like chives or parsley for texture and freshness.
Storage & Reheating
Store leftovers in an airtight container in the refrigerator for up to 3 days. Reheat gently on the stovetop over low heat with a splash of milk to restore creaminess, or microwave in short intervals, stirring between each, until heated through.
Additional Info
Total time: 30 minutes
Servings: 4
Author: Alex Snodgrass
Food photography and styling by Eat Love Eats.
Nutrition information is automatically calculated on many sites and should be used only as an approximation. Ingredient quantities and brands can affect final nutrition values.