
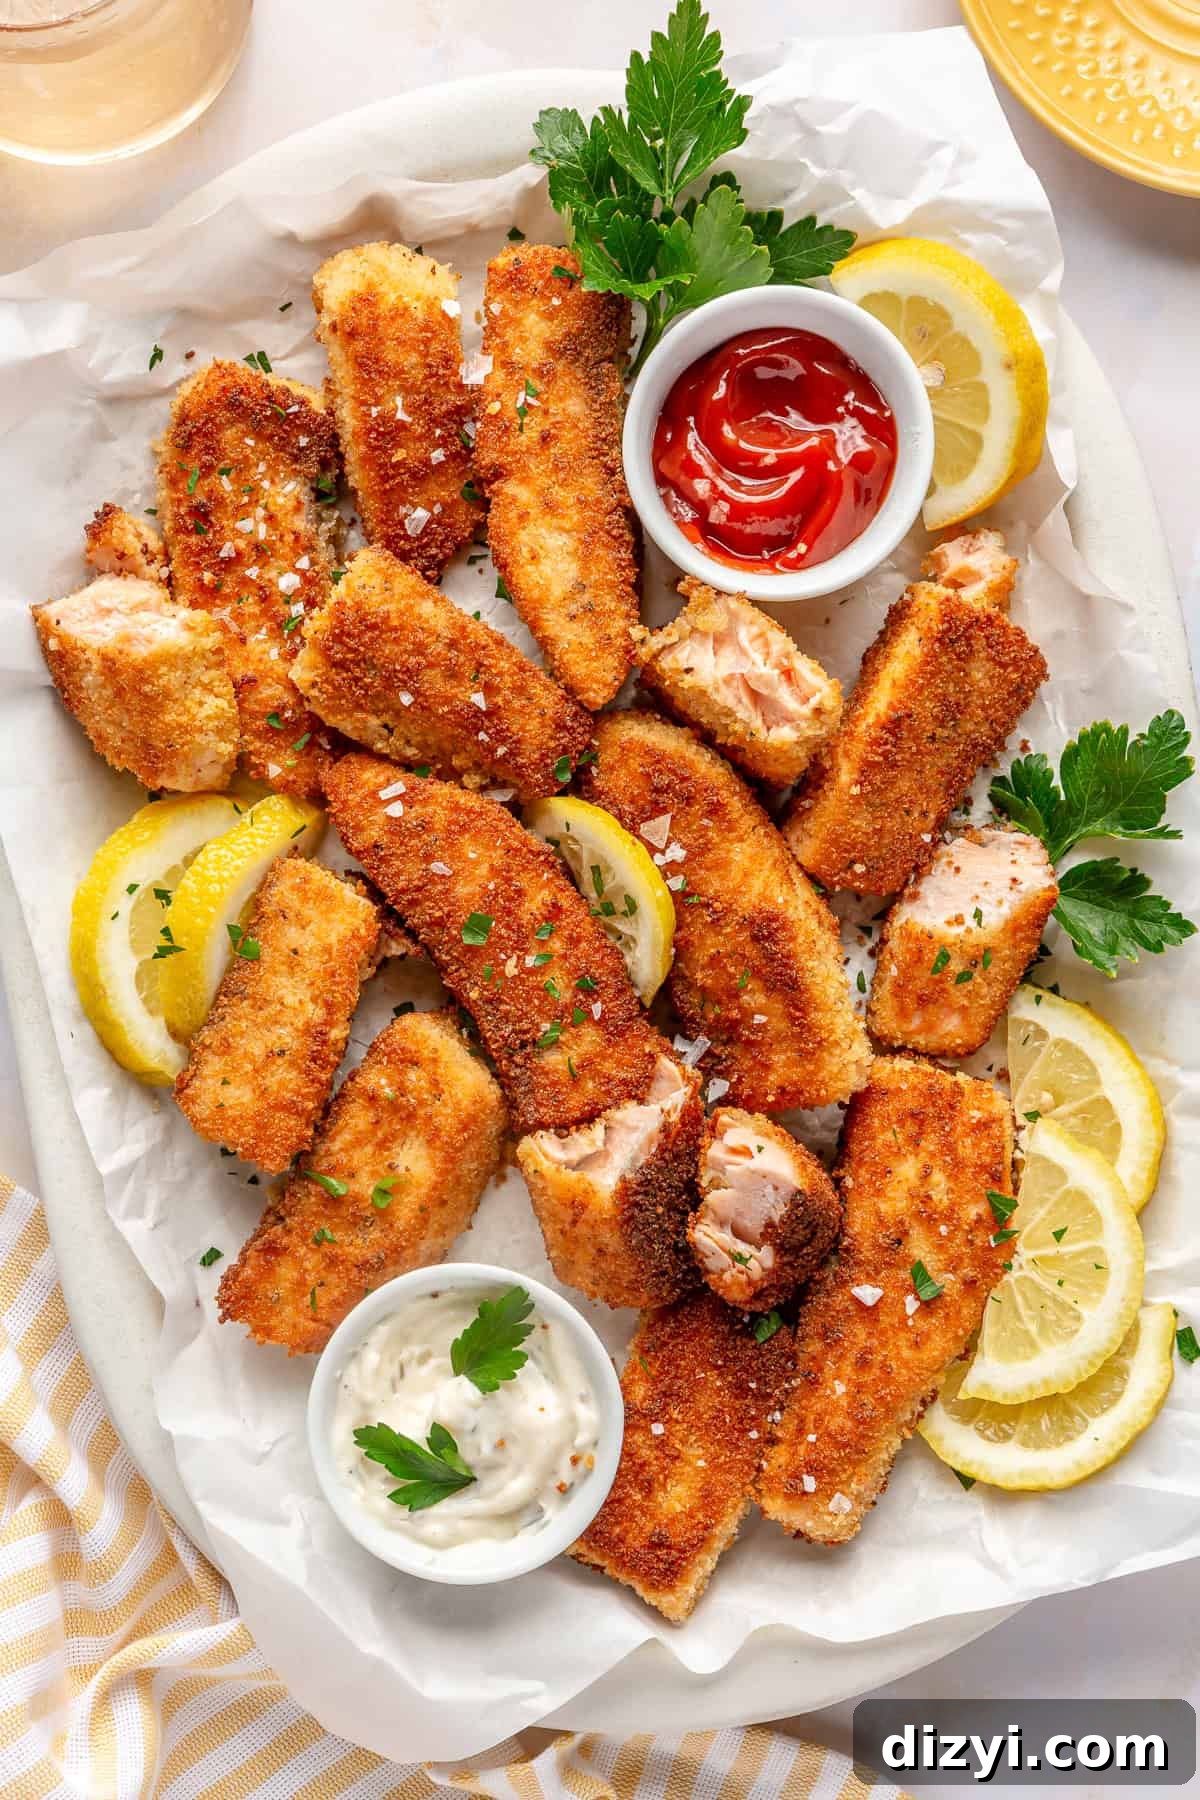
Simple, satisfying, and kid-friendly, these Easy Crispy Salmon Fish Sticks are a delicious weeknight solution the whole family will love. Made with salmon, gluten-free panko, and a light cassava flour mix, they crisp up beautifully in a skillet and are ready in about 20 minutes—perfect for quick dinners, lunches, or easy meal prep.
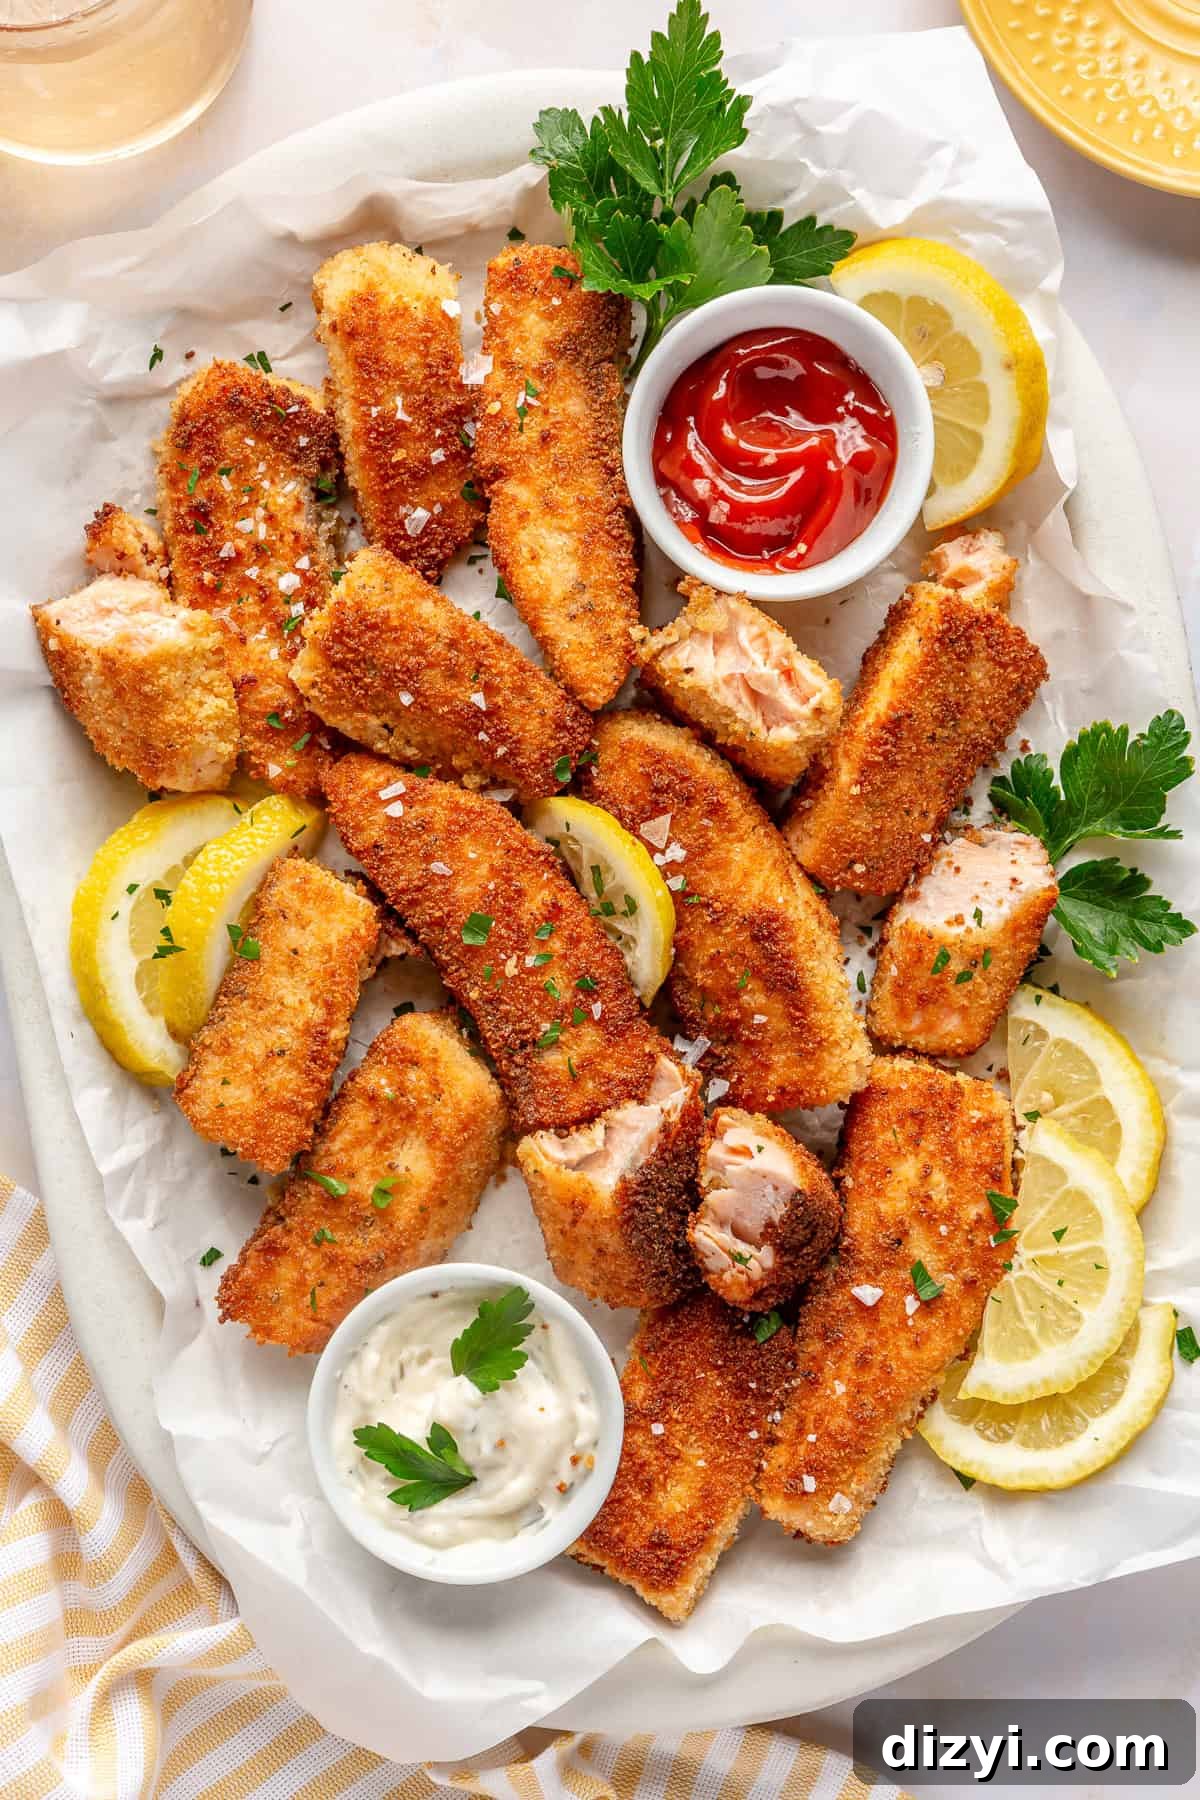
I used to avoid fish sticks because of the bland frozen versions from childhood. After tasting a good fish-and-chips basket, I realized how delicious crispy, well-made fish sticks can be. These Easy Crispy Salmon Fish Sticks are my family’s favorite homemade version—healthier than boxed options, simple to prepare, and reliably crunchy on the outside with tender salmon inside.
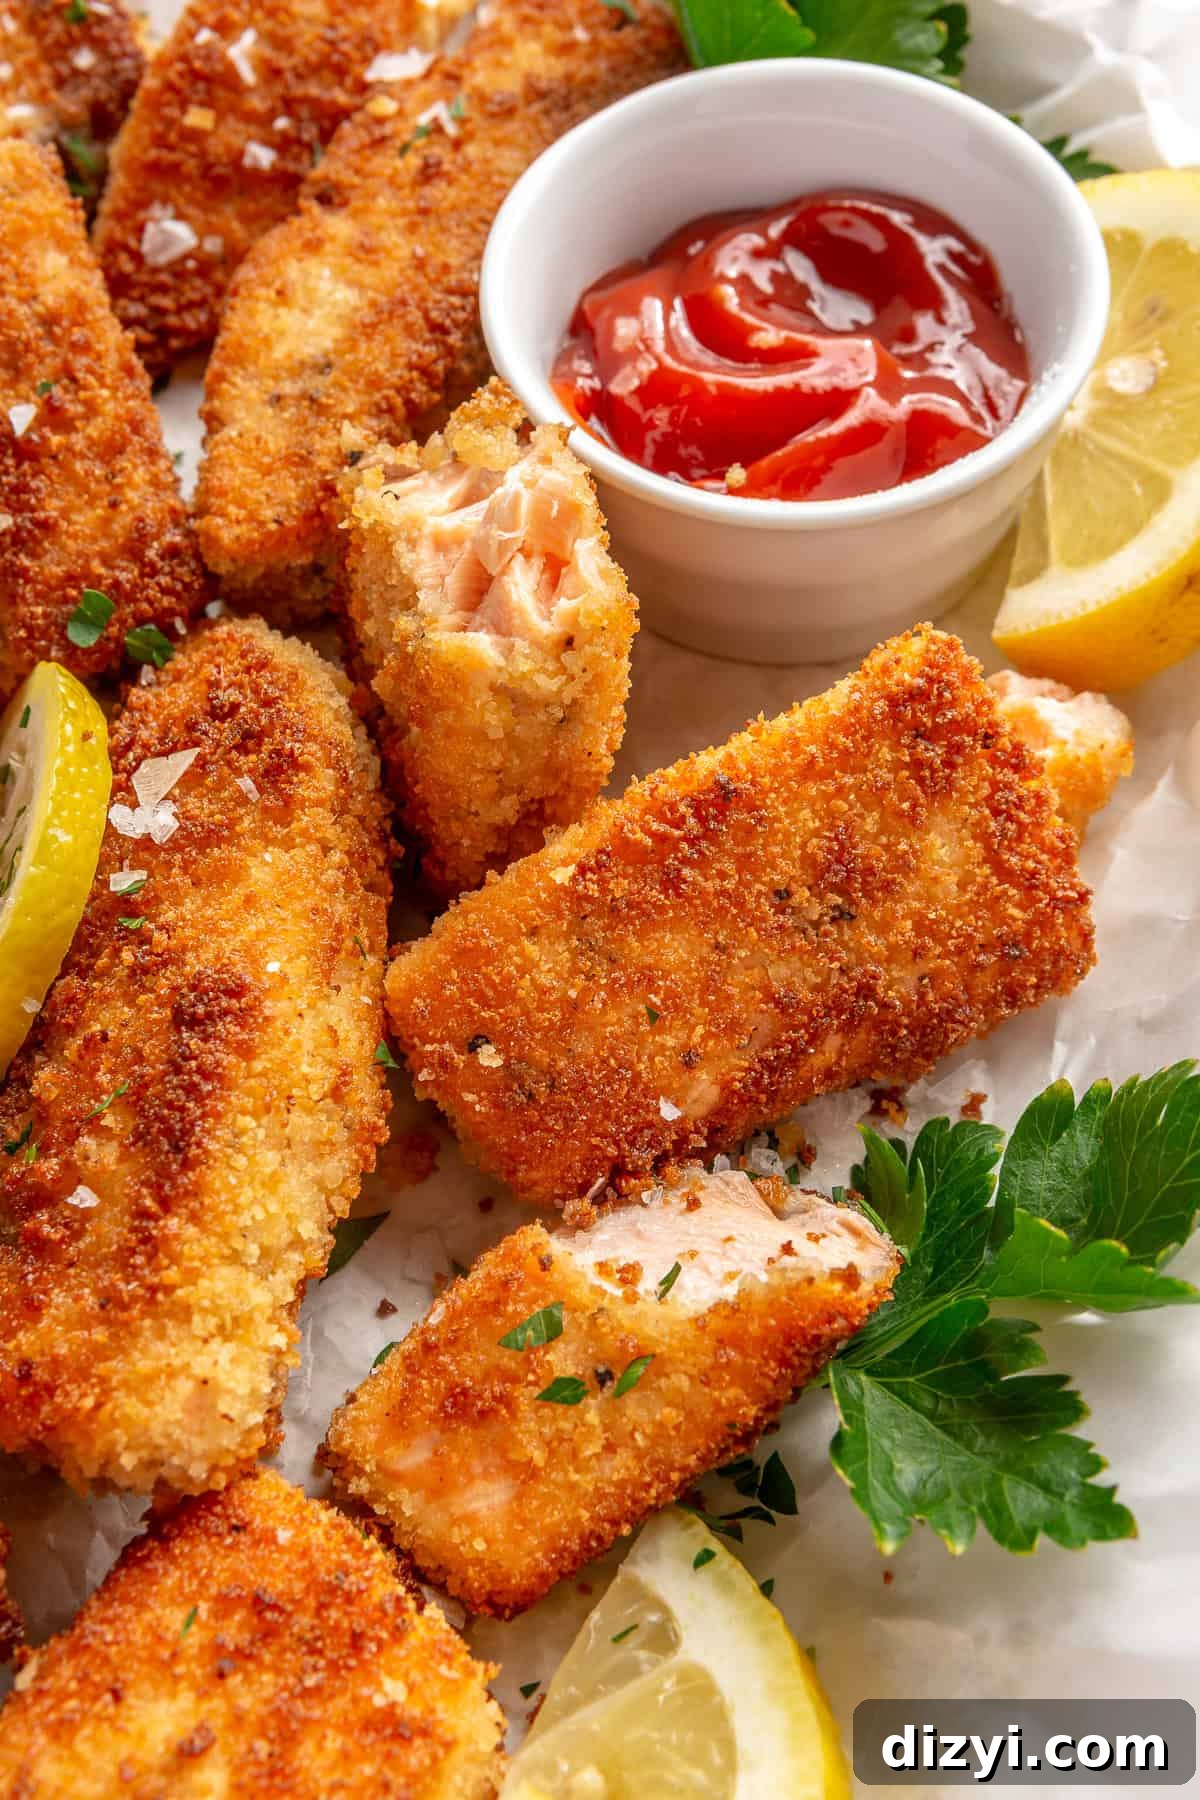
This recipe is naturally gluten-free when you choose gluten-free panko and is dairy-free as written. It’s one I started making for my kids when they were little and still make regularly. My husband and I enjoy them served with a bright tartar-style sauce or simply on a bed of greens for a crispy salmon salad.
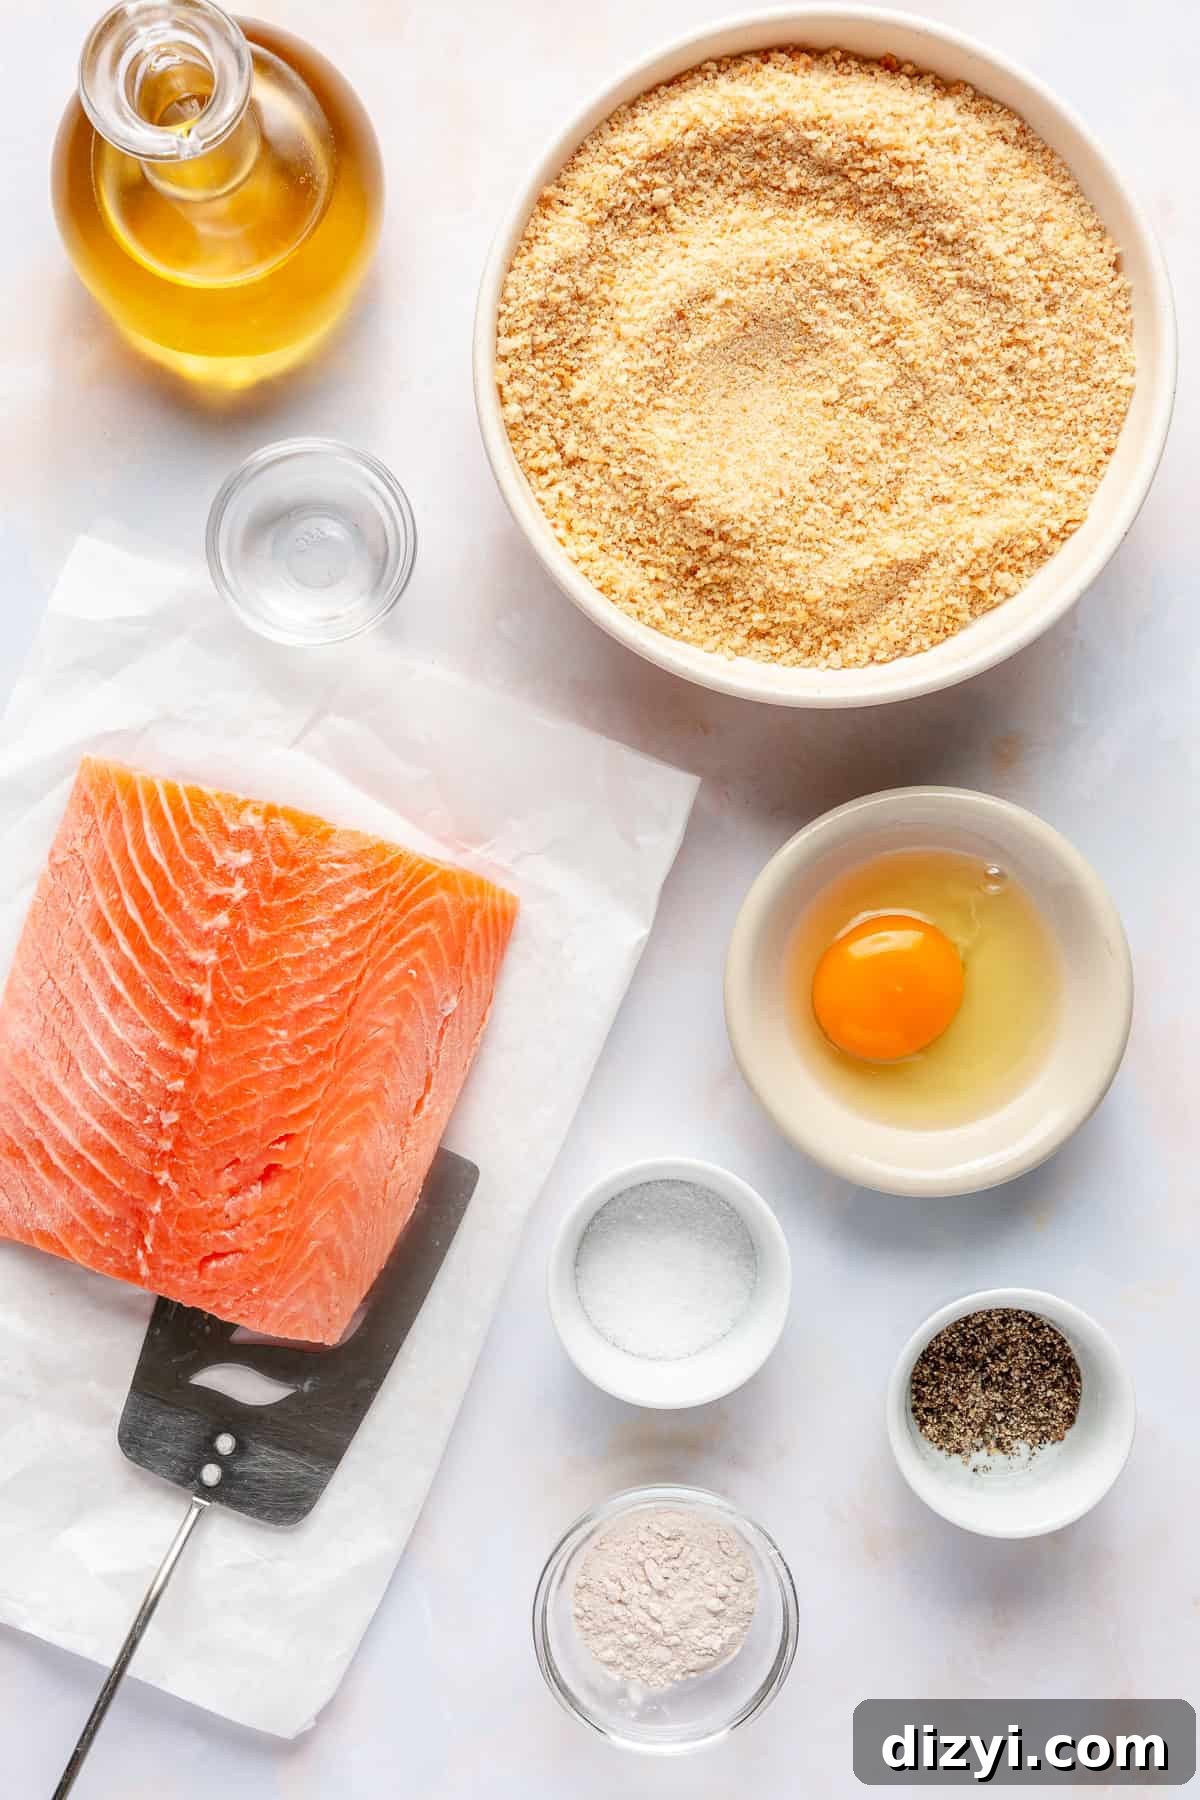
Ingredients
- Salmon — skinless, about 1.5 lbs total, fillets at least 1-inch thick
- 1 teaspoon kosher salt
- 1/2 teaspoon freshly ground black pepper
- 1 large egg
- 1 teaspoon water
- 2 cups gluten-free panko breadcrumbs
- 1 tablespoon cassava flour
- 3 tablespoons avocado oil (or other high-heat oil for frying)
Step-by-Step
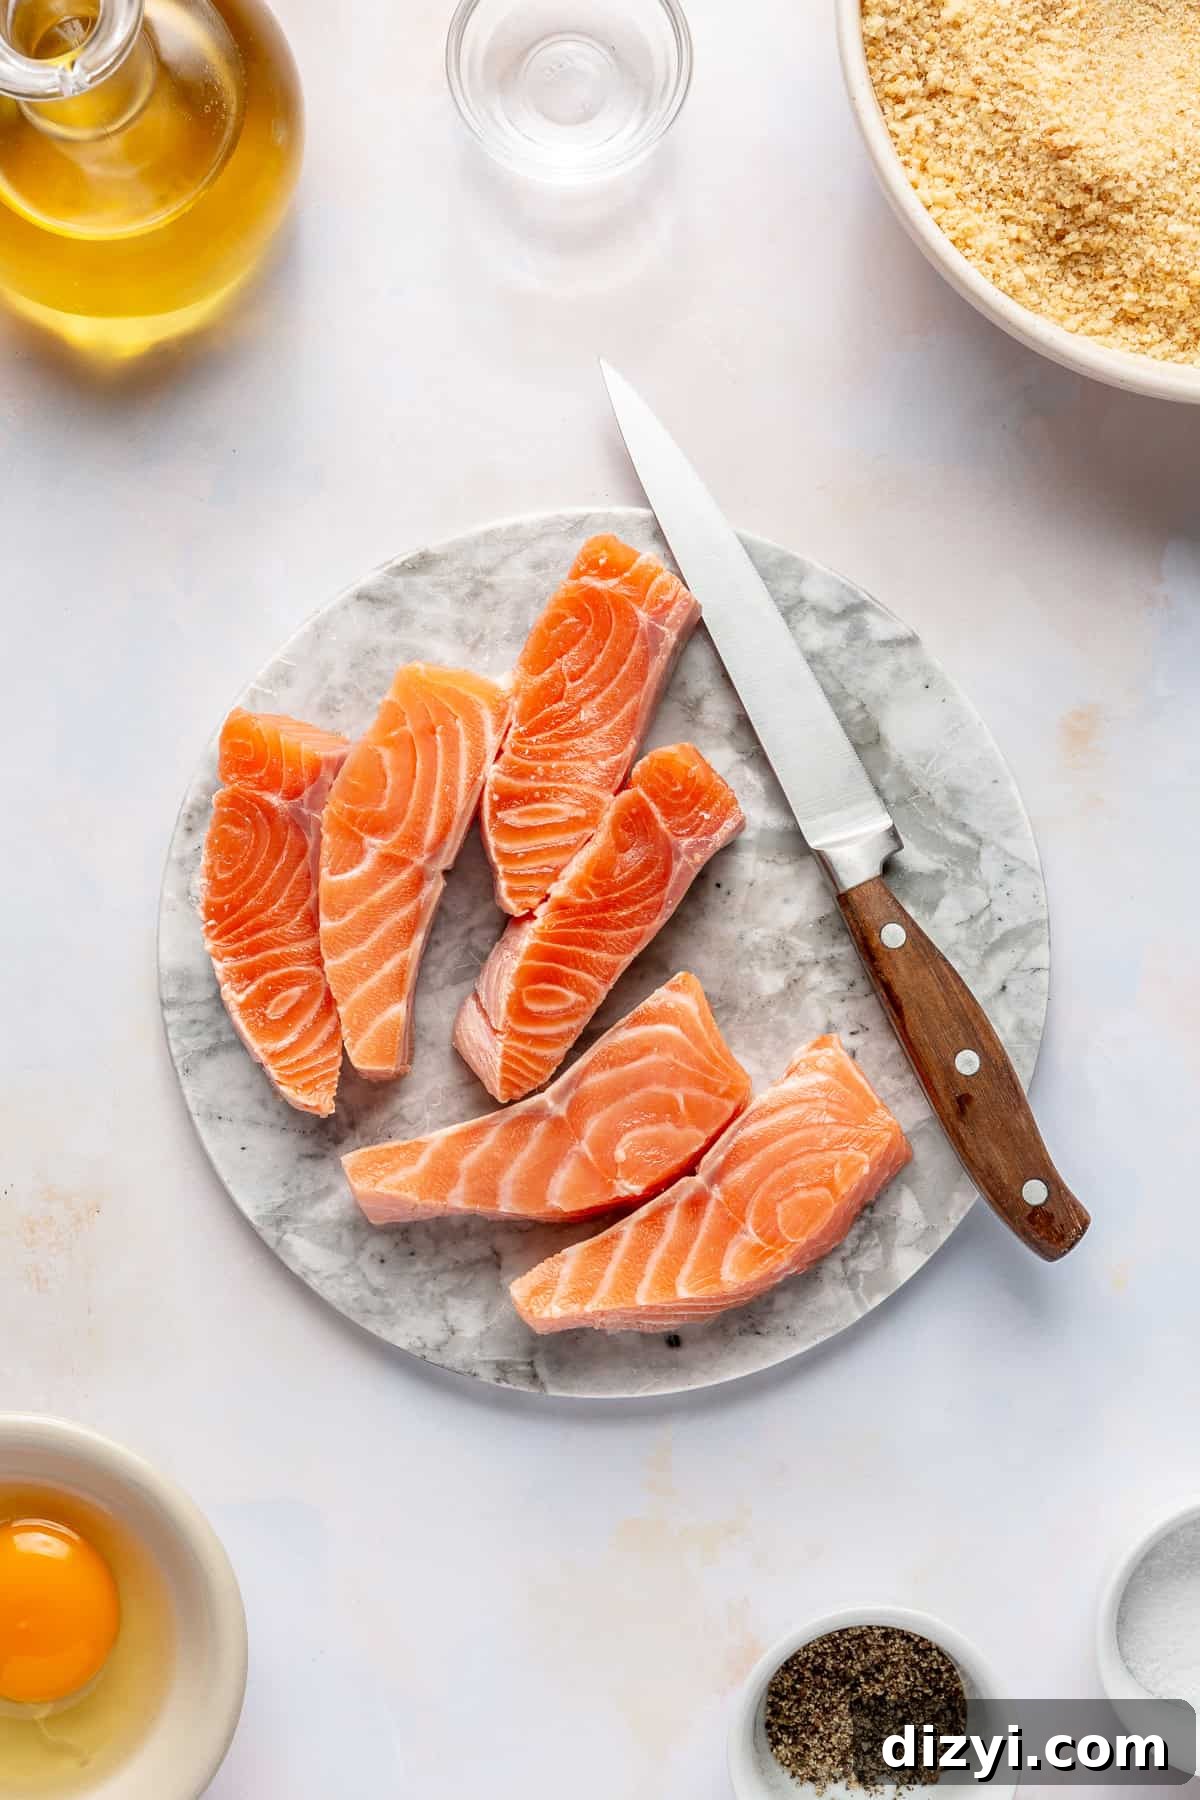
Step One: Cut the Salmon
Trim and slice the salmon into roughly 1.5-inch-wide strips. If any strips are long or wide, cut them crosswise so all sticks are a similar size—this ensures even cooking.
Step Two: Season the Salmon
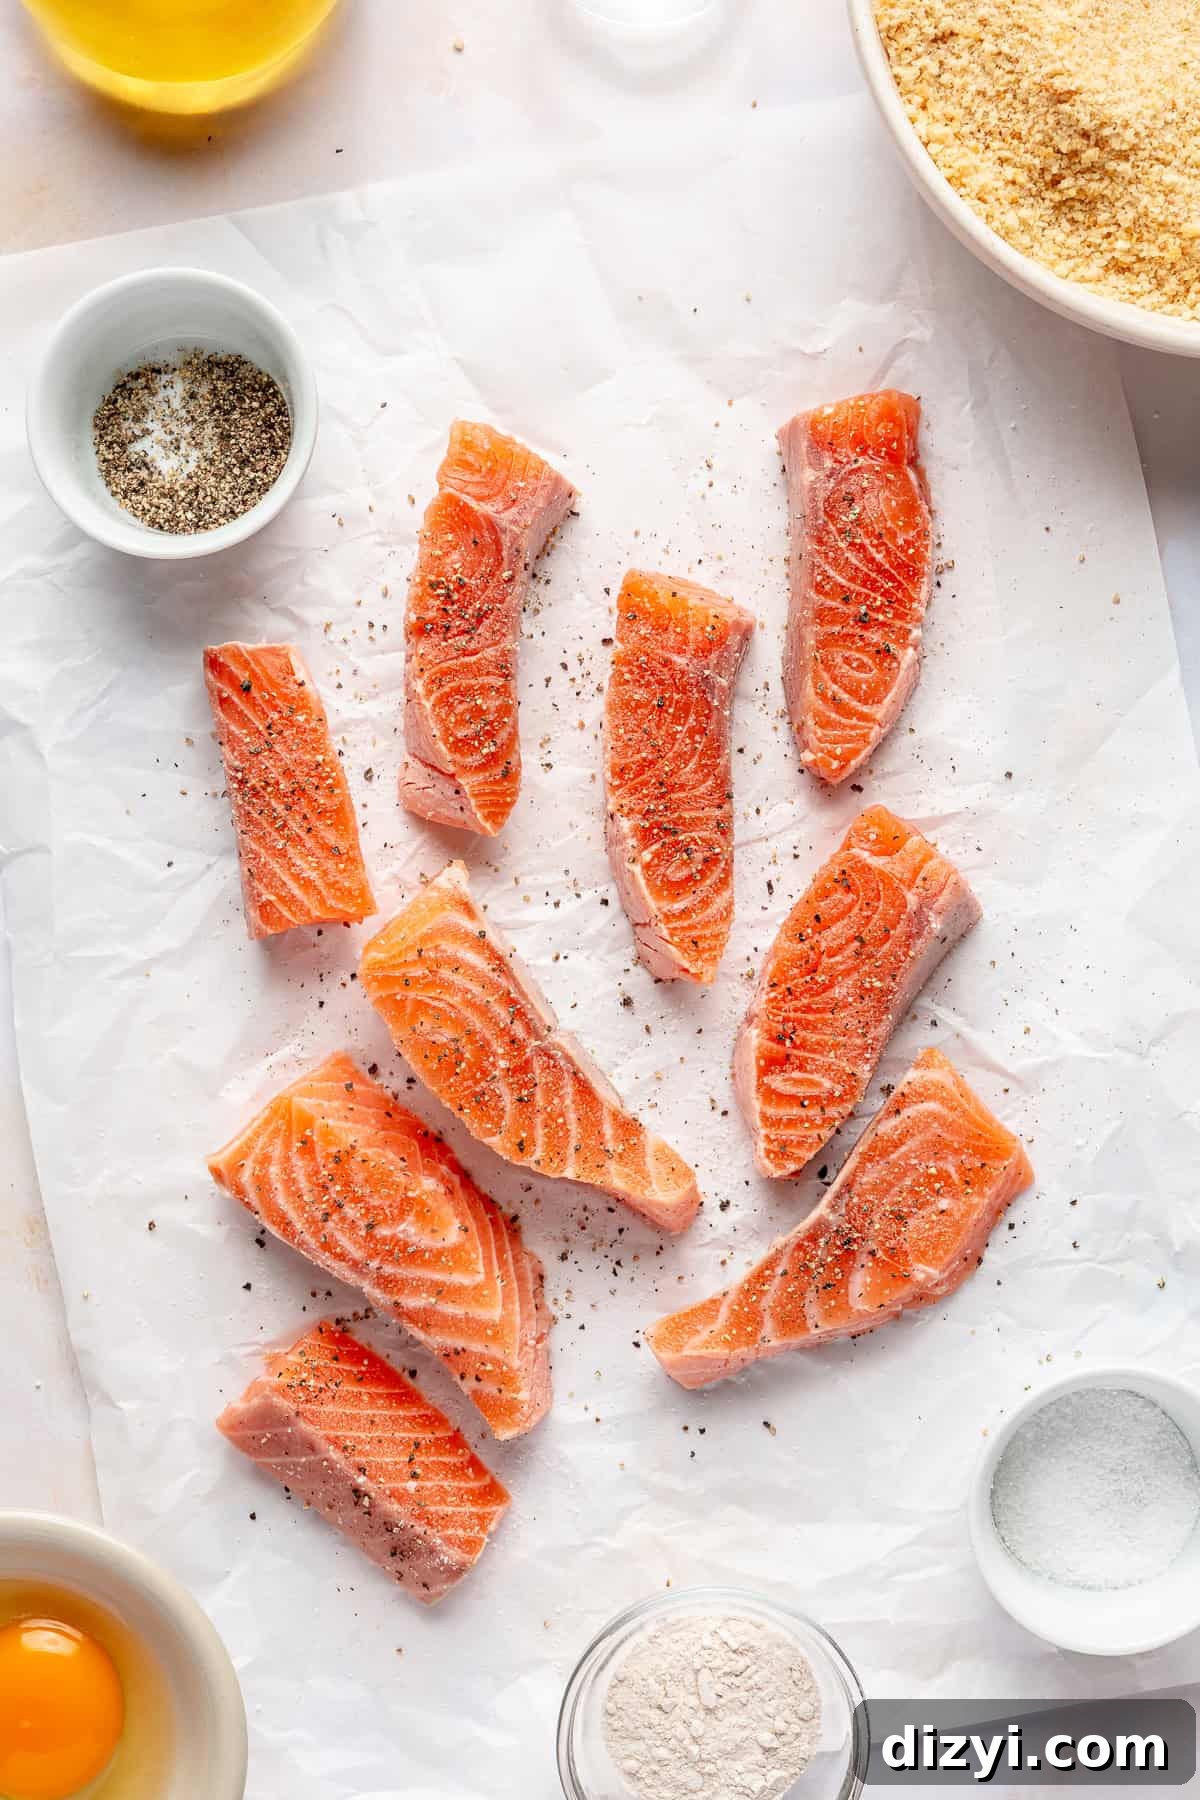
Pat the salmon pieces dry with paper towel, then season evenly with kosher salt and freshly ground black pepper. Drying the surface helps the breading stick and promotes a crisper exterior.
Step Three: Prep the Breading Station
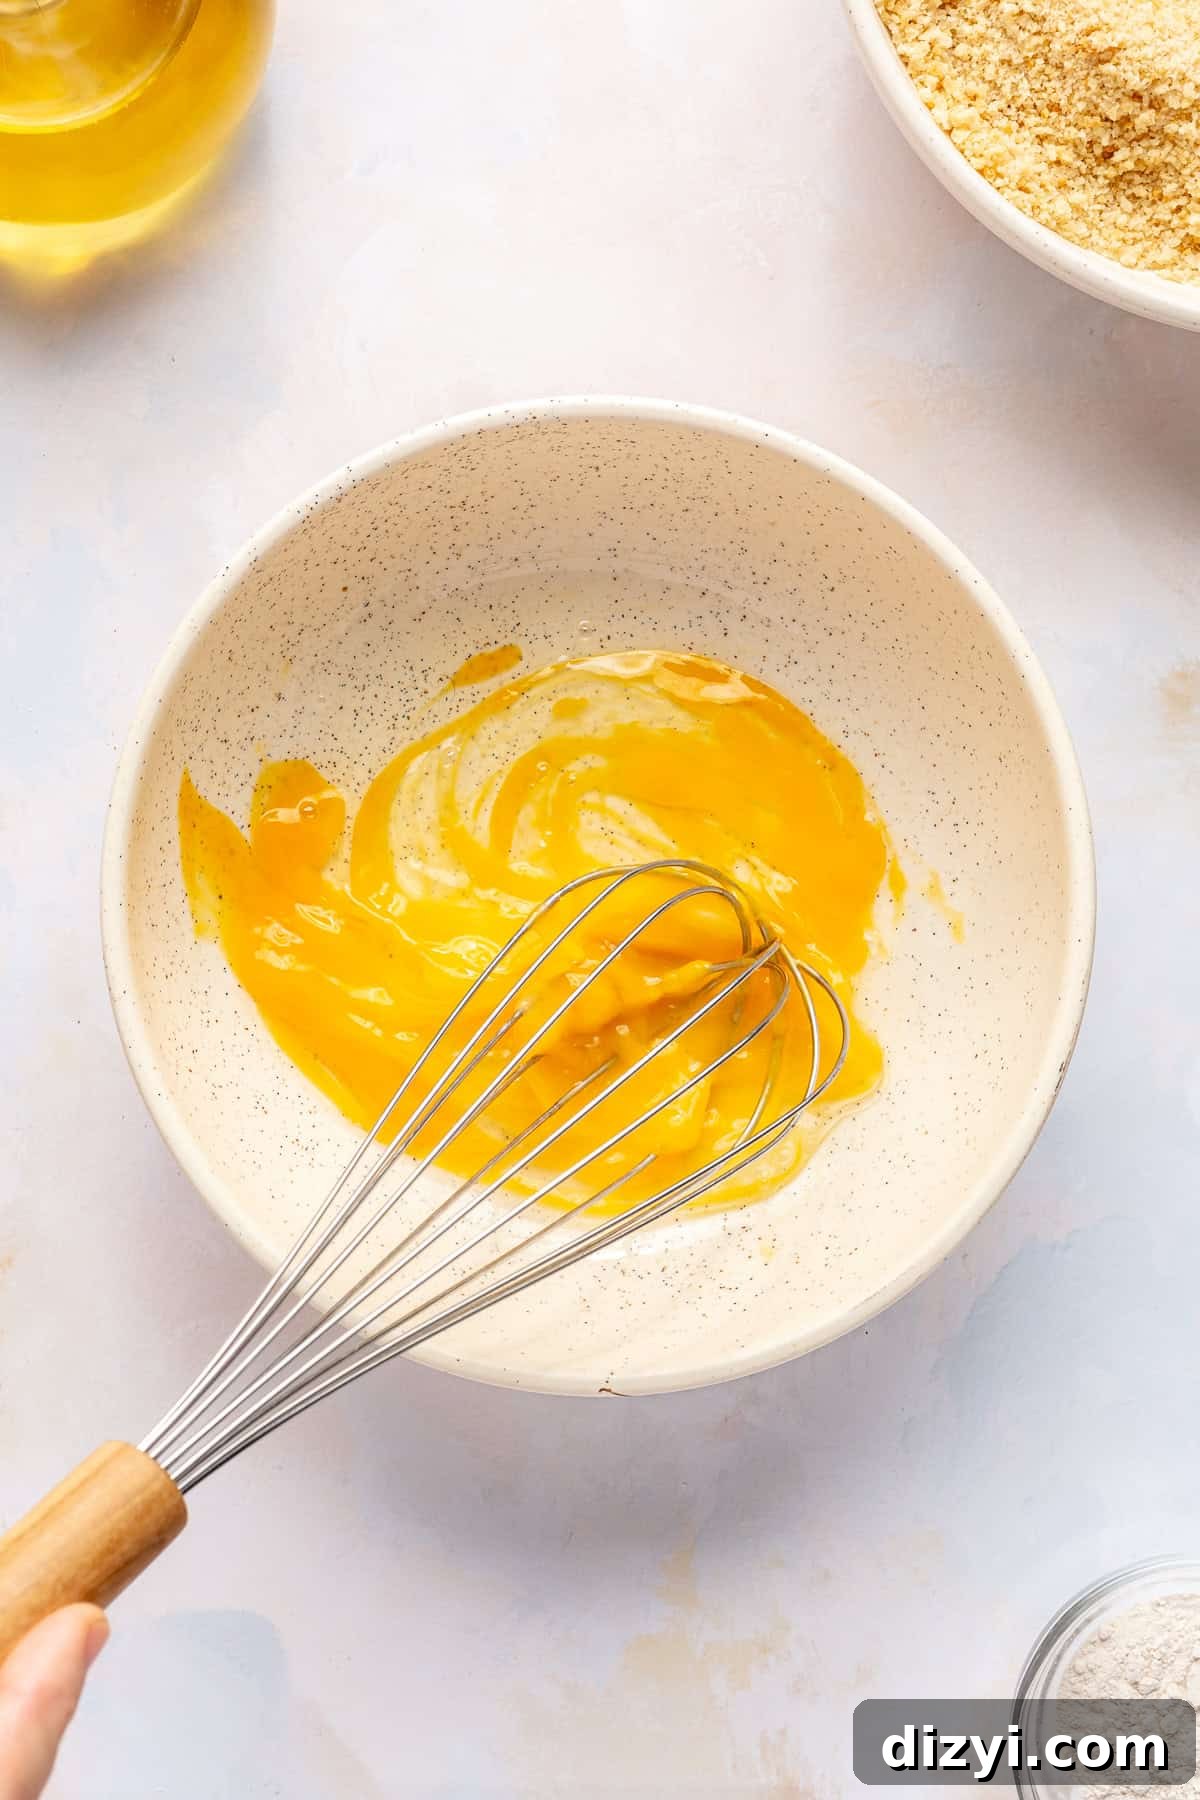
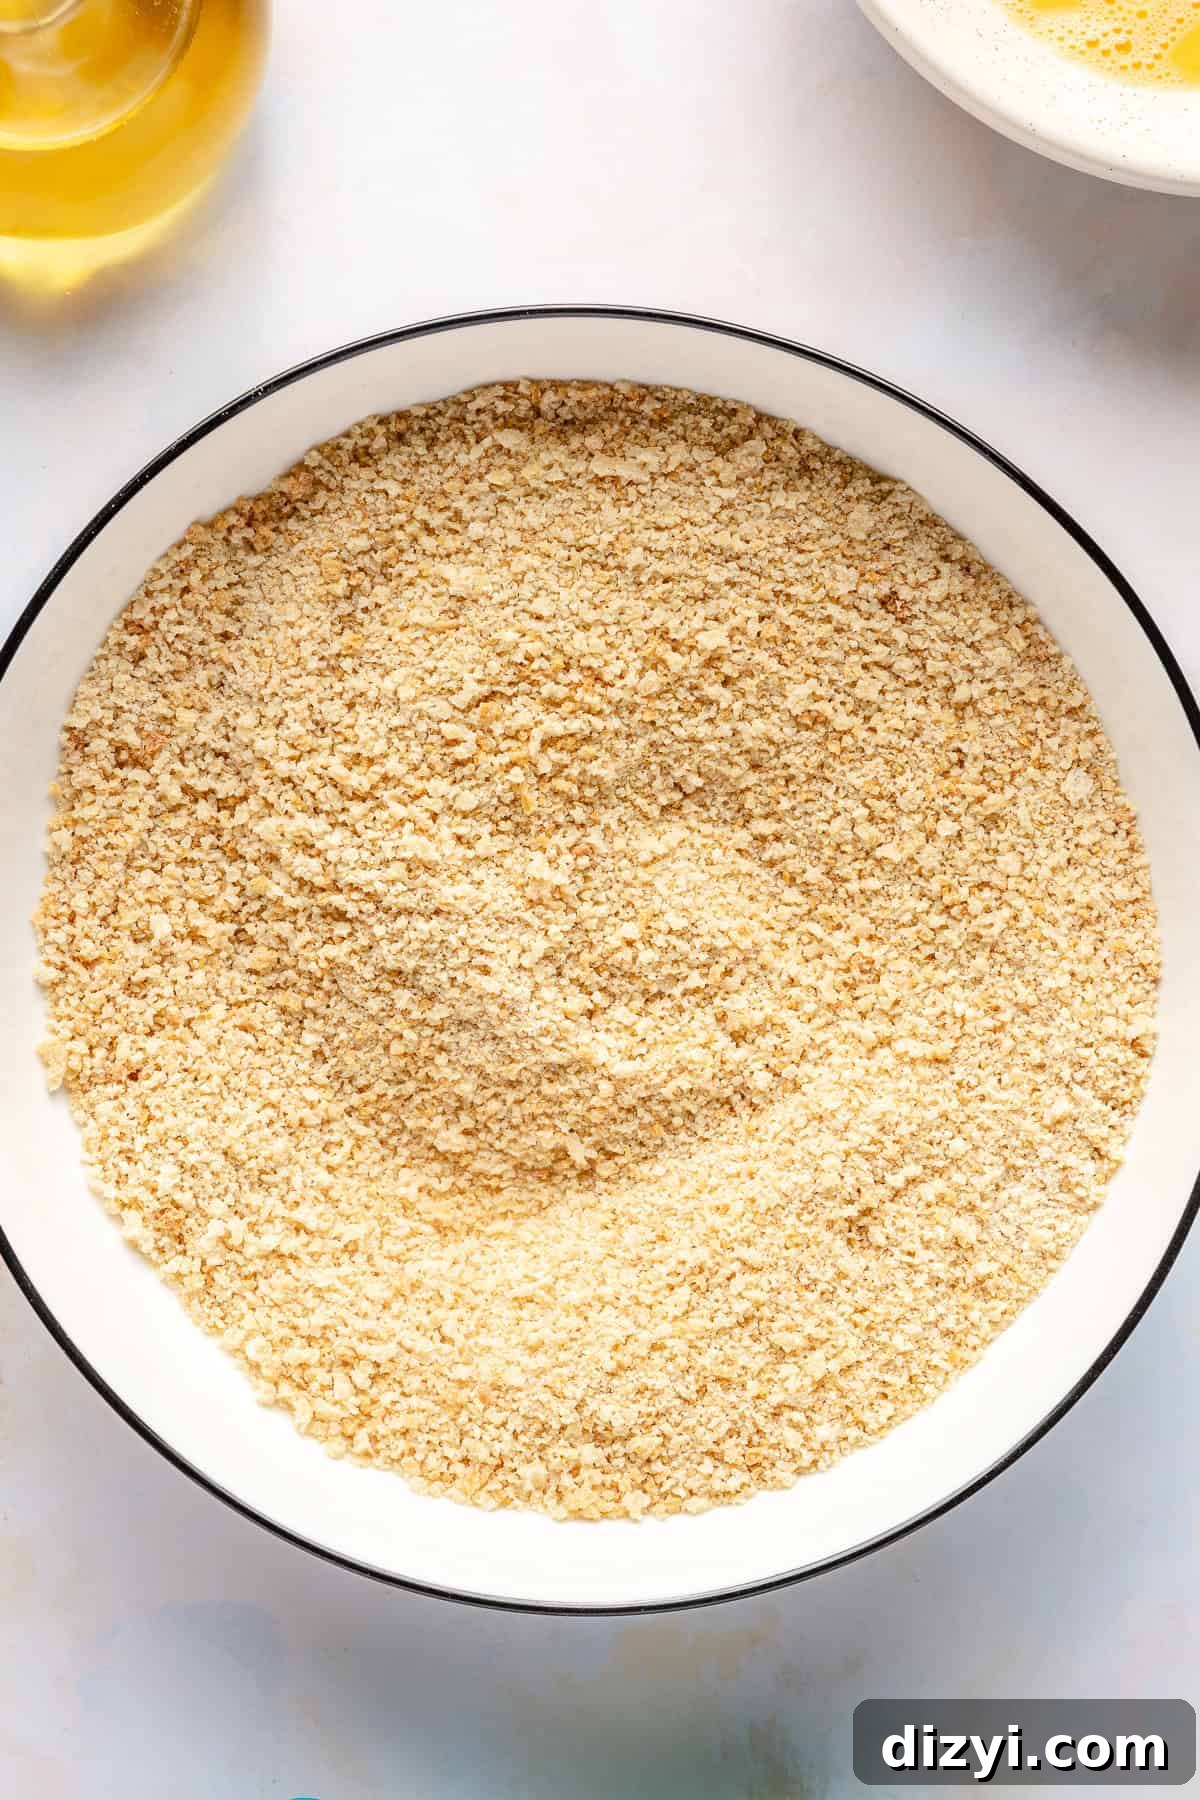
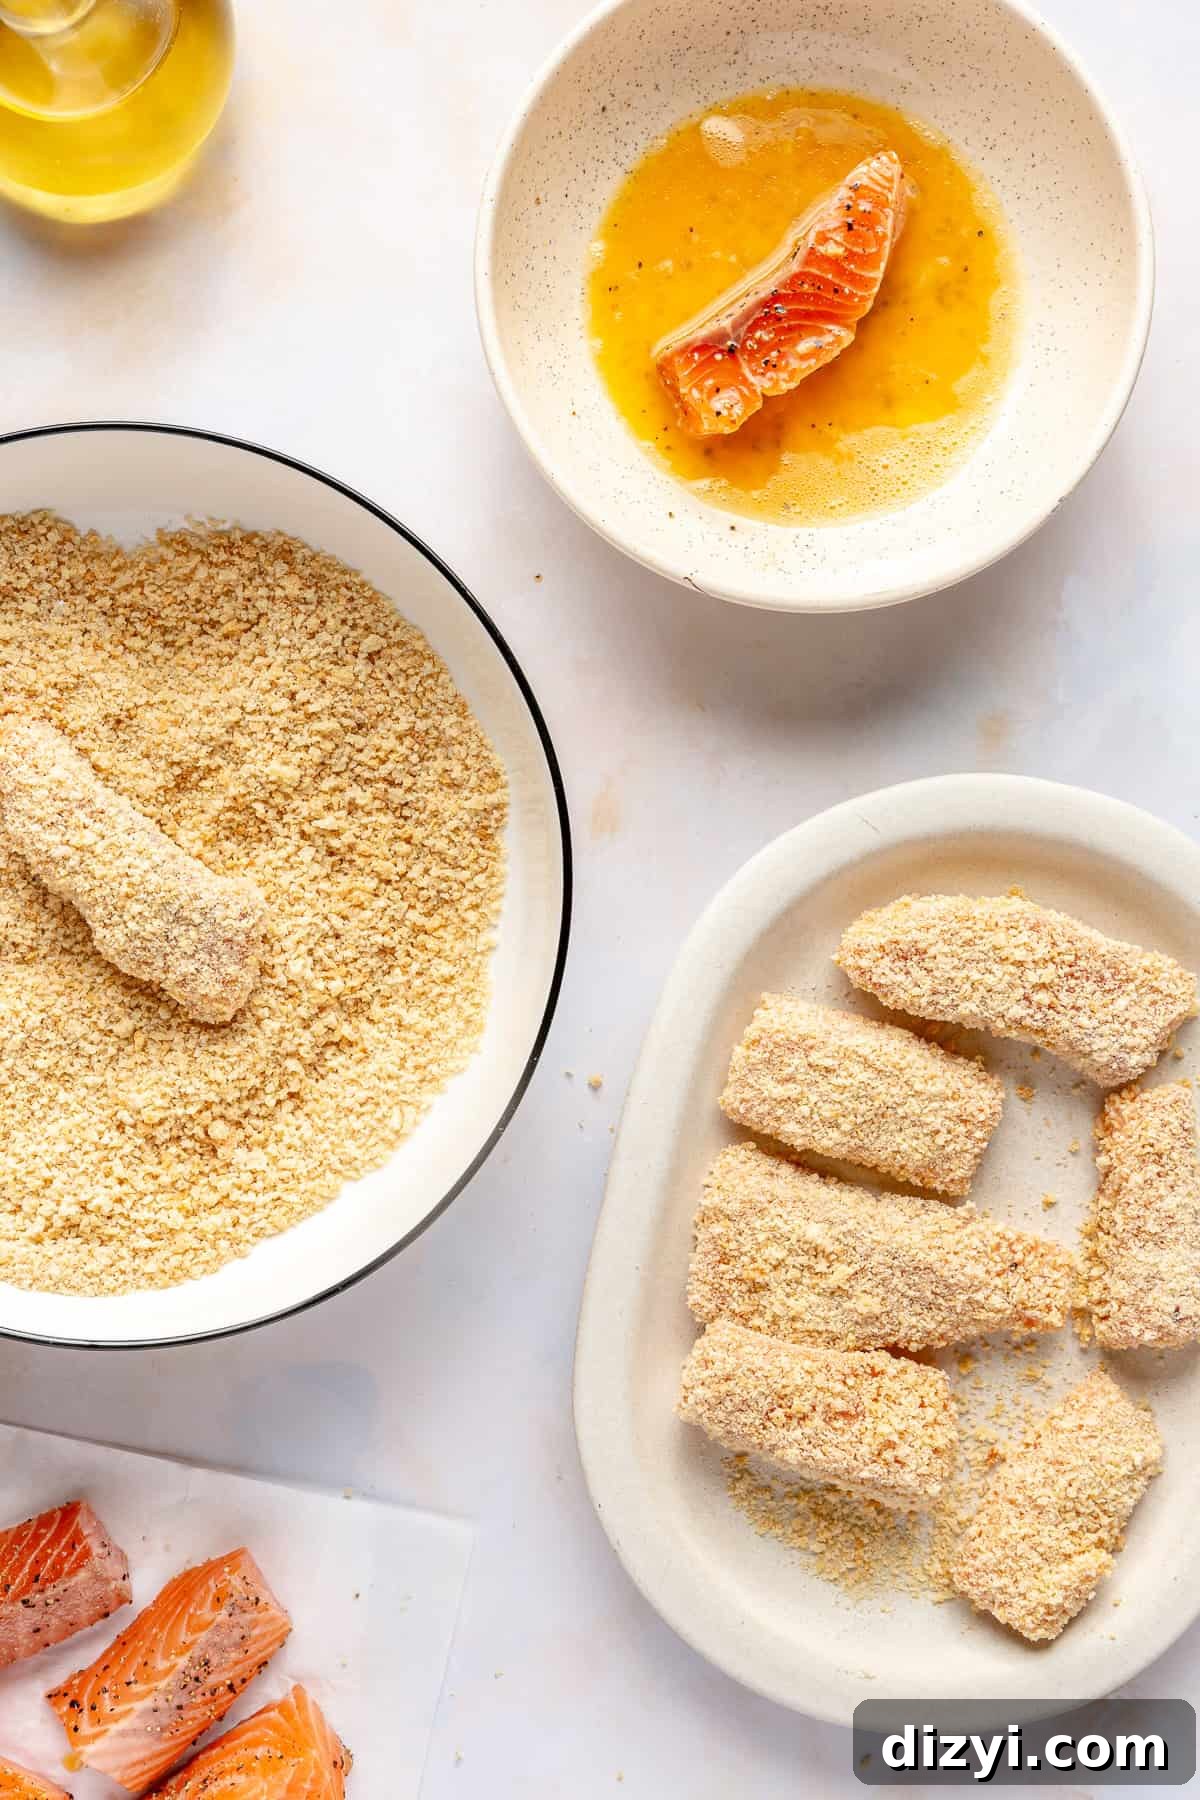
Whisk the egg and water in a shallow bowl until frothy. In a separate shallow bowl, combine the gluten-free panko and cassava flour. The small amount of cassava flour helps the crumbs adhere and gives an extra-crisp texture.
Step Four: Bread the Salmon
Using one hand for the wet (egg) and the other for the dry (panko) makes the process neater: dip each salmon stick into the egg wash, shake off excess, then press into the panko mixture to coat all sides. Place breaded sticks on a clean plate and repeat until finished.
Step Five: Cook the Salmon
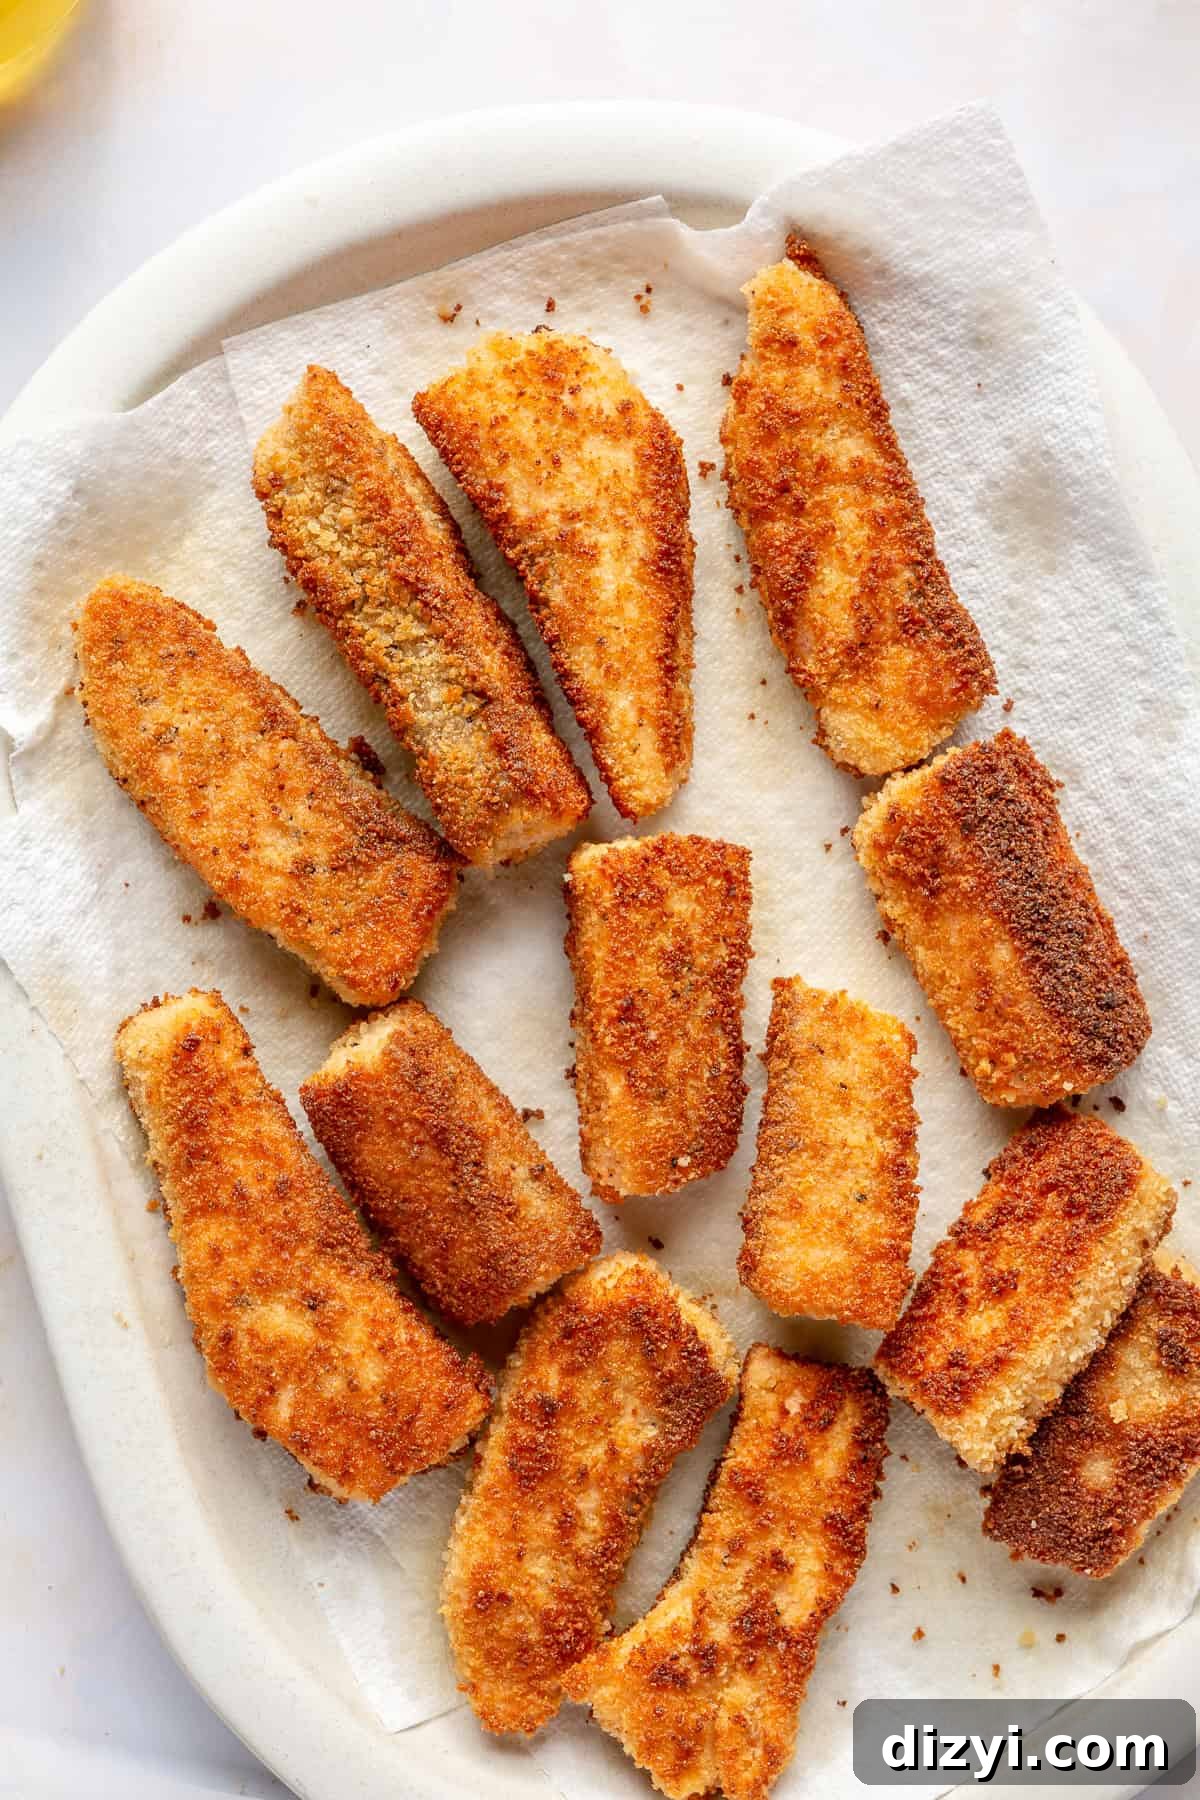
Heat the avocado oil in a large nonstick skillet over medium heat. When the oil is hot but not smoking, carefully add the salmon sticks in a single layer without crowding. Cook 2–3 minutes per side or until the coating is golden brown and crisp and the salmon is cooked through. Transfer cooked sticks to a paper towel–lined plate to drain briefly.
Step Six: Serve and Enjoy
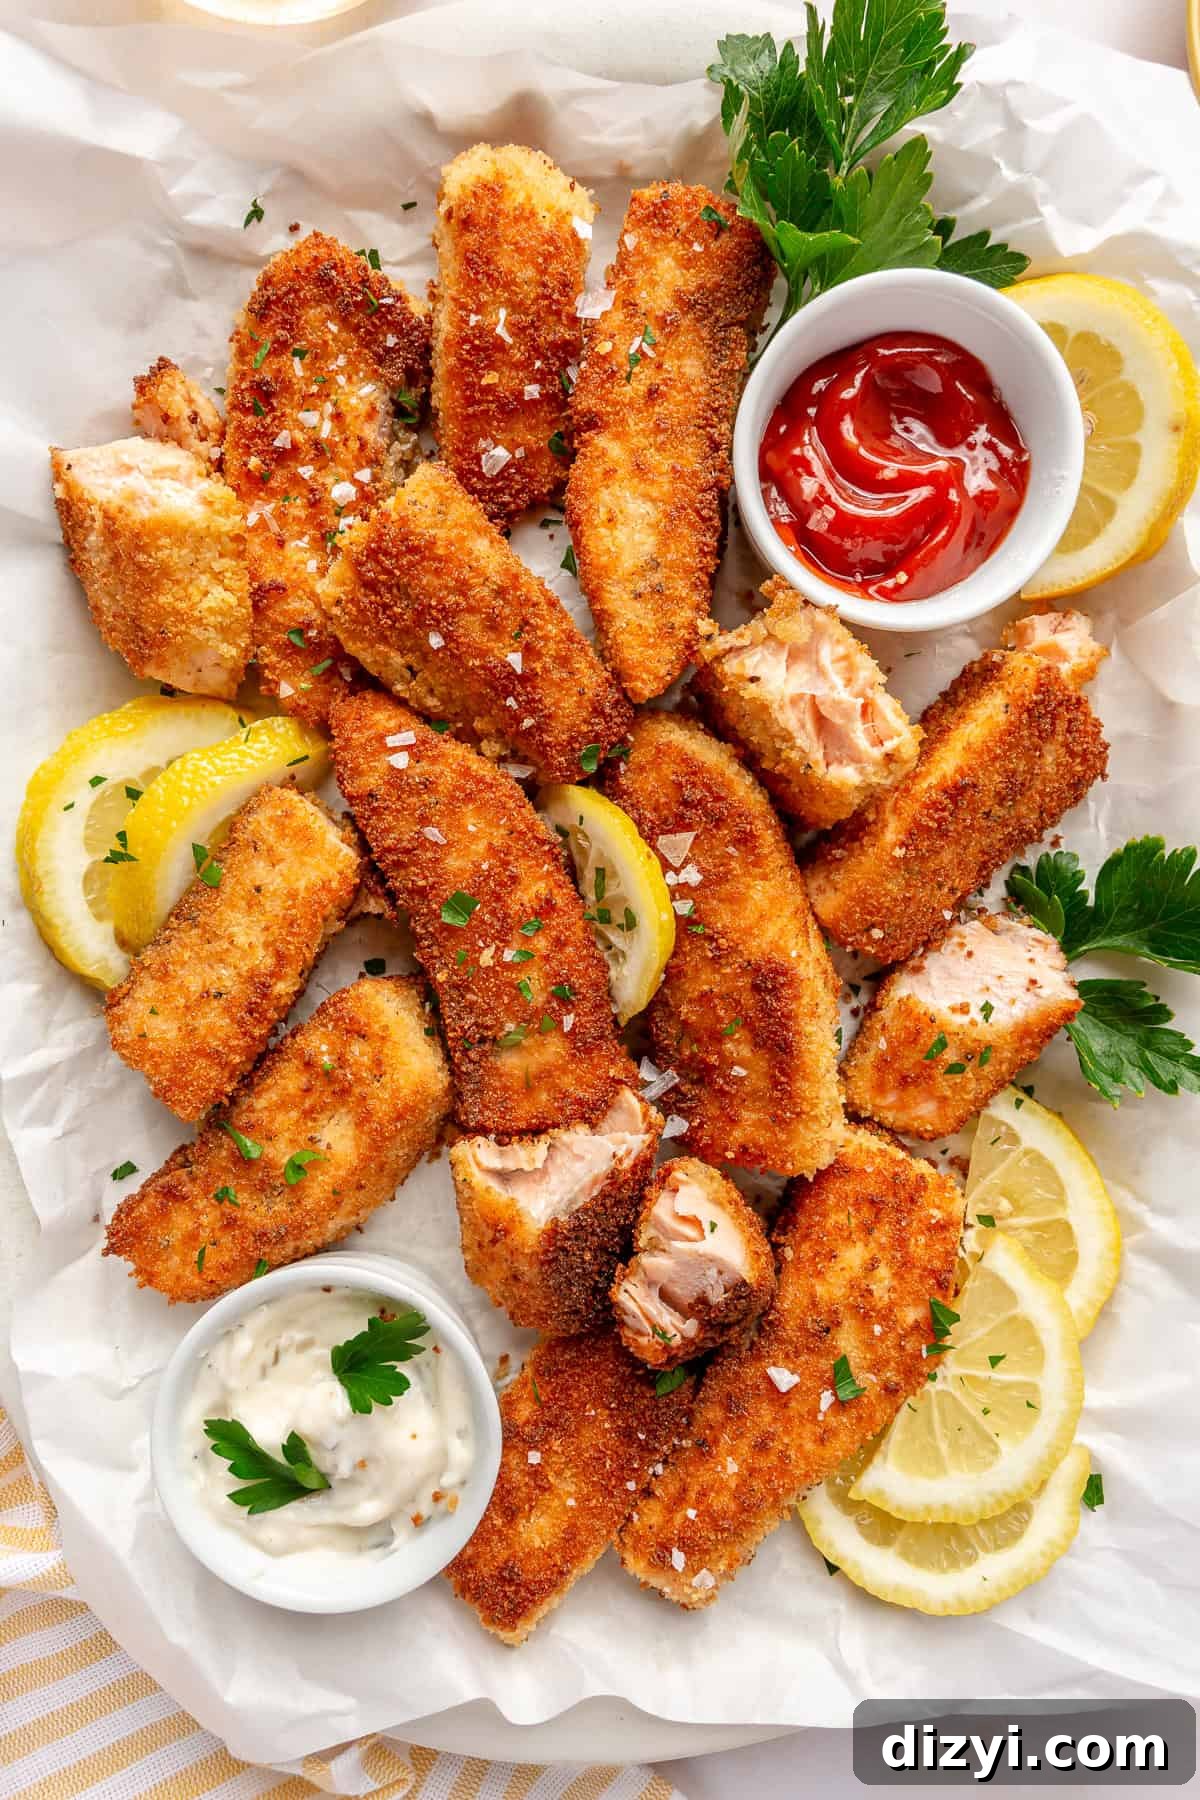
Serve the salmon sticks hot with your favorite dipping sauce—ketchup, tartar sauce, aioli, or a squeeze of lemon. They pair well with simple sides like roasted vegetables, a fresh salad, or oven fries for a classic combo.
Recipe FAQ
A mix of cassava flour with gluten-free panko creates a light, crunchy crust. Be sure the oil is hot enough before frying and avoid overcrowding the pan so the sticks fry instead of steam.
Serve over a bed of mixed greens with a tangy dressing for a crispy salmon salad, or pair with roasted vegetables and a lemon-tartar sauce for a grown-up plate.
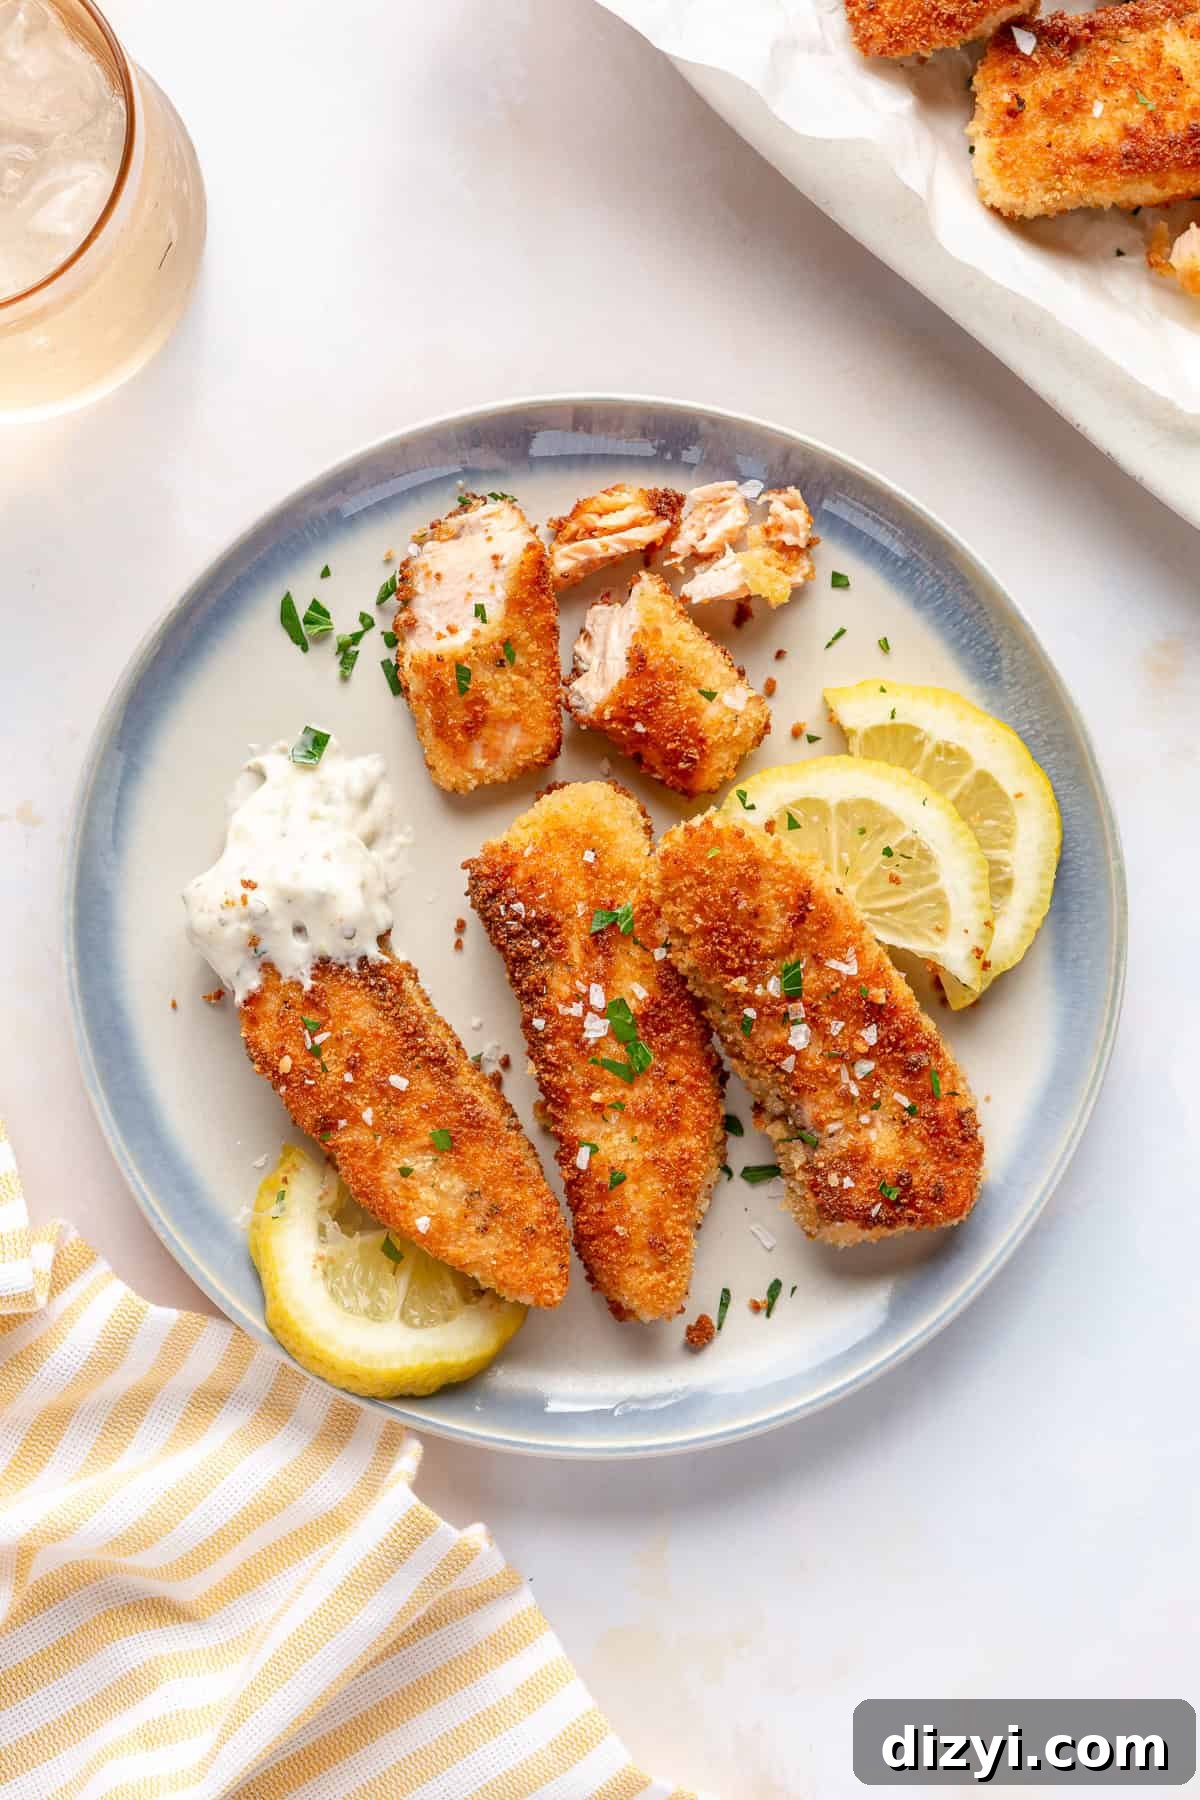
This recipe comes together in about 20 minutes, making it an ideal speedy dinner option. Kids often prefer ketchup, while adults might enjoy a homemade or store-bought tartar sauce or lemon aioli. The salmon stays moist inside the crunchy coating, and leftovers reheat well in the oven or air fryer.
Freezer & Make-Ahead Tips
- To freeze: cool the cooked fish sticks completely, arrange in a single layer on a baking sheet and freeze until solid. Transfer to a freezer-safe bag or container and label. Freeze up to 3 months.
- To reheat: thaw overnight in the refrigerator, then bake at 400°F for 10–15 minutes until hot and crisp. Or reheat from frozen in an air fryer at 375°F for 6–8 minutes.
Easy Crispy Salmon Sticks
Gluten-Free, Dairy-Free. Ready in about 20 minutes. Serves 4.
Ingredients
- 1.5 lbs salmon, skinless, 1-inch thickness
- 1 teaspoon kosher salt
- 1/2 teaspoon freshly cracked black pepper
- 1 large egg
- 1 teaspoon water
- 2 cups gluten-free panko breadcrumbs
- 1 tablespoon cassava flour
- 3 tablespoons avocado oil
- For serving: ketchup, tartar sauce, lemon wedges, parsley (optional)
Instructions
- Cut salmon into 1.5-inch strips, trimming to even sizes.
- Pat dry and season with salt and pepper.
- Whisk egg and water in one bowl. Mix panko and cassava flour in another.
- Dip each piece in egg, then press into panko mixture to coat. Repeat for all pieces.
- Heat oil in a large nonstick skillet over medium heat. Fry sticks 2–3 minutes per side until golden and crisp. Drain on paper towels.
- Serve warm with preferred dipping sauces and sides.
Notes
Storage: Refrigerate leftovers in an airtight container for up to 3 days. Reheat in the oven or air fryer to restore crispiness.
Nutrition (approx.)
Calories: 678 kcal; Carbohydrates: 63 g; Protein: 38 g; Fat: 29 g. Nutrition is an approximation.
I hope you enjoy these Easy Crispy Salmon Fish Sticks as much as my family does. If you try them, leave a comment to share your serving ideas or any tweaks you made—I love hearing how readers customize this simple, tasty recipe.