
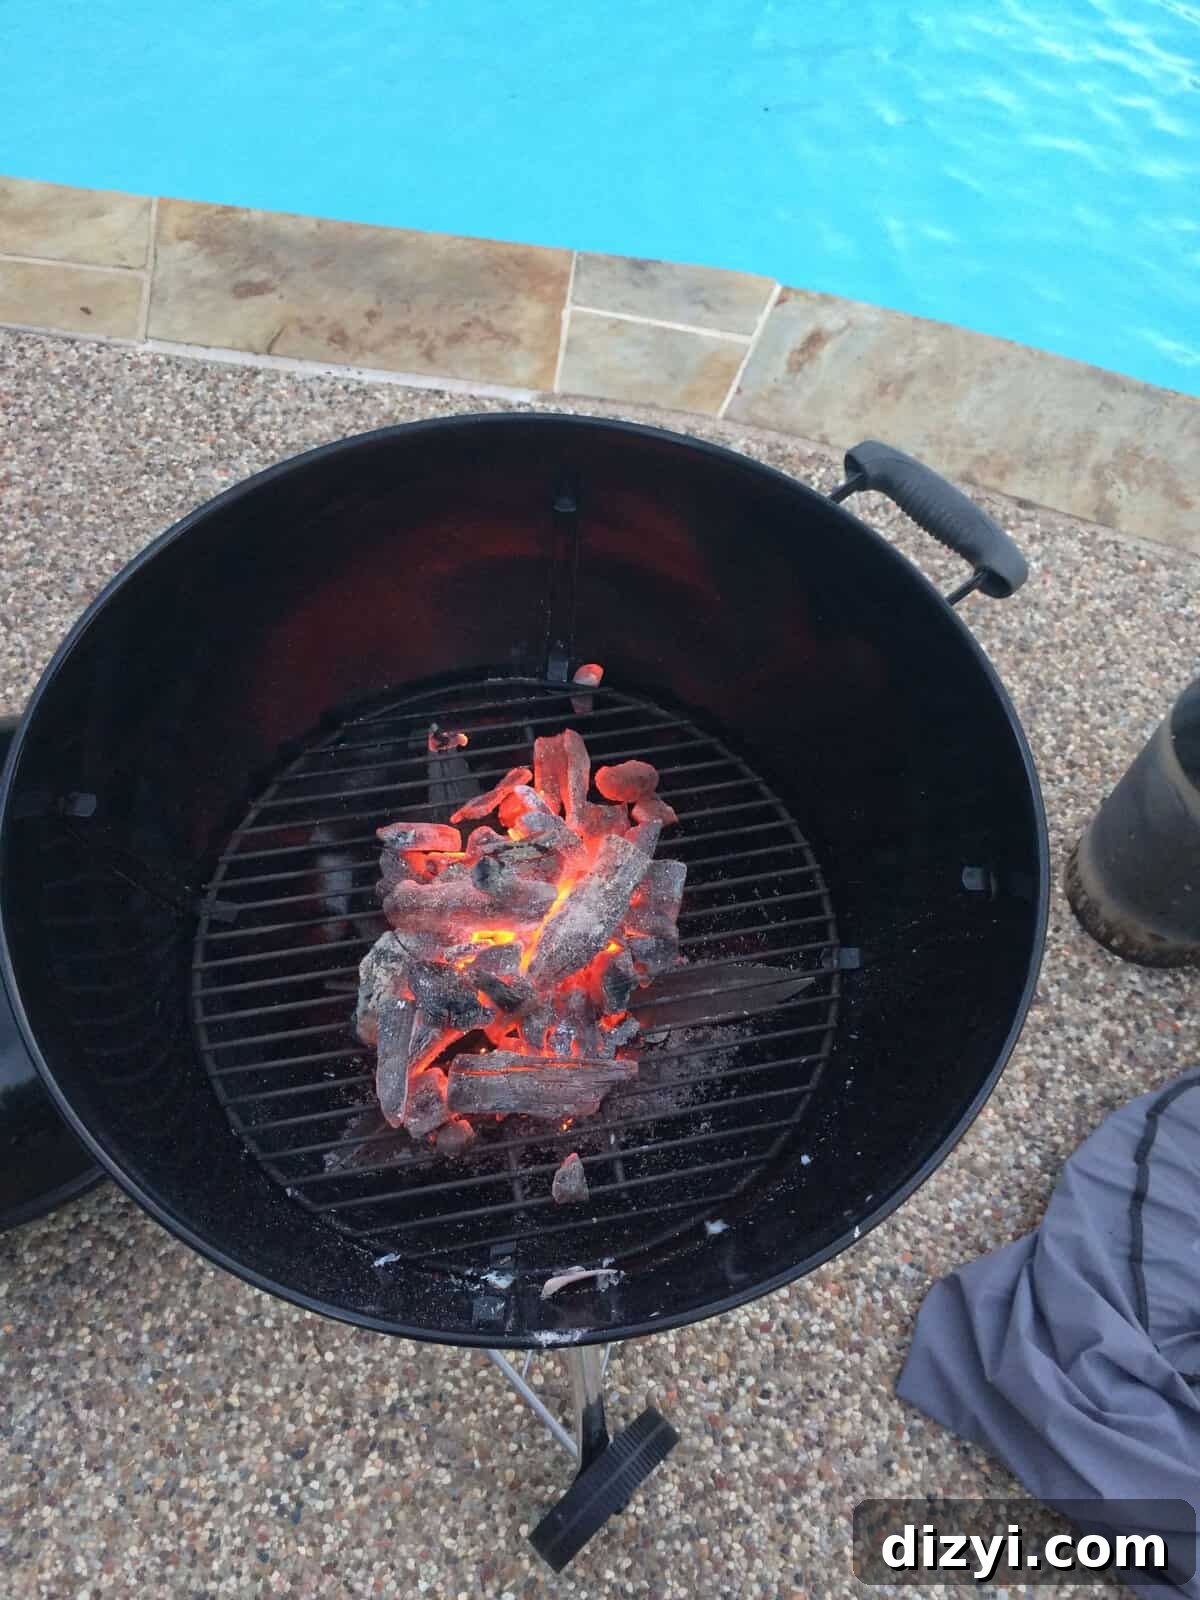
If you haven’t yet invested in a charcoal Weber grill, do yourself a favor and get one. A basic Weber charcoal grill is affordable and instantly improves the flavor of everything you cook. Lighting charcoal may seem intimidating at first, but it’s simple once you learn the steps. Below is a clear, practical guide to starting a Weber charcoal grill using a chimney starter so you can get grilling quickly and confidently. Read through the safety tips, gather your gear, and you’ll be ready to cook chicken, salmon, steaks, and more with great smoky flavor.
WHAT YOU NEED:
A charcoal Weber grill (for example, a Weber One-Touch or similar compact charcoal kettle grill). These grills are simple, durable, and designed for even airflow and temperature control.
A chimney starter — the easiest, most reliable way to light charcoal without lighter fluid. A chimney starter concentrates the fire beneath the coals so they catch evenly and quickly.
Charcoal — lump charcoal or briquettes will both work. Lump charcoal lights faster and burns hotter, while briquettes burn more consistently for long, steady heat.
HOW TO START YOUR WEBER:
Step 1: Remove the cooking grate and set it aside while you light the coals. Fill the chimney starter to the top with charcoal. Crumple about five sheets of newspaper and place them in the bottom compartment of the chimney; use enough paper to create a good base of flame but not an excessive pile.
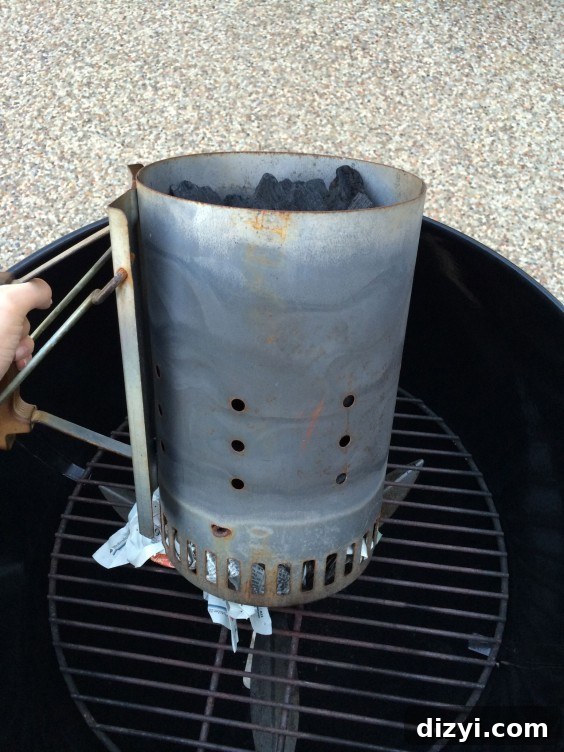
Step 2: Light the newspaper from several points. Hold the chimney at a slight angle initially if needed so the fire gets plenty of oxygen and flames move up into the charcoal. The chimney design funnels heat upward and gets the coals glowing faster than lighting individual pieces by hand.
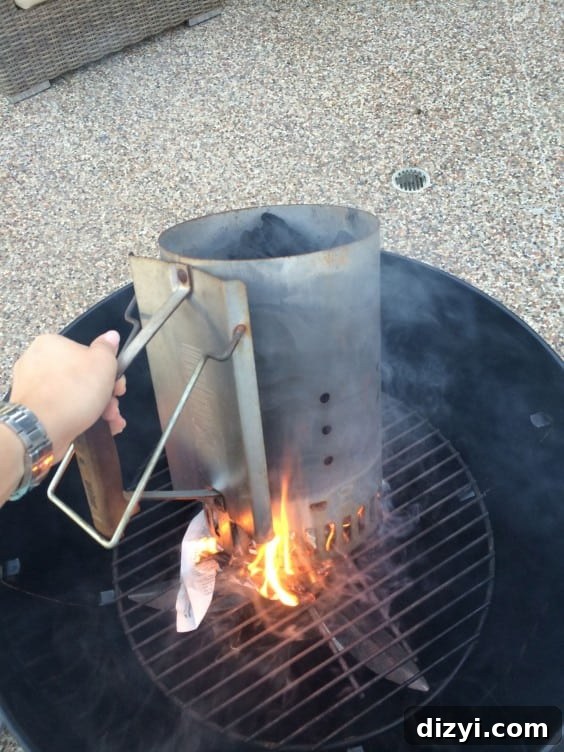
Step 3: Set the chimney starter on a heatproof surface or directly in the empty charcoal bowl of your Weber and let the coals heat. This usually takes about 10–20 minutes depending on charcoal type and weather. Go grab a drink, but keep an eye on the chimney — you want steady embers and not just a small flame. If the fuel isn’t catching evenly, relight or add a bit more paper to boost airflow.
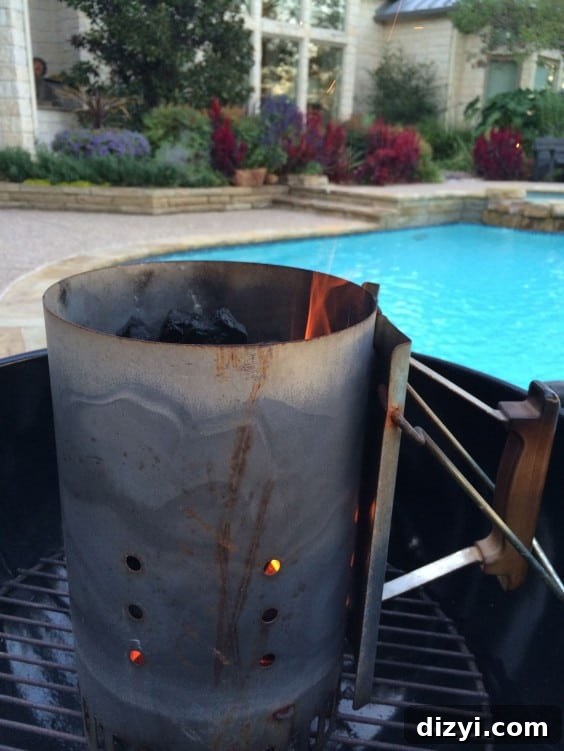
Step 4: You’ll know the coals are ready when they are covered in a thin layer of grey or silver ash and glowing orange underneath. At that point, the charcoal is hot and has reached a consistent heat suitable for cooking.
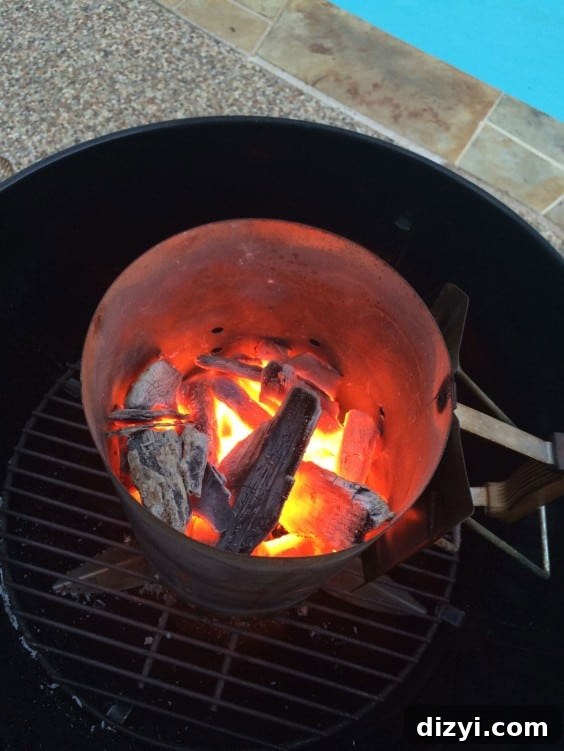
Step 5: Wearing a heavy oven mitt or heat-resistant glove, carefully lift the chimney by its handle and pour the hot coals into the base of the Weber. Use long tongs to reposition any scattered pieces and form the coal bed to match your cooking plan: pile them in the center for direct high heat, or arrange them to one side to create a two-zone grill for searing and indirect cooking.
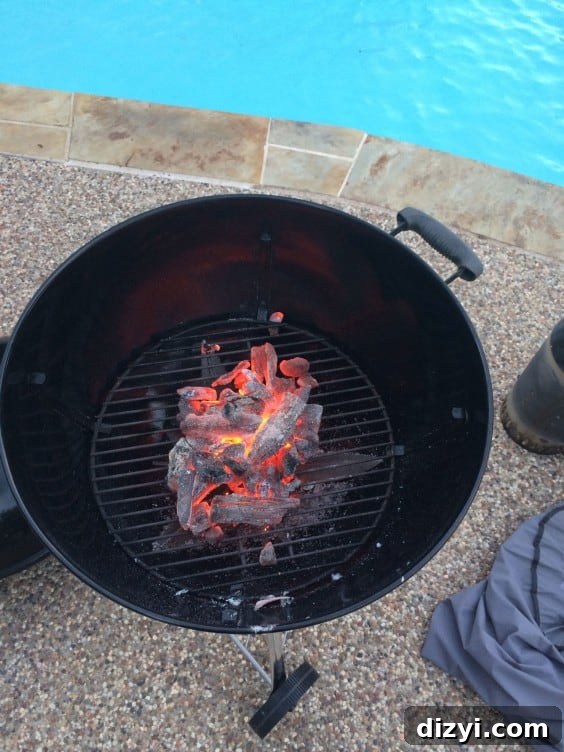
Replace the cooking grate over the hot coals and allow it to heat for a few minutes. Clean the grate with a brush if needed and oil it lightly to prevent sticking. Adjust the Weber vents to control airflow and temperature: opening vents increases heat, partially closing them lowers it. For most recipes, once the coals are evenly ash-covered, you’ll have reliable, consistent heat for grilling.
Safety and cleanup tips: always start and operate the grill outdoors on a stable, non-flammable surface away from structures and overhanging branches. Keep a spray bottle of water nearby for small flare-ups and a fire extinguisher for emergencies. When you finish cooking, close the vents to extinguish the coals and let them cool completely before disposing of ashes. Regularly empty ash buildup to maintain airflow and consistent heating.
That’s all there is to it. After lighting a Weber charcoal grill with a chimney starter a couple of times, the process will feel natural. You’ll be rewarded with better flavor and control over your grilling. Enjoy experimenting with different charcoal types, arranging coals for two-zone cooking, and trying smoky marinades and rubs—charcoal grilling opens up a lot of delicious possibilities.